Before & Afters

Modern Hen Classic Kitchen Reveal

I love before and afters, don’t you?

It’s so much fun to see what a room looked like once upon a time and then in mere seconds… wallah! The Big Reveal.

Out with the old in with the new.

Just. Like. That.

Speaking of makeovers, I hope you’re in the mood to browse the big changes in our kitchen.   Let’s start with the way things looked before.

Continue reading

Vintage Vanity Stool Makeover {And A Love Story!}


Picture 4

Do you remember my dear friend, Mr. Gene?

I mentioned him here in this post.

He was a sweet fella who wore debonair hats and plaid jackets every single day. I never saw him in a pair of blue jeans.

Not even once.

He was classy and sophisticated but in a simple kind of way. He loved horses and his country and served in World War II.


Picture 2

I’ll never forget the smile on his face when I asked him how he met his wife Ms. Jean (spelled with a J).

While strolling around an outdoor ice skating rink one evening they collided.

Smack dab in the middle of hundreds of other skaters whizzing by they fell… literally.

And he was smitten.

Just like a scene from an old black and white movie.

Continue reading

Before & After: Vintage Copper Boiler

Picture 11

While camping with my family over the summer I bought this old copper boiler from an antiques store. It was sitting outside in a corner of the shop’s front porch covered in cobwebs and rusty grime.  With a little elbow grease I could see flowers displayed in the tub or maybe I would use it as a novelty storage bin I thought.  Since it was left out to rust and the price tag was reasonable, I purchased it with hopes of gussying it up and giving it a new life.

Continue reading

Before & After Painted Vintage Side Tables

image

A little elbow grease goes a long way on vintage side tables given to me by my dear friend Gene from his estate sale last summer. I’m guessing they’re from the 1950s/60s based on what he shared with me over the years about his traditional home decor.  Mr. Gene, as my sons affectionately called him, also gifted me with two picnic bench seats I added seating to and shared more about in this post here and here.

IMAG3698

Continue reading

Building A Chicken Coop From Scratch

Good morning Friends! I thought you might like to see a chicken coop being built from scratch at 12 Oaks Blog. I’ve been reading Ben and Amanda’s complete home makeover this past year or so, and this week they are sharing their adorable backyard chicken coop, along with what it’s been like to raise six chickens and enjoy really fresh eggs. I’ve noticed chicken coops have made a big comeback lately and sure can see why!


IMG_4756

You can read about the coop, view their photos of the process and see their cute chickens at this link: Our Backyard Chicken Coop by 12 Oaks Blog

I hope you enjoy the read and will leave a comment for me with your thoughts about the coop and the whole idea of raising chickens from home.

Lisa

Lara Spencer’s New Book “Flea Market Fabulous” Debuts

image

Book Review Update:  This is a gorgeous book with big, bold, colorfully detailed photos on every page. Lara doesn’t disappoint readers with varying tastes either.  Not only does she showcase many design styles in her stunning real-life rooms, but she gives readers plenty of captions, tips, and fixes we can use right now. Throughout the pages she has sprinkled helpful advice from professional designers who weigh-in on how they create beautiful homes, too. Lara also shares her design dilemmas for each project and then walks readers through her process for solving them. And her mood boards are amazing and fun to see! And just like she did in her first book, she tells readers what she paid for her flea-market finds then shows us the reveal on how she used them in each stunning room. Lara has written another fantastic book that readers will refer to again and again! It’s perfect for anyone who loves to decorate, but especially inspiring for those of us who love to  do it on a budget and with our fabulous flea-market finds! Love it! Continue reading

Before & After: Painting A Kitchen Island On A Budget

After 13 years our maple kitchen cabinets had become worn and dark, more gold than light maple in tone. I also noticed our light maple laminate floors had taken on a pink cast, while the interior doors and trim were more pecan in color. The different tones clashed making the room look tired and worn and this bugged me. It was time to freshen things up.

I’ve always appreciated the easy on the eyes classic white kitchen, but my husband prefers the look of natural wood.  Thankfully he was onboard with my ideas for change. We agreed on a budget and I called two professional painters for cabinet quotes. Both had different thoughts on how to do the job, and their prices seemed fair for the big job, but way more than we wanted to spend. My husband suggested I paint them and use the savings to replace our old countertops. That got me excited! Still, I had to mull it over because looking at all those doors and cabinets, I knew it wasn’t going to be easy and much more than a weekend project. I finally mustered the courage and went for it starting with this island.

image

BEFORE:  This is the spot where we stood to do most of our food prep. The island was fairly small with no extra counter space to sit and eat, even though we kept a stool at one end. The outdated black, white and salmon laminate top was scratched and dull.


image

AFTER:  Sanding, priming and painting the island Acadia White by Benjamin Moore made a tremendous difference. A carpenter friend added thick, decorative trim moulding to each end and gave the cabinet a really nice custom look.


image

We chose a black soapstone countertop with creamy pearlescent waves running through it. This particular stone is similar to granite and very dense and hard to scratch. It’s easy to clean, too. We had the corners squared to give it a more updated look.


image

Adding six inches to one end of the counter made it much more comfortable to sit at for the kids. And we saved $600 by purchasing a remnant already in stock and ready to cut.


image

Mouldings give the island the look of a custom piece of furniture now.


image

I replaced birdcage medal knobs we had on the unpainted cabinets with glass knobs from Hobby Lobby for $2 each when on sale at 50% off. The birdcage knobs sold on eBay for $2 each so the knobs were a wash in cost. Love it when that happens!  To avoid adding holes to the drawers I kept to one knob on the three main drawers like we had before. The cup pull is from Lowes and cost $4.

Kitchen Island Savings: 

SAVED $500 DIY sanding, priming, painting island cabinet and trim moulding

SAVED $600 by purchasing an in-stock remnant top

No cost for new glass knobs

Labor to install wood trim: Priceless. We got a really good price from our friend and he added crown moulding to the ceiling in the room, also.

Total savings was about $1,000 after buying paint, supplies, trim moulding and paying for carpenter labor.


I’m happy with how the island turned out and it has made a huge difference in the look of the kitchen. The room feels airy, light and clean. It has that classic look I’ve always dreamed of having for my kitchen. It was well worth the effort. And overcoming my fears for taking on a big project like this gave me the courage to paint the rest of the kitchen cabinets. I will post about those soon.

image


8 Simple Steps: How To Hand-Sew A Slipcover

image

This imperfect slipcover works perfectly!

Last week I shared with you this slightly worn writing desk chair I picked up at a church rummage sale awhile back. You can read more about it here.  It’s an occasional chair primarily used by me and I wanted a slipcover for it.  My sewing machine needed repair, so I hand-sewed one. By no means is this a professional instruction sheet, but these how-to tips should be helpful to you.

Pick the right fabric. Consider color, fabric weight, durability, care, and cost. Lines and patterns are more difficult to keep straight. I used a curtain made from cotton linen.  A solid, lightweight cotton fabric, pre-washed to prevent shrinkage may work best. Iron to remove wrinkles.

Plan where your seams will meet. Follow the chair’s upholstery seams to guide your decisions for cutting and pinning. I made the back of the chair first, then attached the seat fabric, and the skirt last.

Measure twice, cut once. Whoever came up with that advice is a genius! Begin by measuring the individual section you are working on.  Since I had plenty of fabric, and it was my first chair cover, I allowed for 2 extra inches on all sides in case of error.

image

Always pin inside out.  Turn the fabric with the underside facing up and drape over the backrest. Measure from the seat, up the front and down the backside, allowing for extra fabric to hang past the bottom back for your skirt, plus a 1″ to 2″ hem, and at least 1″ on the other three sides for pinning before marking and cutting. After cutting, drape the cut piece over the back again (underside up) and pin both sides to make seams. Keep the fabric slightly loose for easy removal, not taut. (If your fabric has a pattern or lines, you will need to turn the piece right-side out after pinning to check for straightness, or save yourself the trouble and use a solid.)

Stitch from the top down. With the fabric on the back of the chair (inside out and pinned) sew a straight stitch from the top down, removing pins as you stitch. Remove the fabric and turn inside out. It should resemble a “pillowcase”. Put the case back on the chair to check for fit and tightness of stitching. Backrest cover is finished. Remove the cover, turn inside out and put it back on the chair to add the seat fabric.

image

Add the seat to the back. Measure and cut the next piece, using the chairs seams to determine where to cut. Leave at least 2 extra inches on all sides as the extra fabric may be needed to allow for sitting. If the seat is too tight, it could tear when sat on. This extra fabric will come in handy as you pin the seat to the “pillowcase”, and later to the skirt. As you pin decide how tight you want the seat. Keep in mind, slipcovers are generally fitted slightly loose.  Stitch the seat fabric to the bottom of the backrest fabric.

image

Determine the length of skirt. Adjust the back and seat fabric onto the chair. Tuck in fabric where needed around the seat and allow for a little extra fabric for sitting without tear. Be sure to add the length to match the back of the chair, plus 1 or 2 inches for hemming.  Measure, cut and pin the skirt to the seat and back section fabrics, and stitch.

image

Finish with hem. Turn the slipcover right side out and place on the chair. Check for errors, tuck in the seat to the back and measure the length of the skirt all the way around and pin the hem under every inch or two. Remove the cover, press the hem down with a warm iron to give it a clean edge.  Once pressed, sew or fabric glue the hem and press again.  I used fabric glue to avoid seeing the thread around the skirt as it’s more difficult to hide here. Ironing is key to a nice looking hem and slipcover. Your slipcover is finished!

image

This slipcover is imperfectly perfect. It serves its purpose to protect and change the look of the chair, is easy to wash or bleach if necessary, and is an inexpensive solution to replacing a piece of furniture. The stitches look just as they did the day I made it. If they do come loose, I can re-stitch by hand or machine. It was a lot of fun and fairly easy to make.

If you decide to make a slipcover, I would love to see it! Please be sure to Like this page on Facebook for more easy DIY projects & crafts, simple recipes and daily encouragement.

image


Before & After: Well-Worn Bench to Versatile Extra Seating

This past week I received the sad news that a special and dear friend of mine passed away.

My sons affectionately called him Mr. Gene.

I worked with him for over 18 years before he “re-retired” last summer at the vibrant age of 92 to move closer to his daughter.

Before leaving Mr. Gene gave me a few items to keep in remembrance of him — an old, tattered picnic bench set among them. Both benches were worn and rickety… their smudged paint and banged up slats signs of the workhorses they had become for my friend.

And I loved every scar...

image

When I brought them home my husband asked me what in the world I was going to do with them.

I had no idea.

We didn’t need the extra seating on our patio and the weather would just add further damage.

So I hosed them down, spiders and all, tightened the screws and brought them inside.

I chose not to paint them and added a cushioned seat to both.

And this is how it went…

Supplies:  2″ thick foam cushion, cotton batting, pre-washed fabric, staple gun and staples, nailhead strips, hammer, scissors, fabric marker or pencil, tape measure.

Directions:

Securing cushion with batting

1. Fold the long piece of cushion foam in half, mark it and cut it into two pieces, putting one of the cushions to the side for the second bench. Turn the bench upside and lay it on one cushion, trace around the seat with marker and cut away extra foam.

2. Lay batting on the floor, then the cushion, and the bench upside down on top of both, allowing enough batting on all four sides for stapling over the seat. Mark and cut the batting.

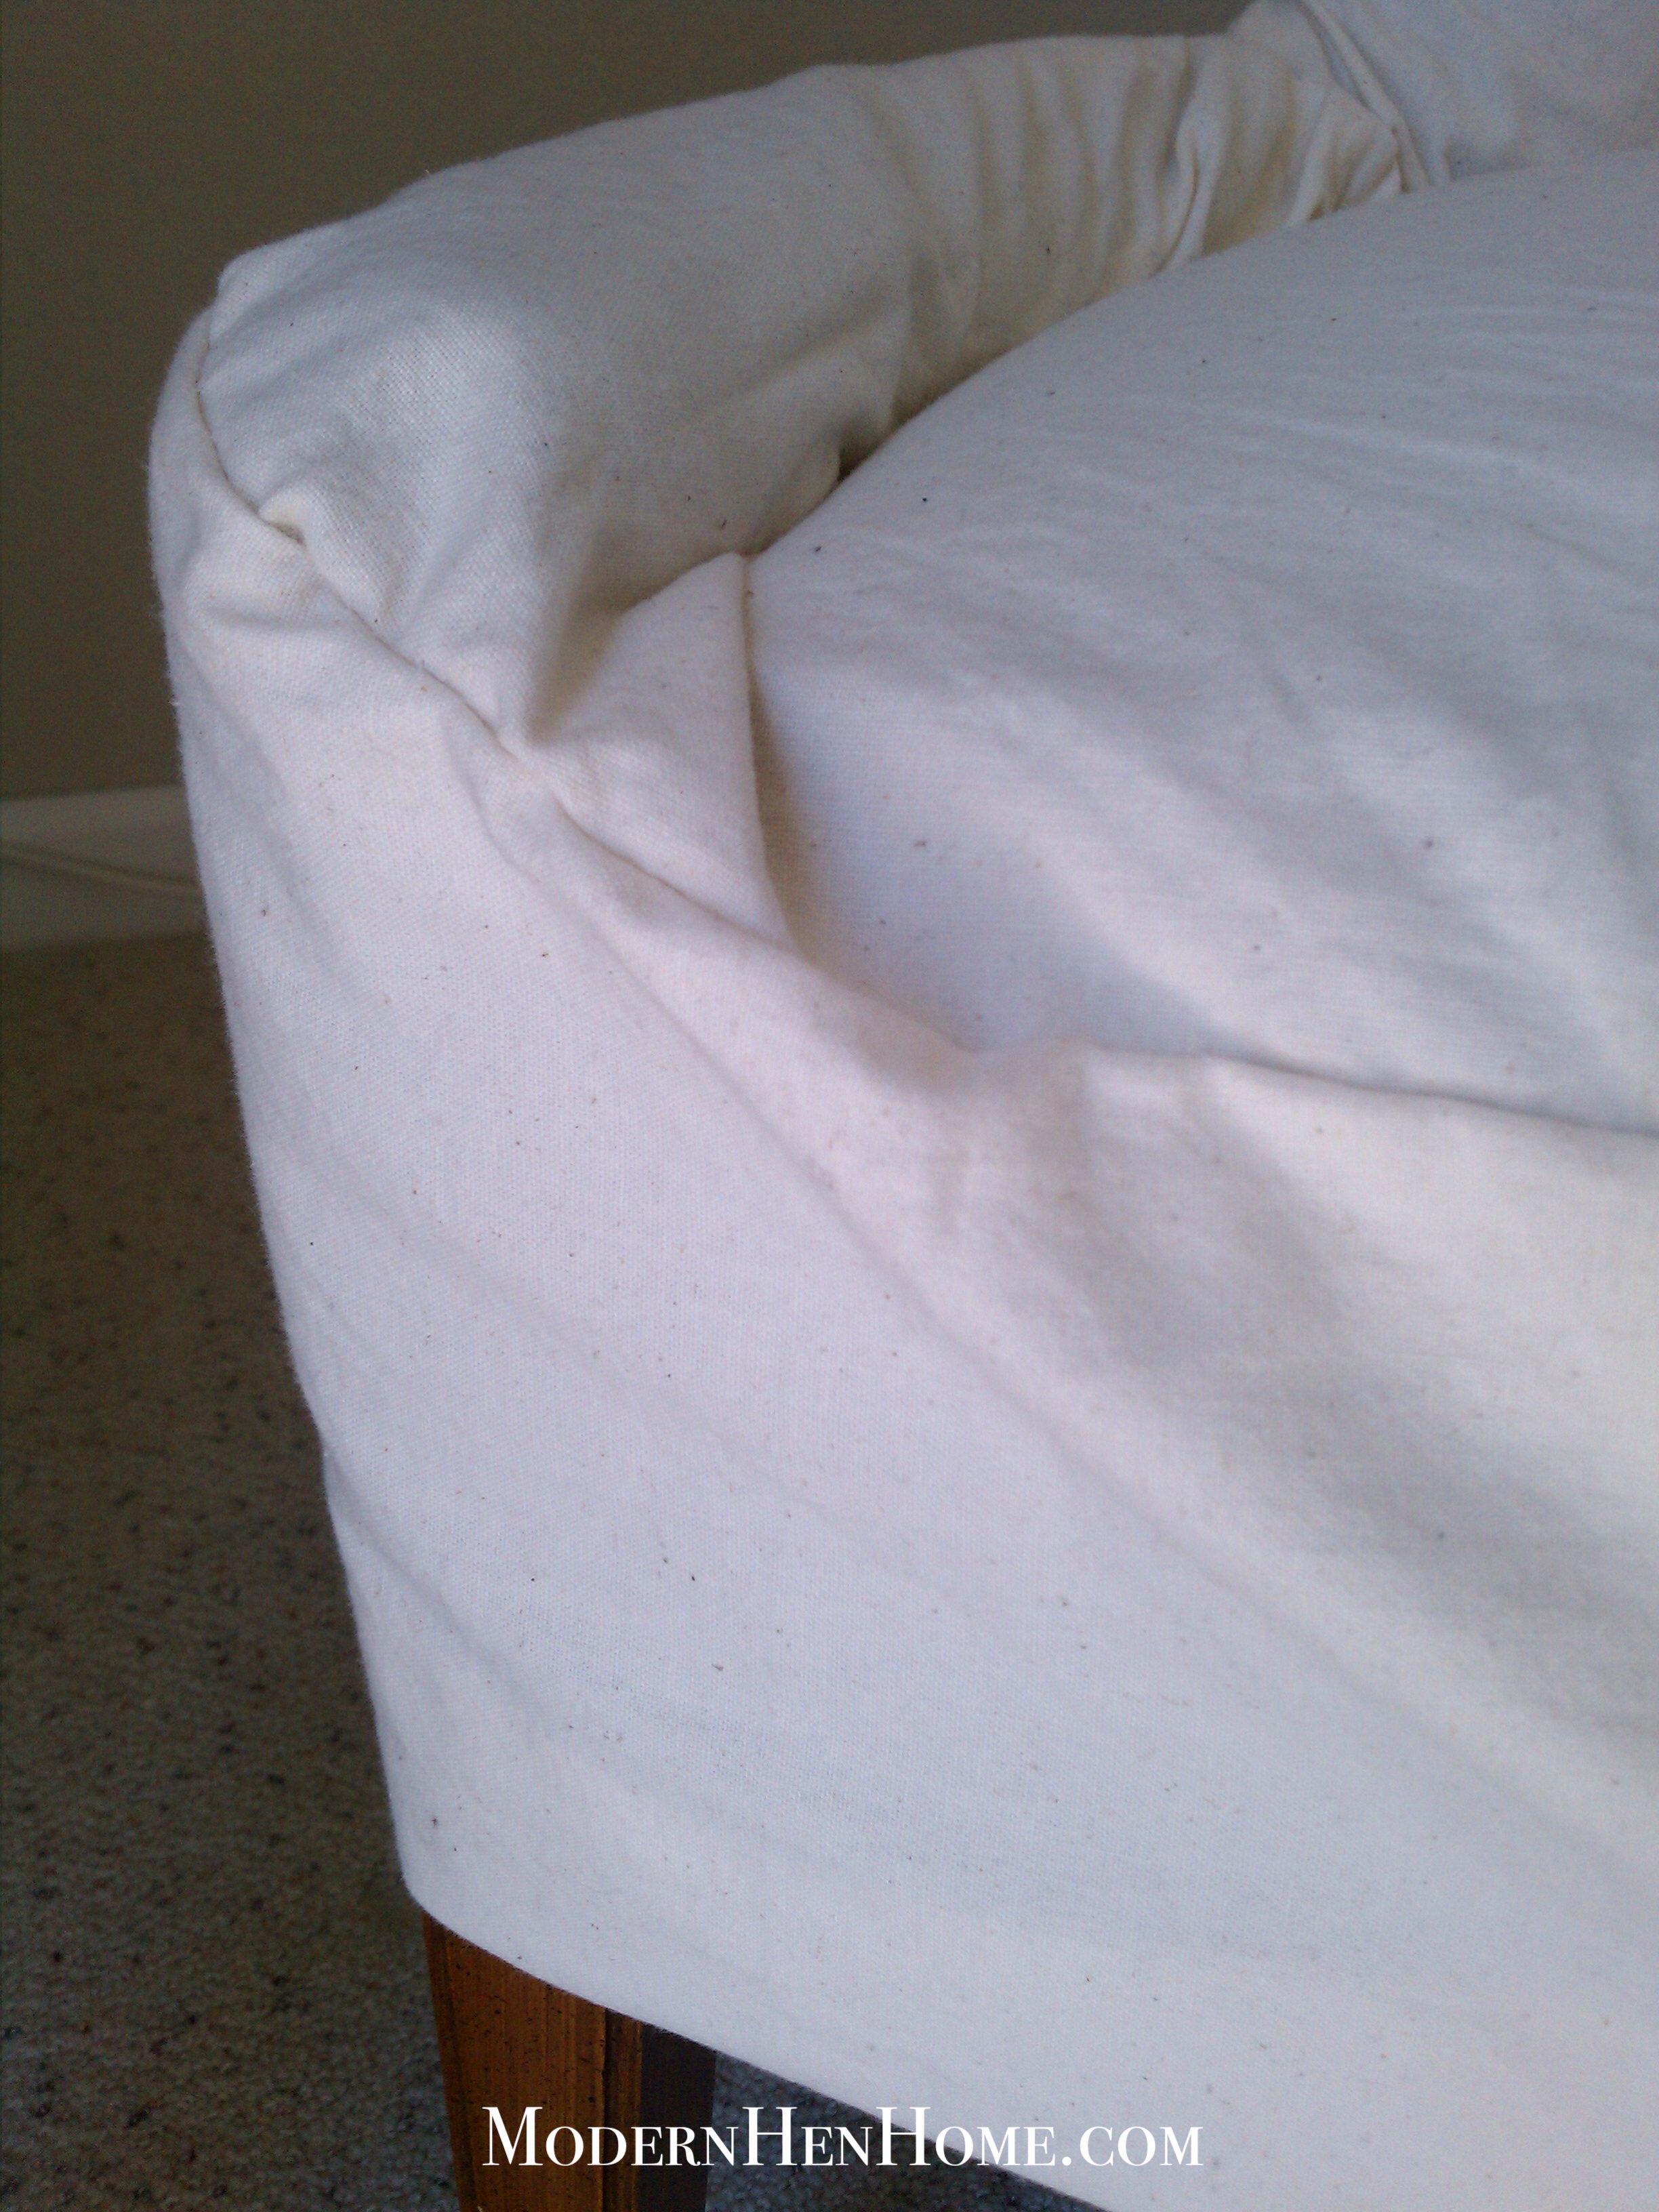
3. Pull the batting up over cushion and underside edge of bench. Staple once in the center on each side and smooth out wrinkles along the way. Finish by stapling all around to secure.

Adding upholstery fabric

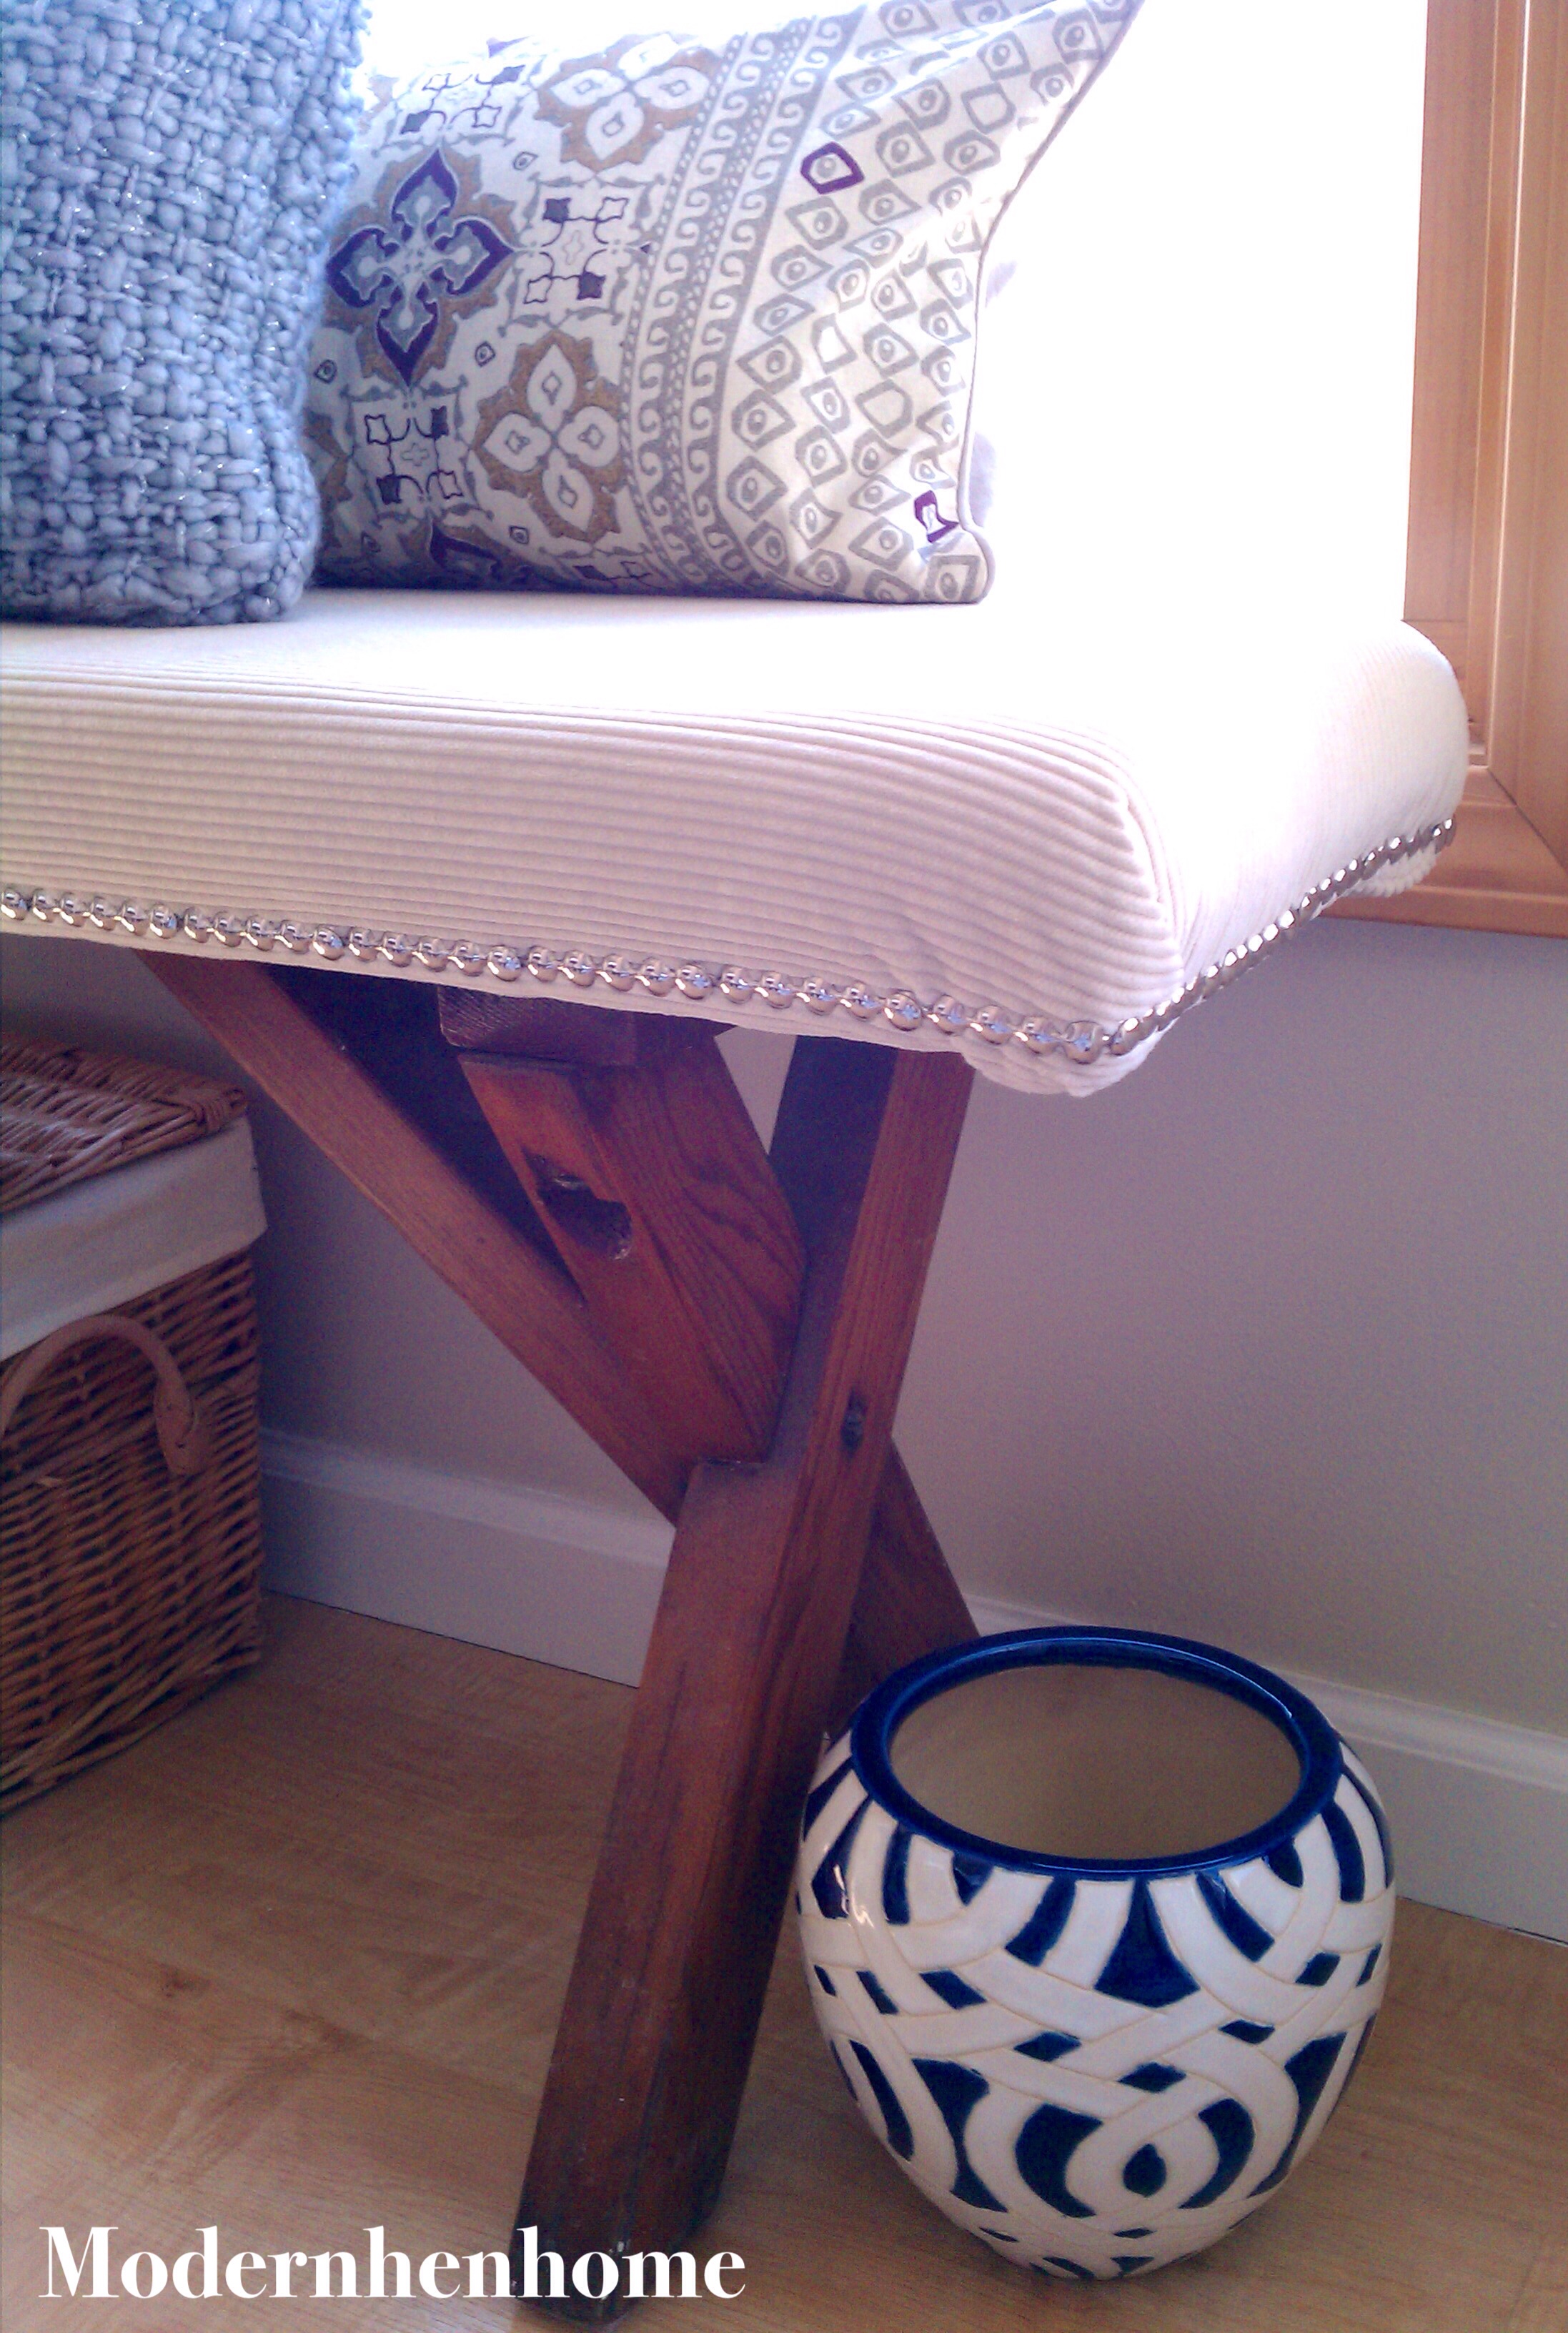
4. Trace and cut upholstery fabric same as step 2. Allow all four sides of the bench an extra 1-1/2 inches for stapling. (I used extra corduroy fabric from my storage.)

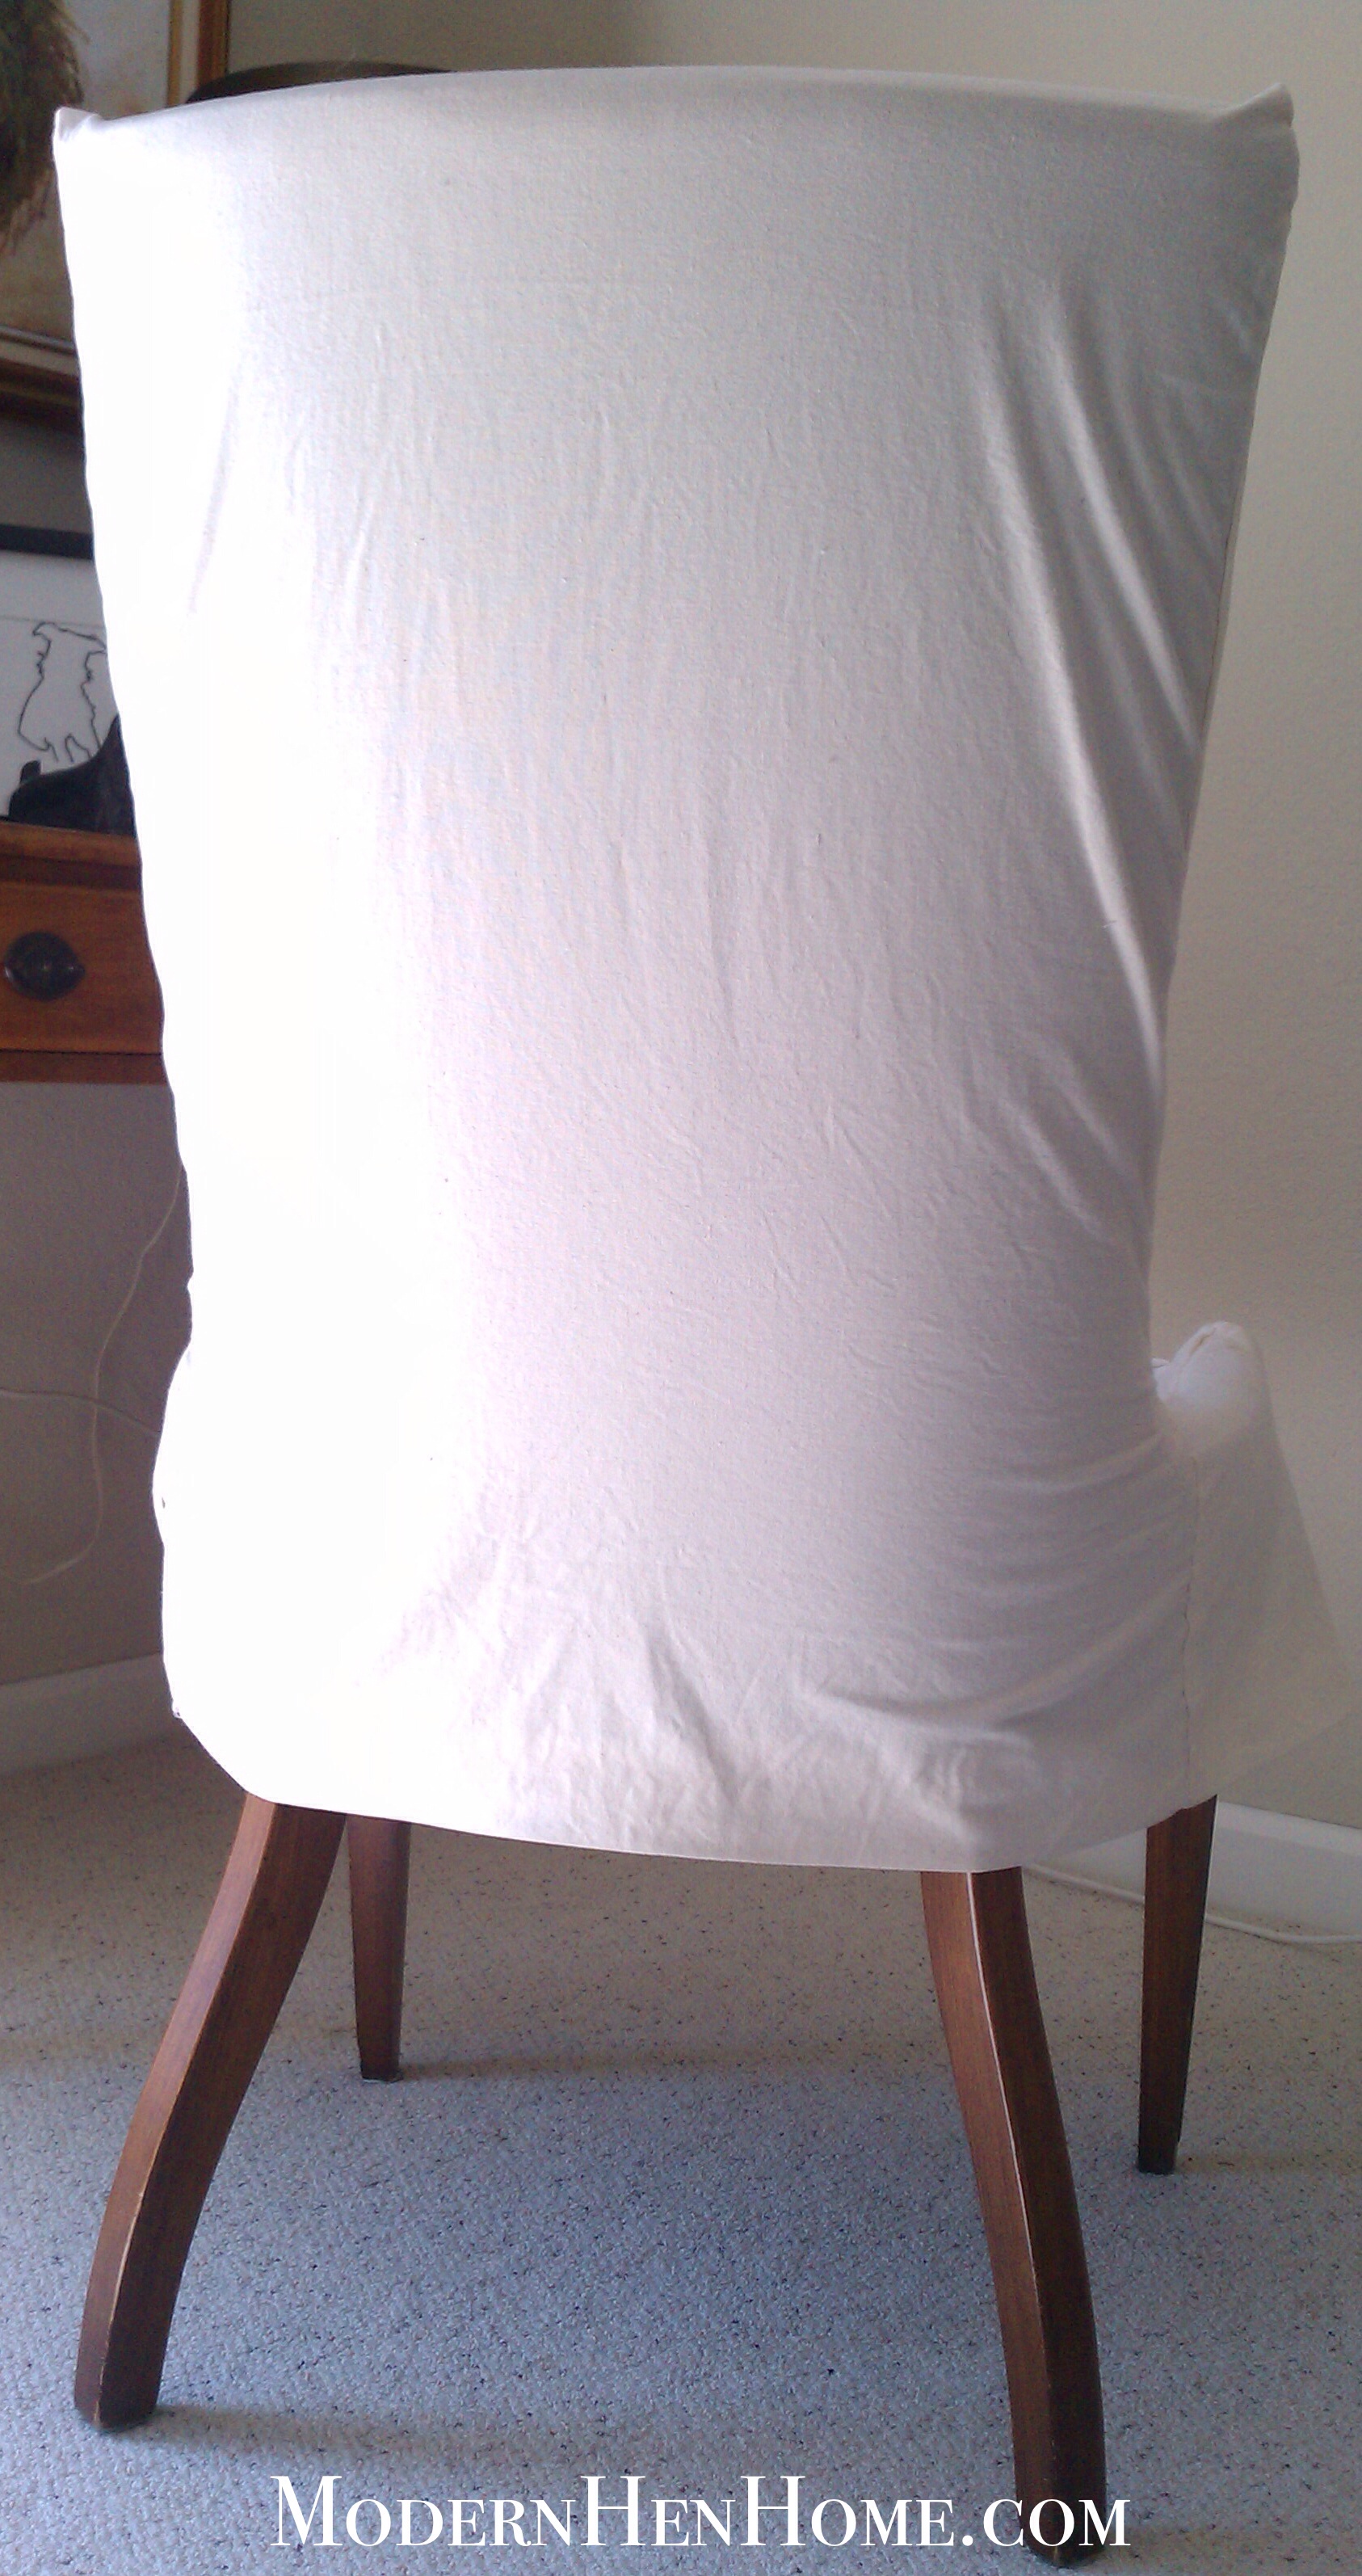
5. At one end, staple the fabric over both the cushion and the wood seat, being careful to keep the pattern or lines straight.  Fold edges under as you staple to avoid future fraying. Turn bench over, smooth it out, pull tight and staple once in the center at the other end, then repeat next two sides. Finish by stapling around the rest of the underside to secure.

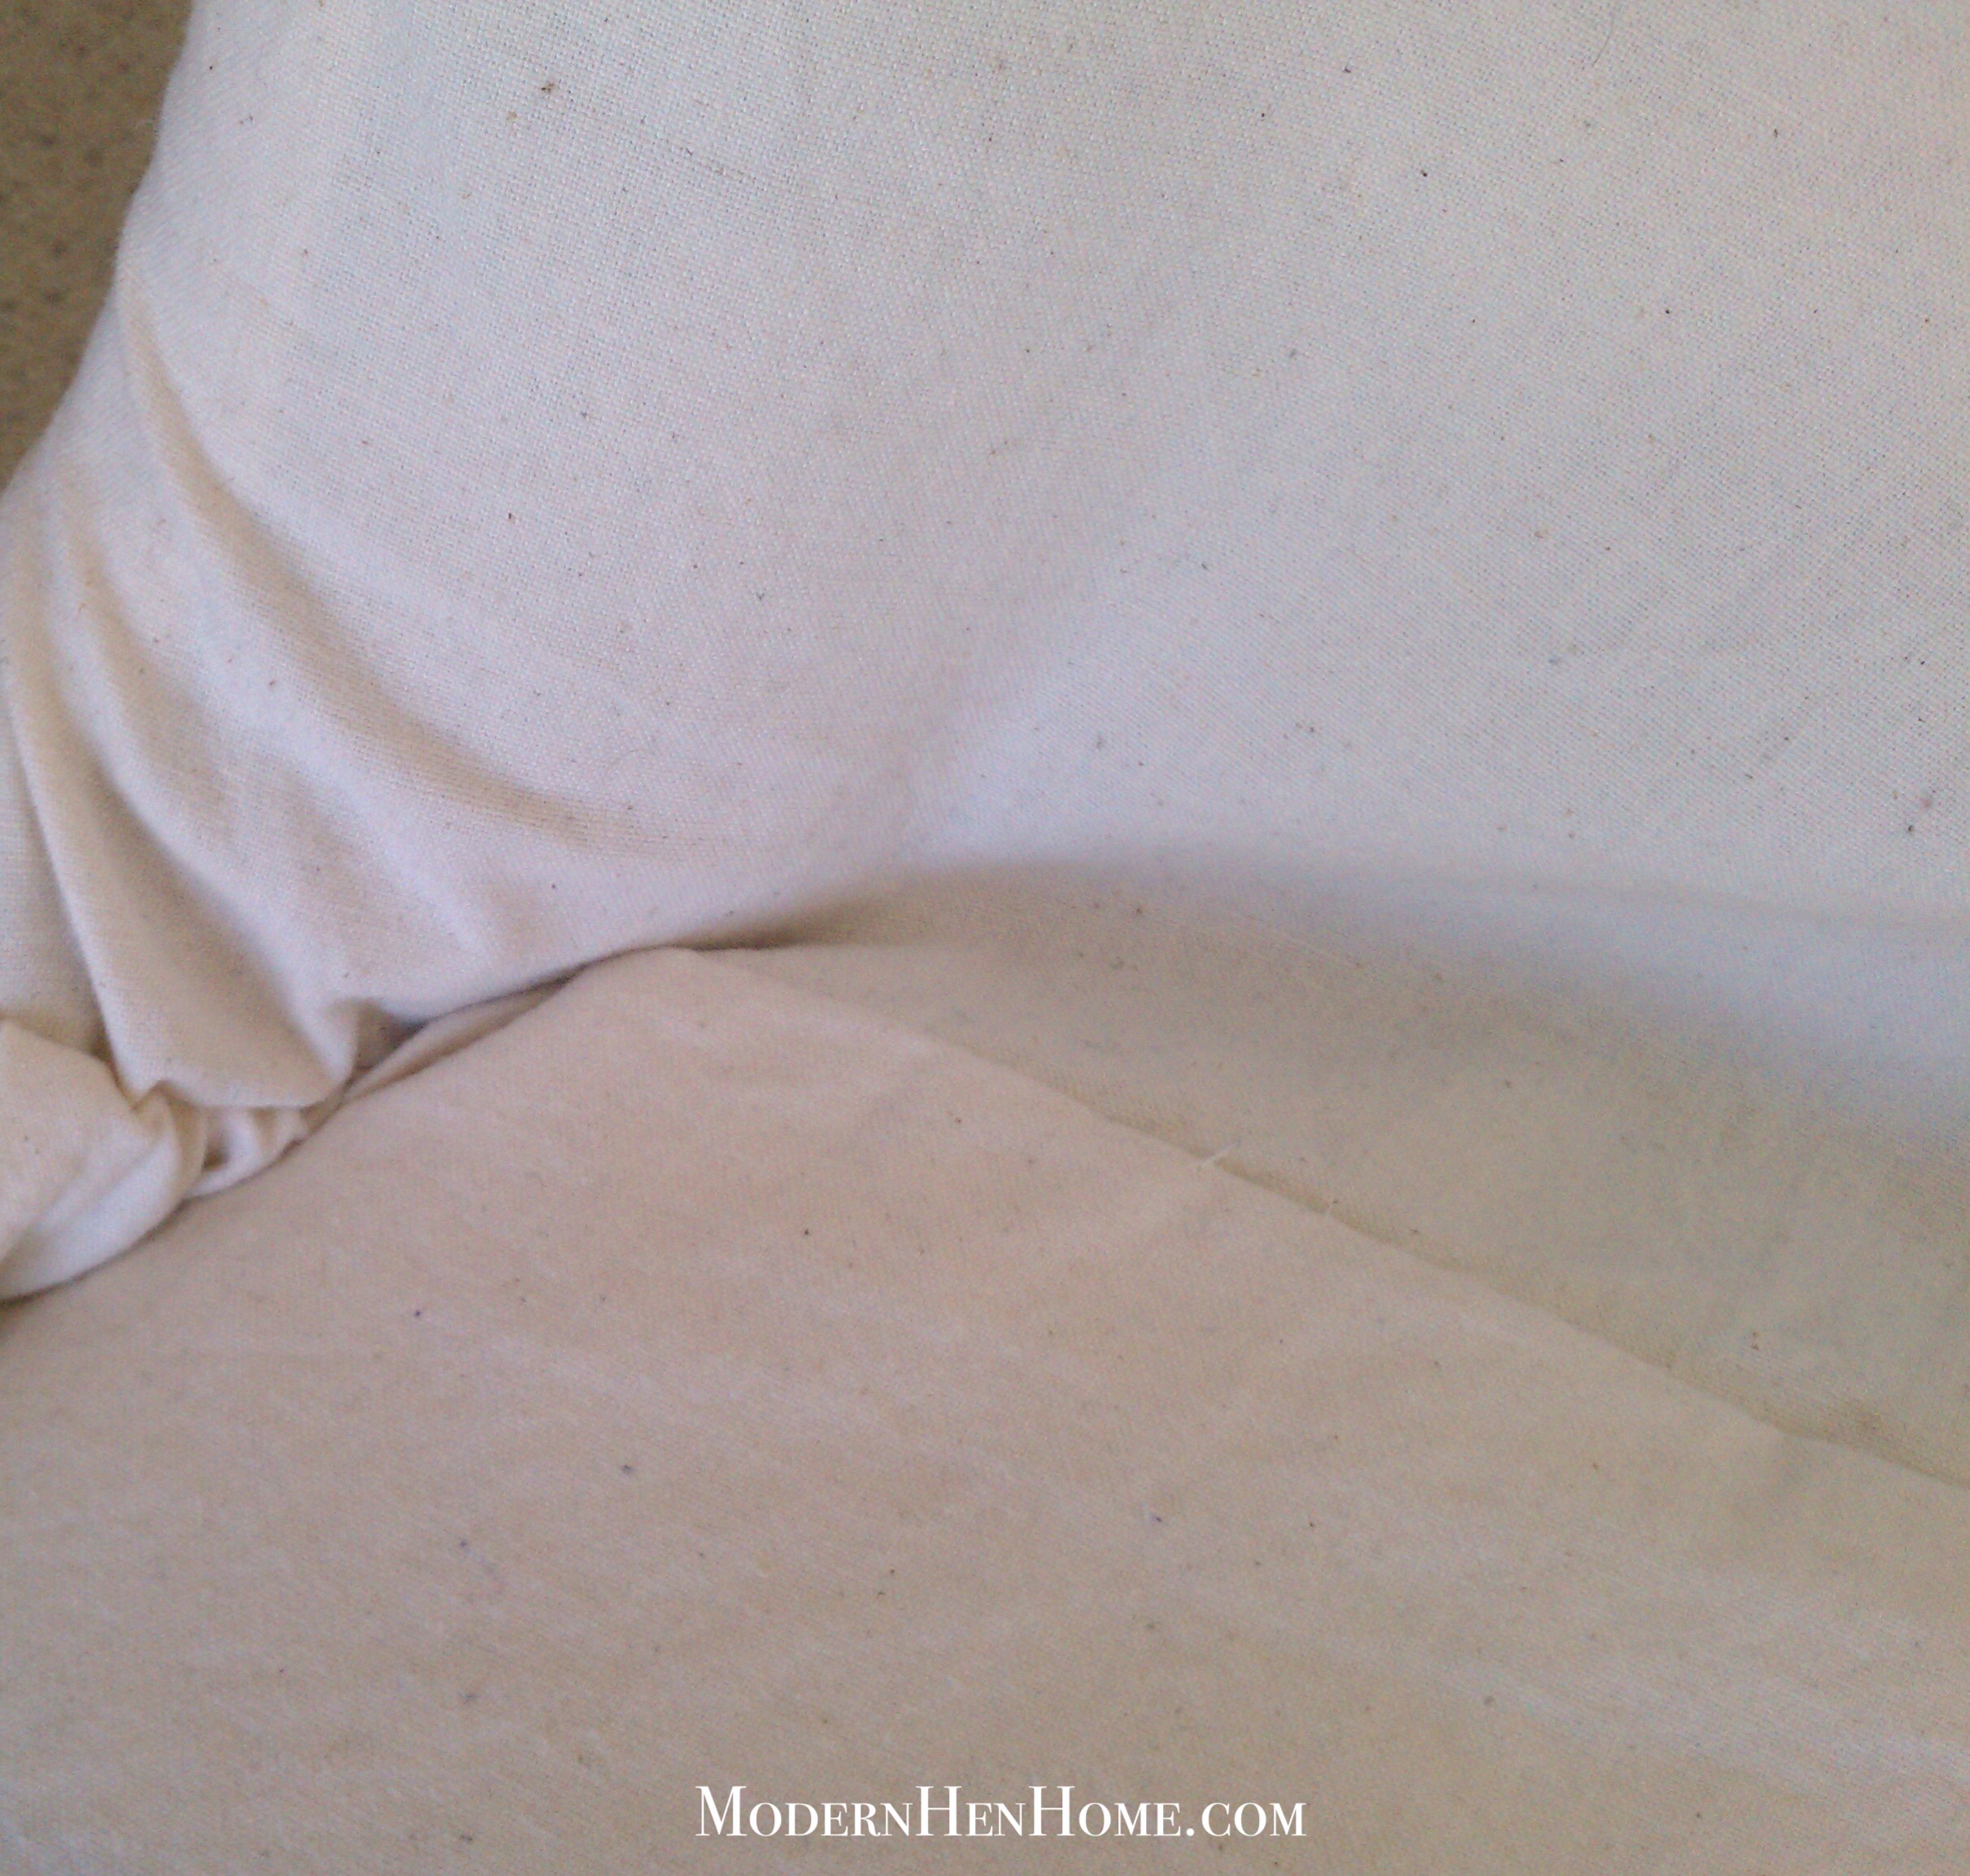
6. Carefully fold corner fabric back onto the bench ends like shown in the photo below.

7. Add nailhead strips around the bottom edge with hammer for a finished look. (Joann Fabrics had the strips, Hobby Lobby did not. The strips are much easier to keep in a straight line.)


image

When we have guests, the dining chairs can be moved closer together and the bench pulled in closer to allow for more seating.


The matching bench is at the foot of our master bed.

It’s been great for keeping a blanket off the floor, as a place to sit and get dressed, and as a springboard for our dog!


image


Both benches work well in our home… sweet reminders of a loyal and faithful friend.

“Loyal friends love through difficult times.” Proverbs 17:17

“Faithful friends are a rare treasure.” Proverbs 18:24

%d bloggers like this: