

I recently shared a makeover for two picnic benches I added cushions and fabric to in this post here. Both seats were covered in corduroy and finished with silver decorative tacks. They are working out great for extra seating and look nice, too.
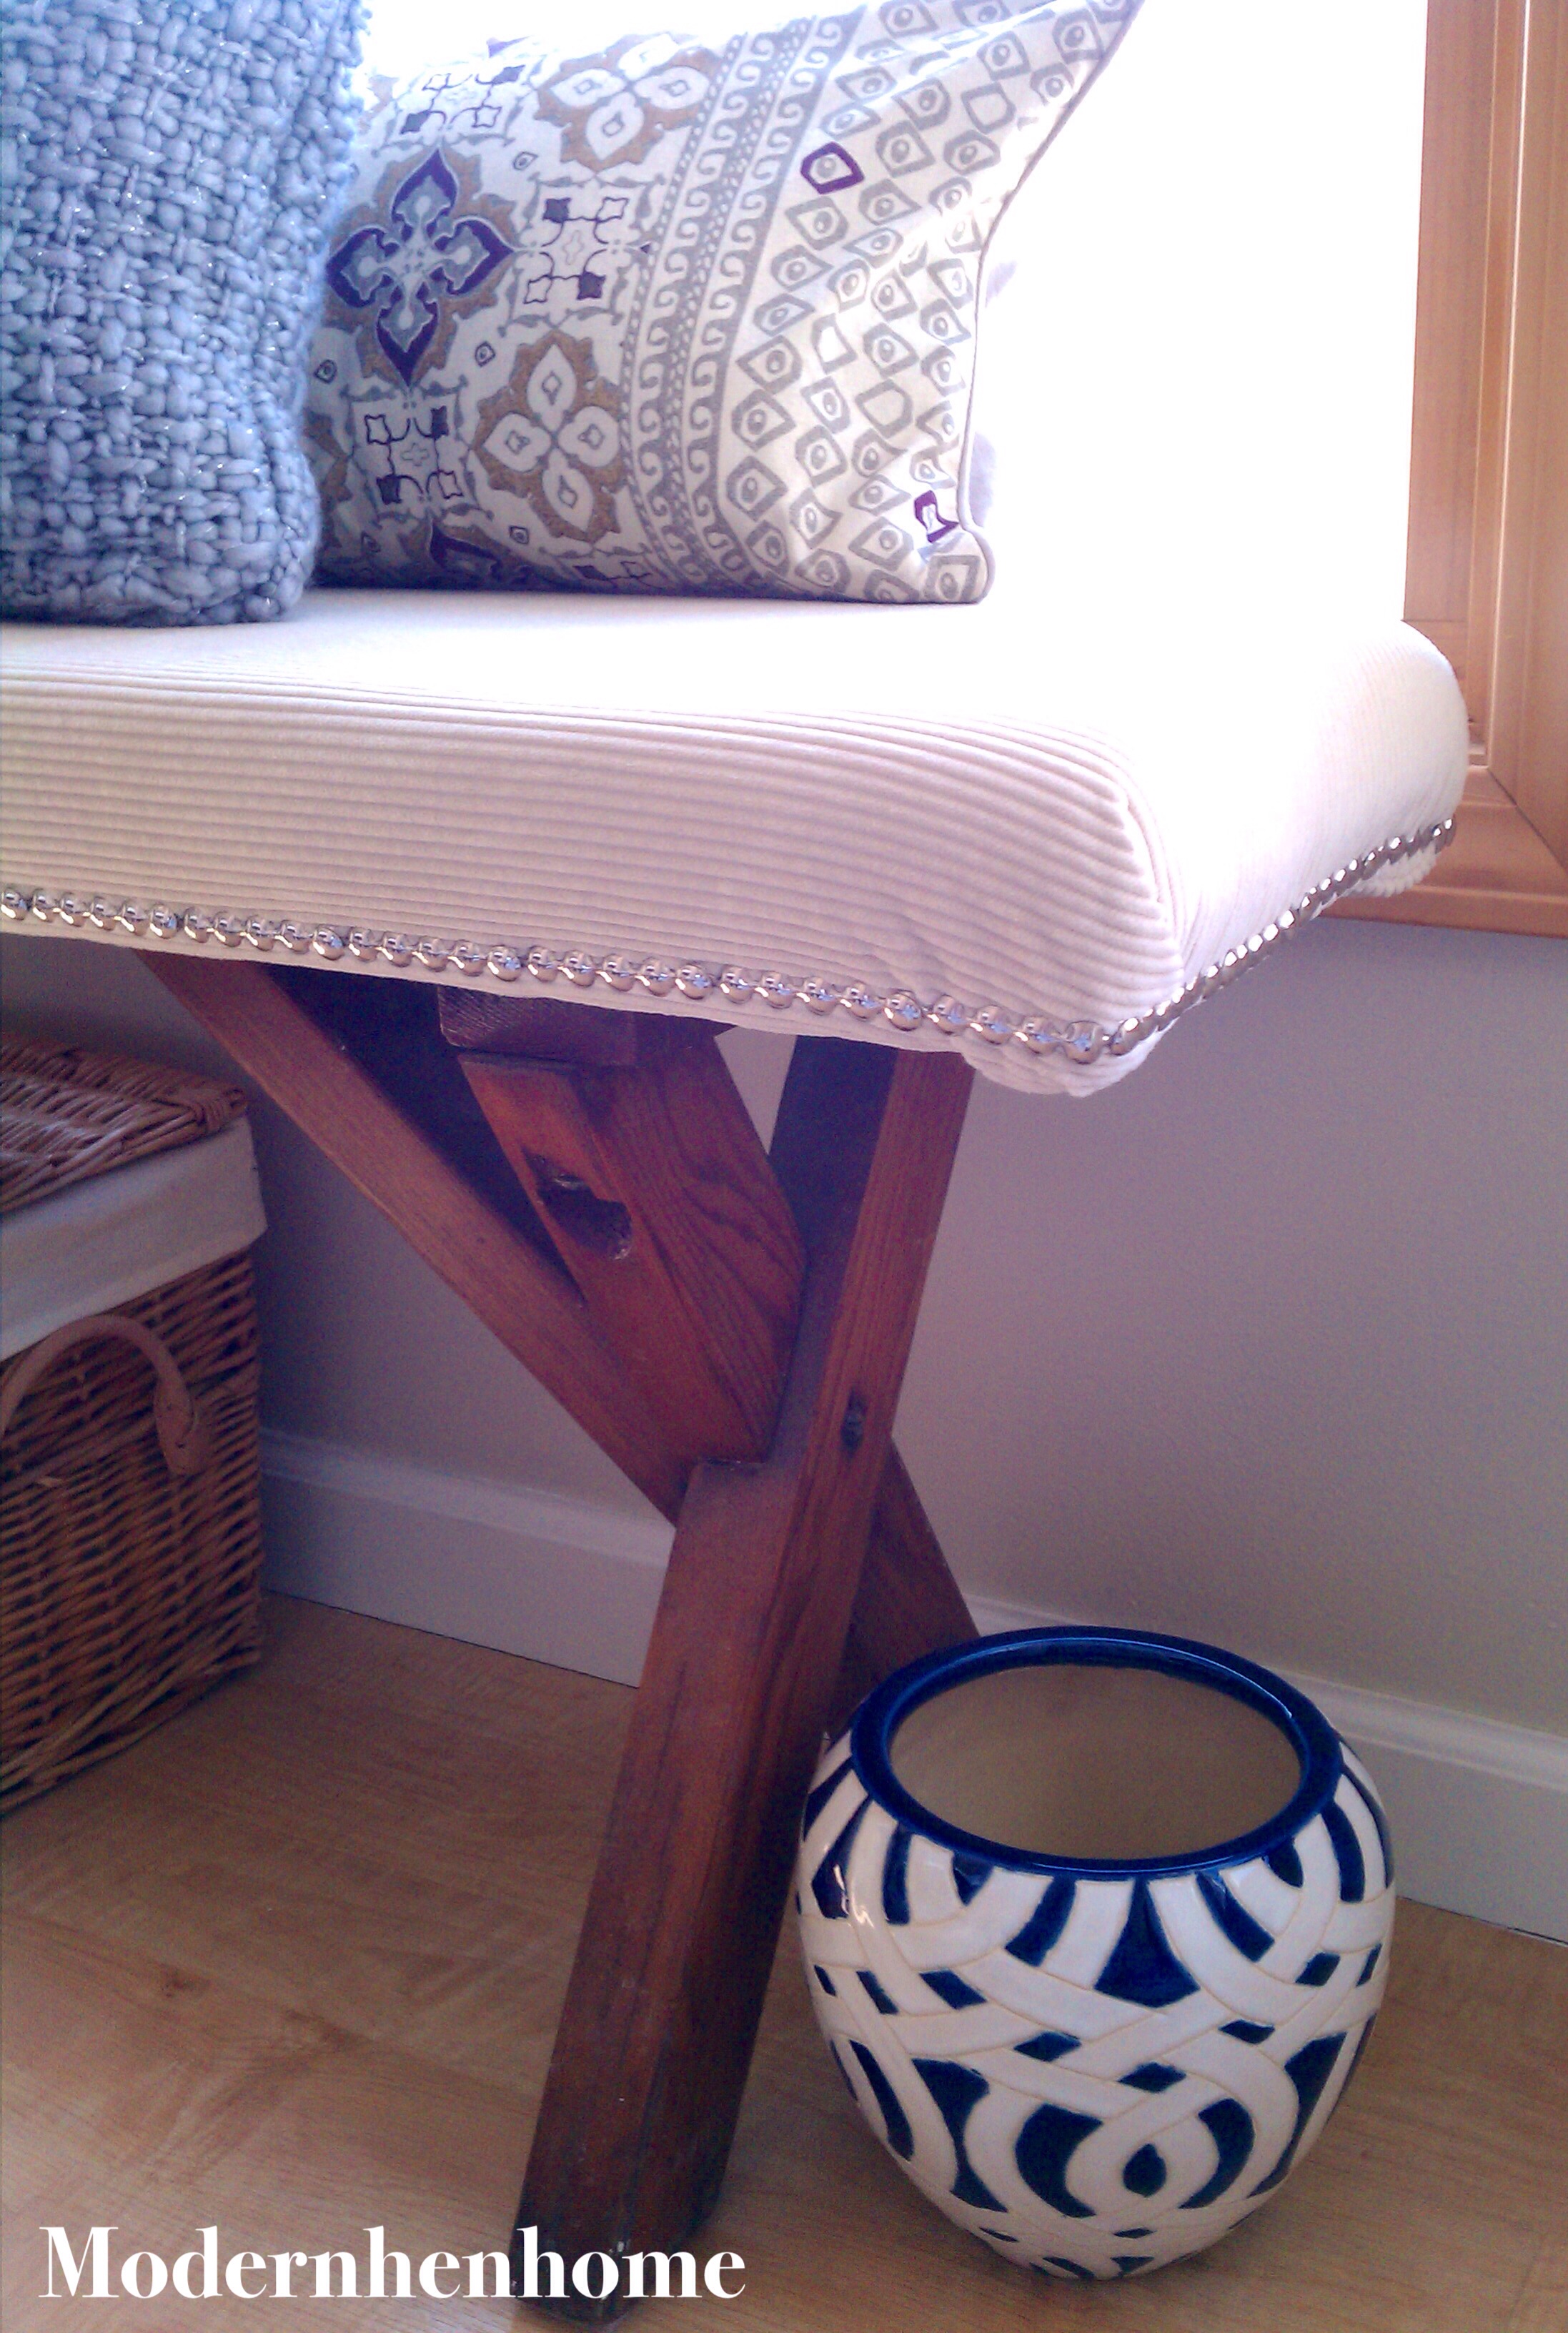

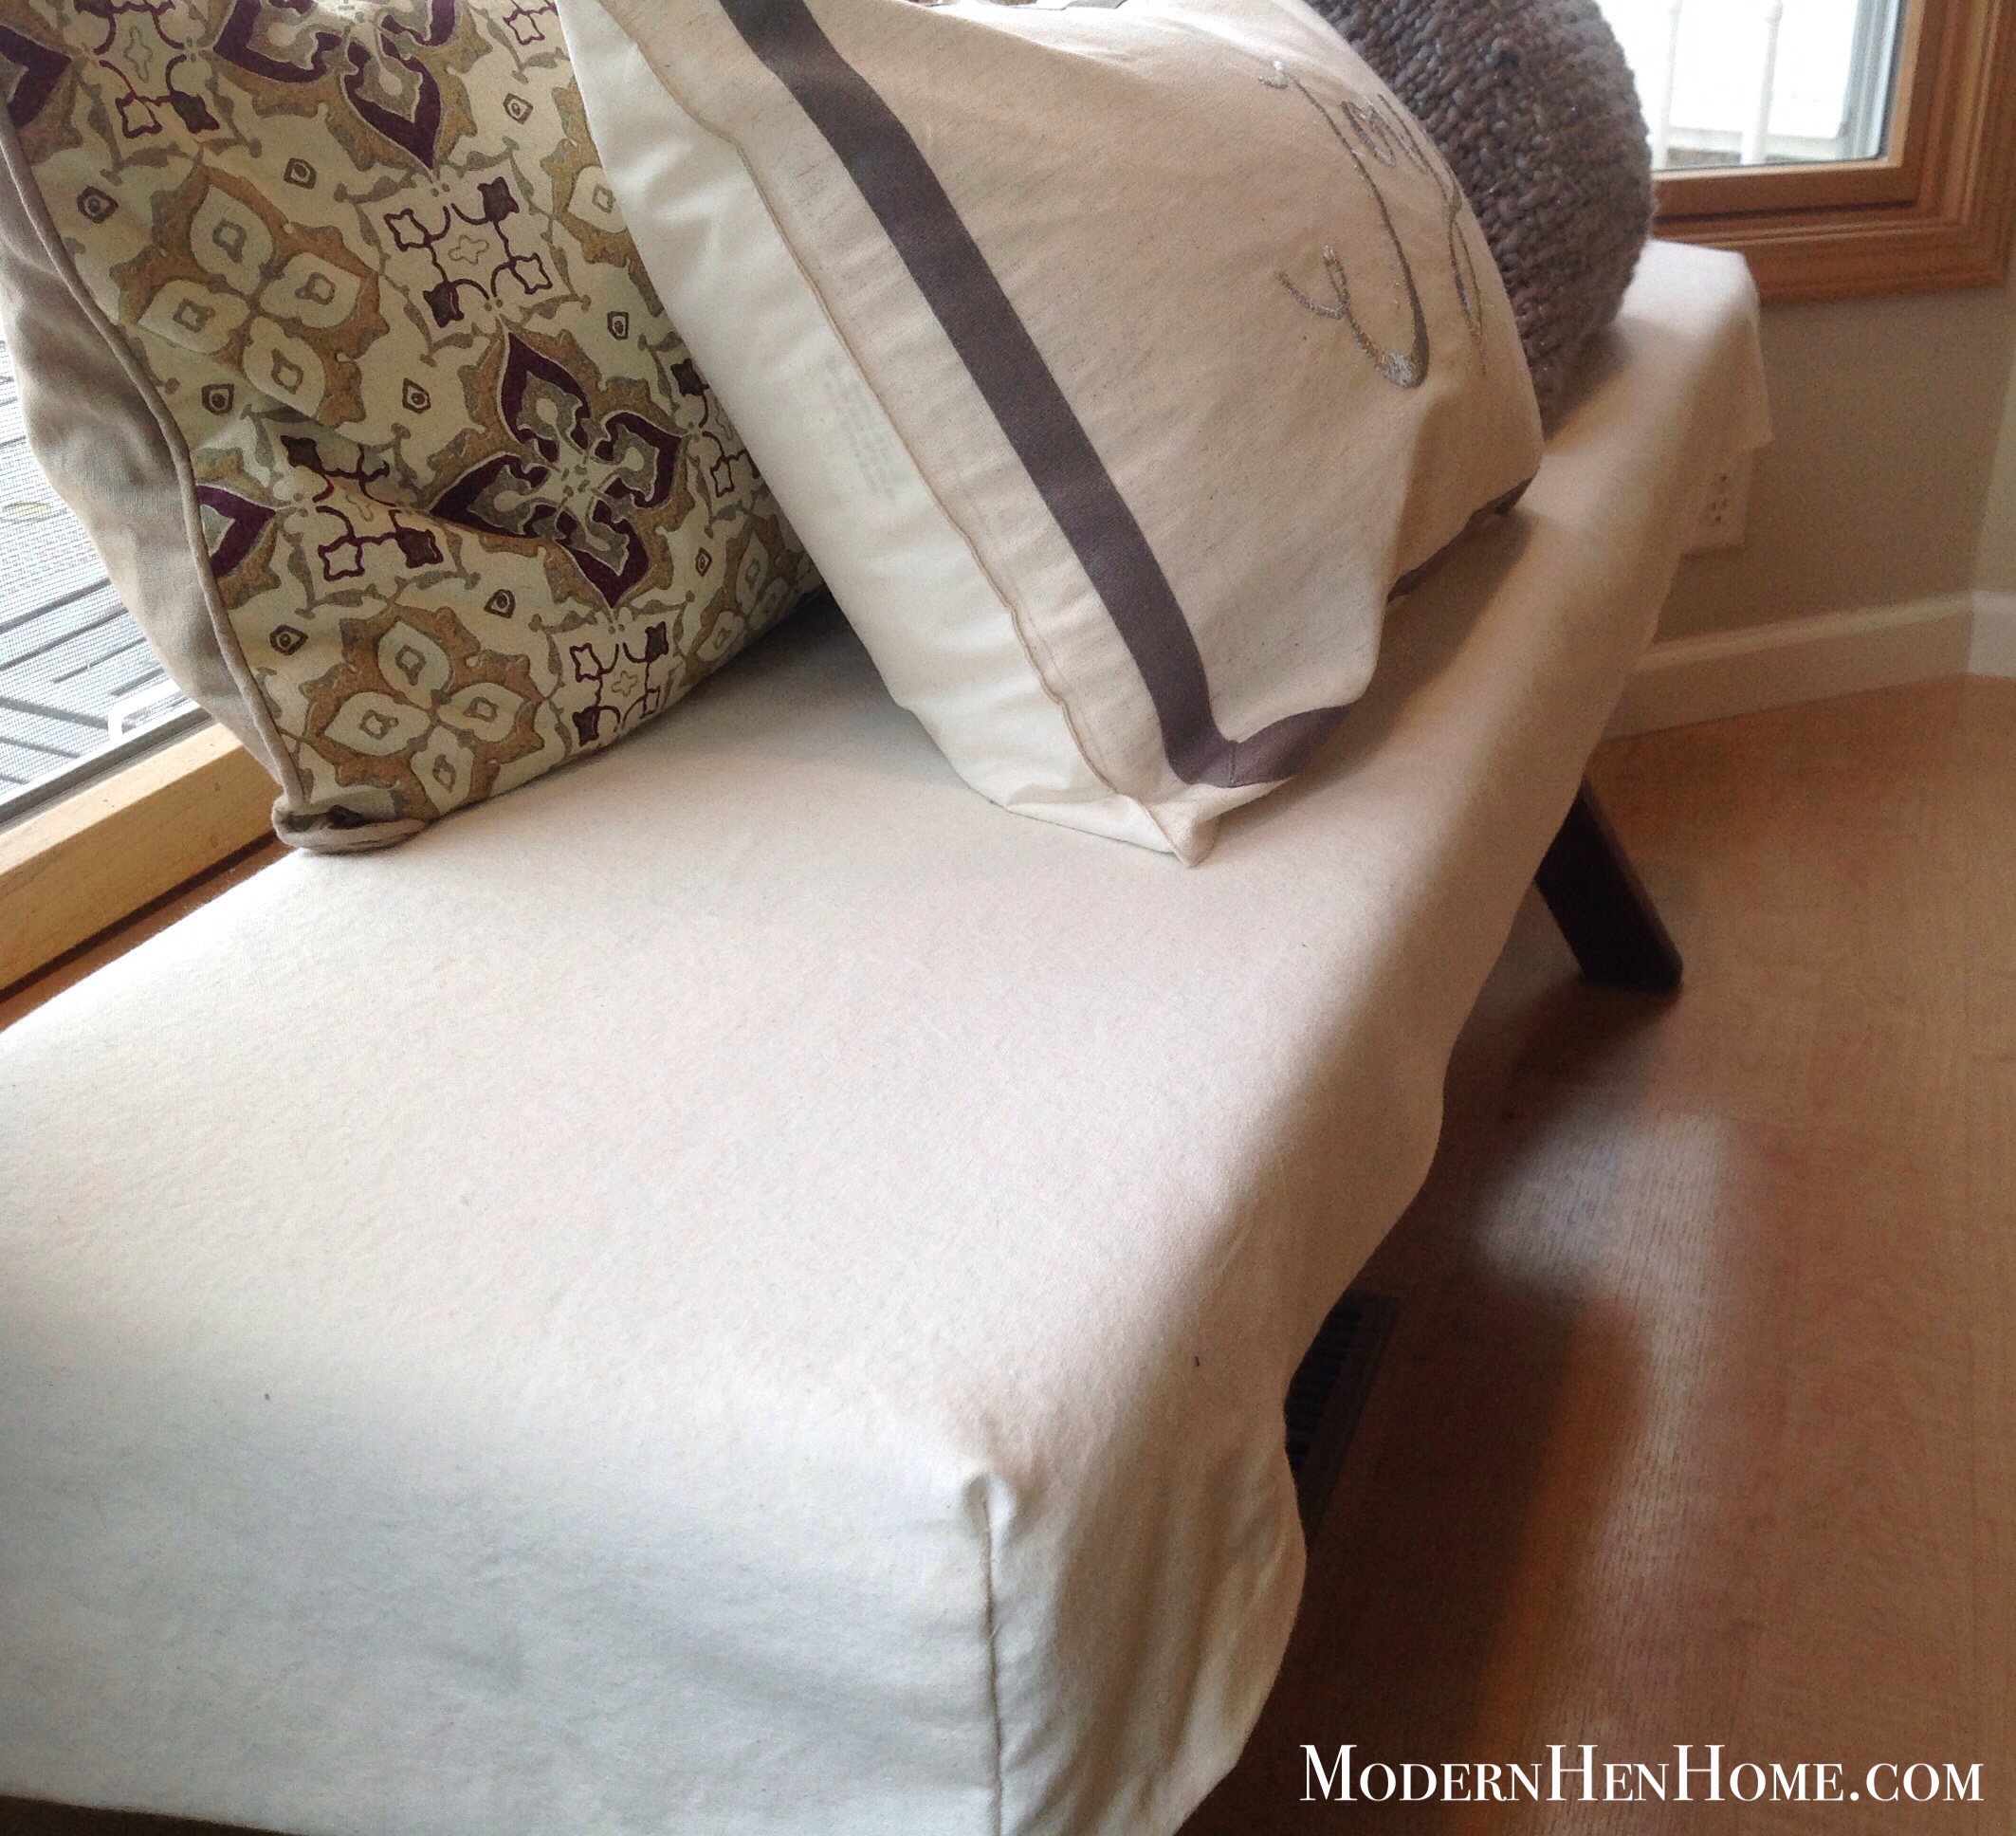
To help protect their new upholstery, I covered both with easy-to-remove and wash slipcovers sewn with cotton-linen fabric leftover from the desk chair project I did here.


Now that I have made several slipcovers, I thought I would share a few useful tips I discovered along the way:
1. Choose an easy-care fabric pre-washed to avoid shrinking the slipcover later. If you would like to bleach it in case of stains, then be sure to pick a light fabric. A solid will be much easier to work with than a pattern. Iron the fabric before starting the project to avoid unevenness.
2. When slip-covering an already upholstered chair or sofa, follow the furniture’s seams to help determine where to cut, sew and hem the fabric. This will save time.
3. Be sure to fit the slipcover by pinning over the furniture inside out first, then remove, turn right-side-out, and carefully pull back over the furniture to check pinned seams. After sewing the seams pull the piece back over the furniture and check again. I found working in small sections easiest. And by double-checking fit after each step I avoided ripping seams out later.
4. Finish the bottom hem of the skirt last. First fold and press the hem with a warm iron for a crisp, straight line before sewing.
5. Research online how others have made slipcovers. Youtube.com offers many videos from professionals and beginners with a variety of techniques you can learn before tackling your own.
Slipcovers were well-worth the effort to sew. Mine aren’t perfect, but I like how they neutralize a mismatched or tired piece of furniture, and help protect it from stains. They are fairly inexpensive and a lot of fun to make, too!


Pingback: Before & After Painted Vintage Side Tables |
Pingback: Sofa Slipcovers Made From Drop Cloths |