Household Tips

5 Good Family Habits For Daily Decluttering

image


Maintaining a clutter-free home isn’t always easy with a family, kids, pets, crazy schedules and all the other attention getting things that go on in our home every day. And seeing stuff in disarray all over countertops, floors and furniture can bring up the stress meter, especially if you prefer your home to be in order. When my home gets messy I feel scatterbrained and unorganized. But when my home is picked up, counters clear, and the sofa covers and cushions straightened, my happy scale moves up a notch. I just like it neat most of the time.

If you are like me, a well-kept living space brings calm to your chaotic day.  And your family may not say it, but they probably like it, and you, that way, too.

Developing these five good habits will keep your home mostly clutter-free:

1. Put things back where you got them. It takes less time to put an item back as soon you are finished with it then it does to backtrack and return it later — along with other things left out. This may take some retraining of yourself and the family, but with persistence new habits will form and become a natural part of everyone’s daily routine. If you see it, get it!

2. Unclutter as you go along. Every morning sift through your house, pick up stray items and put them back where they belong. If you’re in a time crunch, gather stuff in a basket and return items to their spot later. Unclutter as you move through rooms during the day. In the evening run a 30-second clutter-buster race and have the kids put stuff back as fast as they can to beat the clock. They will have fun doing it and you will feel more relaxed knowing your home is in order before heading off to bed.

3. Designate task areas. Set-up workstations to complete daily tasks. Sort mail near the trash bin; arrange a bill paying area with pens, stamps and envelopes; designate a spot for movie and library book returns. Hang small, mesh laundry bags for collecting dirty socks near the dirty clothes hamper and label with each person’s name. Throw the bags in with the wash, then when dry return each to its owner to sort and put away. A good lesson in responsibility and no more stray socks.

4. Spend a little, get a lot of storage. Install closet systems yourself to save money and create storage space. In our house we generally know where to look for gloves and hats when needed, but other items can end up in a variety of places, which can confuse and frustrate everyone. Not a good way to start the day!  Labeling storage compartments for extra things keeps everyone organized and in a good mood.

5. Quietly tuck things away. If your floors are overrun with toys, games and other stuff — quietly put some of them away in a closet.  When the kids ask for an item, bring it back out. Rotate items monthly to keep pile-ups and boredom at bay. They will find new excitement in a toy if they haven’t seen it for a while. Anything they don’t ask for, or play with much, gets donated to a child who will use it. My sister used this trick to keep her home neat as a pin, even with two little boys running around playing all day.

No family wants to live in a museum, and daily decluttering is well worth the extra few minutes it takes to keep your home neat and enjoyable for the whole family to relax in.

image

10 Frugal Ways To Love Your Home Again

image

Even before spring arrives I begin making changes around our house in anticipation of sunnier, warmer weather. It’s also my way of pushing ahead to the next season, even though it may be weeks before it’s officially on the calendar.  I’m ready for change to take place around our home after a long winter.

A couple I know have recently become disenchanted with their home. After decades spent in the same house boredom has set in. They are wondering if it’s time to sell and look for a new house that will bring them excitement and contentment again.

I have felt like that way, and when I do I know it is time to stoke the home fires and spiff things up a bit.  Here are a few frugal-minded, simple changes to consider before making any rash selling or moving decisions:

image

Lighten the feel and get rid of clutter.  Grab a storage box and tackle every room in your home to get rid of unwanted clutter.  Collect out of season items and pieces you’re tired of and donate, repurpose or sell. Clear tables, shelves, counters and floors to see each room with fresh eyes. Decide if less is more in each room. Editing is often the only change needed to freshen a space.

Shop your home. Add character to your home with what you already have. Sort through your decor and visualize it in a new way or place in your home. Consider the season. Layer lighter items in a soft color pallette for spring and summer and strive for an airy, fresh appearance. Bring out heavier, darker items for the cooler months to add warmth.  If you see too many black or brown accessories consider painting them white or cream to bring in light. But don’t take away all the black. Black or dark items ground a room, so be sure to keep at least a few to avoid a stark white room. Add a green houseplant to the living room and/or kitchen.

Rearrange furniture. Move sofas, chairs, tables and area rugs to a new position for an instant change. Group pieces together in a different combination for a whole new feel.


image

Exchange furniture and accessories.  Interchange pieces in an unexpected way. Add a dresser and mirror to your hall or entryway. Trade lamps and throw pillows between the bedroom and living room. Gather framed photos from around the house and corral on one wall as for a gallery collection (I have quite a few on my Pinterest “Gallery” board if you would like inspiration ideas). Create a different purpose for jars, stools, baskets and other accessories.  You can see how I repurposed an old picnic bench into upholstered seating here. Determine if you want to energize or relax a room by how your family spends time there.

image

Borrow art from the library. Yes, from the library! Our local library offers art for rent and other art for purchase. Beautiful paintings and sketches crafted by local artists are usually available to patrons at most libraries.


image

Make a trade. If you have a friend or close relative who enjoys decorating on a budget too, ask if she would like to make a trade.  My sister and I have done this several times and it has worked great!  Another fun idea is to host a swap meet with friends and trade or exchange stuff you no longer want.

Use up old paint.  If you’re like me, you probably have several gallons or cans of old paint sitting in storage. Use them to update a tired piece of furniture, accessory, or to make a wall statement. Mix small batches together to customize a shade you like. Purchase inexpensive samples sold at stores like Lowe’s and blend with leftover paint to make a new hue.


image

Copy designers and catalogs. Browse home decor books written by popular designers. View websites like HOUZZ or Pinterest and peruse home magazines for inspiration. Catalogs from stores like Pottery Barn are free to keep and packed with decorating ideas to emulate.  You don’t have to make a purchase to satisfy your craving for change, instead enjoy what you have in an updated way inspired by the professionals.

image

Create vignettes for big impact.  According to the dictionary: “A vignette is a brief, but powerful scene. A good vignette leaves you wanting more.” This is the perfect explanation for juxtaposing accessories in an interesting and off-beat way. Rotating frames, children’s art, and other collectibles in small doses instead of putting everything out at once lessens clutter and draws the eye to what you really want to showcase in your ensemble or vignette.

image

Contrast color and texture.  Try adding a nubby, knitted throw blanket to the back of a solid fabric sofa or chair. A patterned or grass-woven area rug gives dimension to wood floors. Place a shiny ceramic jar next to a muted clay pot. Mix antiques with modern pieces for playful tension. A room with too much texture can look busy and heavy; too many solids and similar tones can appear blah and boring. Vary your textures through fabrics, throw pillows, curtains, area rugs, accessories, frames, pots and baskets.

image

Because we are human, phases of boredom and discontentment will probably always come and go — even in a brand new house. But by making budget-friendly and smart changes, we can take a fresh look at our homes and see them as a blessing to enjoy once again.

image

Don’t forget to Like this page on Facebook in the upper right corner, or sign up with your email address to receive posts direct to your inbox. Thank you!

The Impressive Black Cast-Iron Skillet — Benefits And How To Care For Yours

image

Black cast-iron cookware has made a popular comeback in recent years and for good reasons. Just like Grandma knew, these heavy-duty black beauties cook foods evenly and crispy.  Most are fairly inexpensive to buy and seem to last forever. And they become easier to cook with over time. Authentic cast-iron pans are not produced with a chemical coating that could flake off into food either.

Cast-iron skillets and pots are also versatile and can be used to cook food on the stovetop, in the oven, on the grill, and over an open fire. Most are made from recycled scrap iron which makes them heavy and almost indestructible.  They can be scraped on and foods can be cut right on their surface. The more they are cooked with, the more non-stick they become for sautéing, grilling, braising, baking, and frying all types of cuisine.

There are many benefits to cast-iron and maintaining their pristine, long-lasting condition is well worth the little extra attention they will need for proper conditioning.

Caring for Cast-Iron Cookware

1. Season the Pan – When seasoned properly a skillet becomes non-stick. Most new pans come pre-seasoned, but will cure even more after a few uses. To season, pour enough oil to glaze the bottom and bring the pan up to a hot temperature on the stove. After about six uses the pan will be ready-to-use as a non-stick surface.

2. Daily Care – Caring for your pan is simple — clean while it’s still warm from cooking. After the pan has cooled a bit, use a scrubby and water to scour over the surface, then rinse. Dry the pan thoroughly to avoid rust and rub a small amount of oil back over the surface to fill in pores before storing. Heating the pan to a high temperature before cooking will kill any possible germs. For sticky, or strong odor foods like fish, use a tiny amount of dish soap to clean. When cooking non-stick foods such as eggs, grilled cheese, and pancakes, wipe the pan out with a paper towel the same way you would a non-stick grill. To scour off stuck-on foods pour kosher salt in the pan and rub with a scrubby.

3. Good to Know – Always pre-heat the pan before adding food. The handle will be hot when in use so buy a heat-proof handle cover, or keep an oven mitt nearby. Never cook acidic foods like tomatoes in the pan and don’t submerge or soak the pan in cold water for long periods of time. Avoid leaving food in your pan overnight.  And never put it in the dishwasher.

And most importantly… If you have been blessed with an heirloom black cast-iron skillet, be sure to use it. They can also be purchased at nearly any store, or online.  Be sure to check with your local hardware or thrift store, too.

Lisa

Spring Cleaning: How to Deep Clean Your Kitchen & Recipe for Southern Sweet Iced Tea

How to clean a kitchen

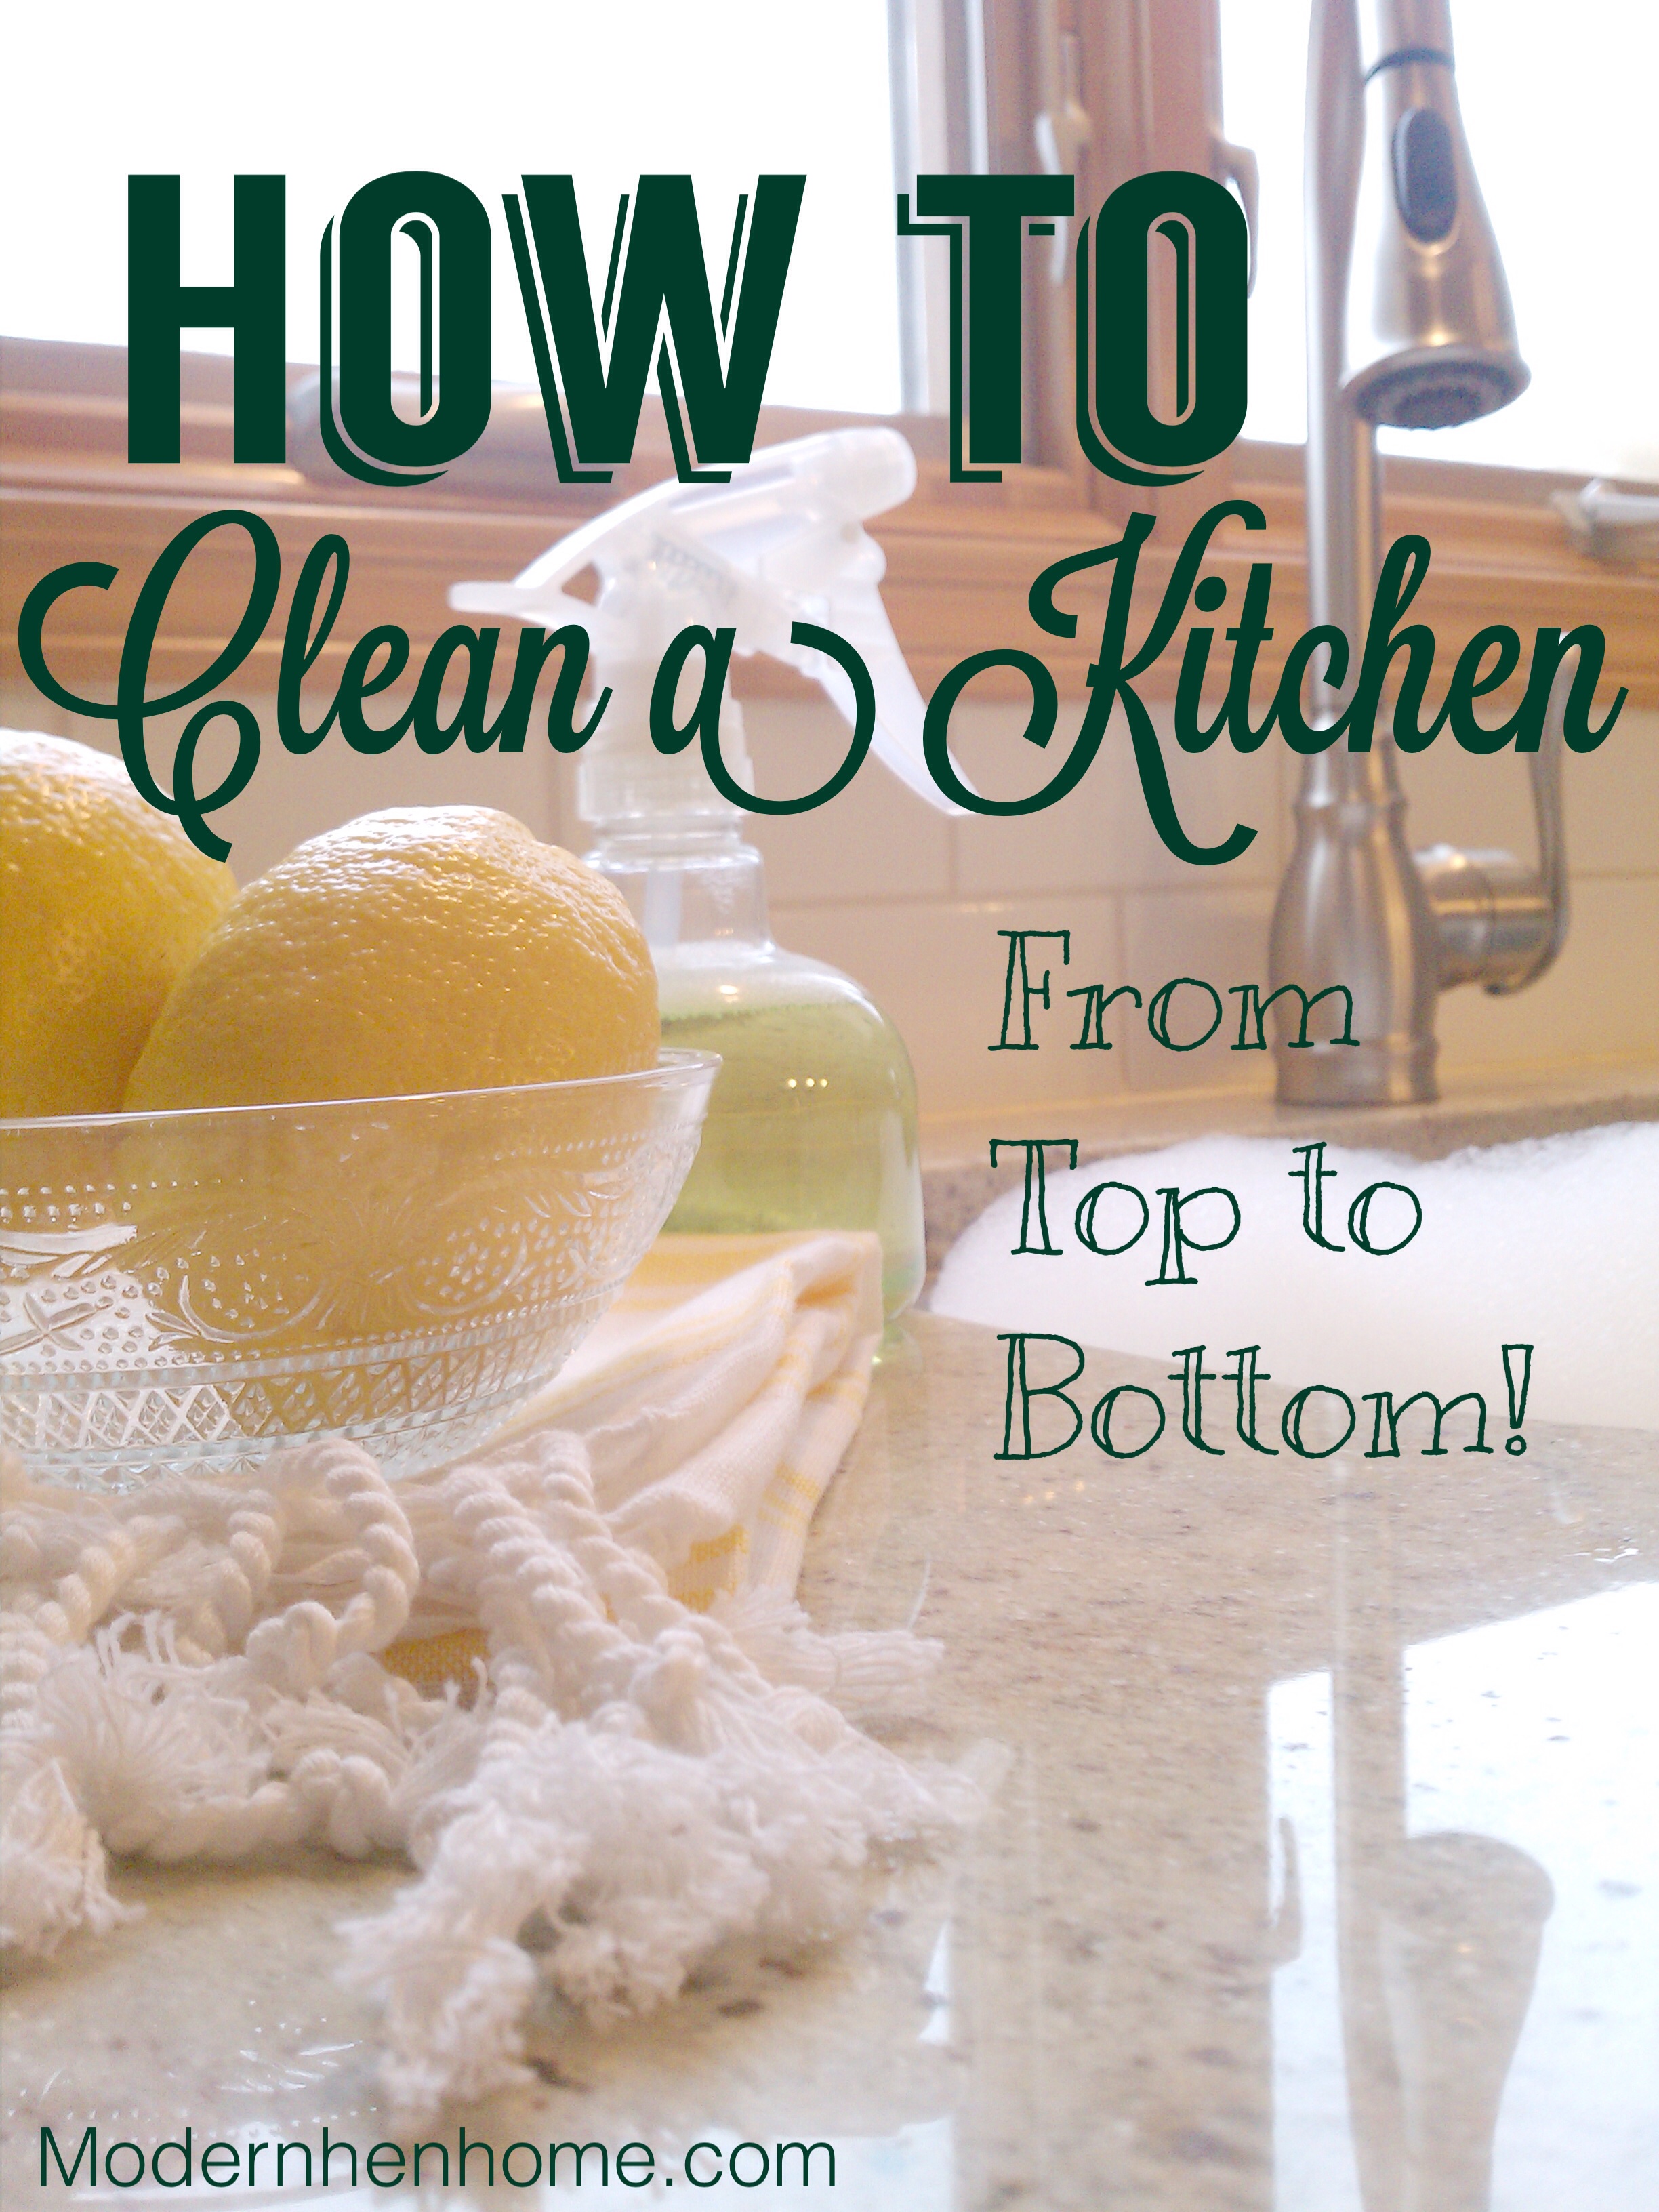
 Big Spring Deep Clean for the Kitchen

Have you heard the saying, A clean home is a happy home? Sounds corny doesn’t it?  But, if you think about it, it makes perfect sense. Who doesn’t appreciate coming home to a clean, orderly, neat house. It is satisfying to know your home is in order and looking its best.

Spring is the best time to clean and de-clutter the most used rooms in your house. The temperature outside is just right, and freshening the nest adds to the excitement of a new season. It’s also the best time to tackle the nitty-gritty, down and dirty cleaning you’ve probably been putting off  — like wiping fixtures and light bulbs, vacuuming behind the refrigerator and stove — getting the whole house squeaky clean!

I have gathered a list of cleaning to-dos for the kitchen. Don’t stress about trying to get the whole job finished in one day.  Break it up into smaller jobs so you don’t get overwhelmed. Try to complete one or two tasks during the week or during downtime, but don’t put off the the big spring deep clean for the kitchen too long, or you may miss the window of opportunity to finish it before the invitations for weddings, graduation parties and barbecues come in.

Start at the top of a room and work your way down. Here is a flexible list of cleaning supplies you will need:

• all-purpose spray cleaner, vinegar (optional), mild de-greaser, baking soda, clean rags and lint-free rags, old newspaper, cleaning bucket, rubber gloves, Magic Eraser pad, broom/electric sweeper, mop, duster, vacuum,  hand-vacuum,  touch-up paint, small sponge brushes (optional).

How to Clean the Ceilings & Walls

Wear a baseball cap to keep the falling particles out of your hair and eyes.

• Brush down cobwebs and vacuum up residue to keep allergens and dust mites at bay.

• Mist rag with water and wipe down ceilings and walls. Use all-purpose spray cleaner to remove smoke, grease or any other film on the surface.

• Touch-up scuff marks with paint. I keep a small amount of matching paint for each of my rooms in an air-tight, plastic bottle, labeled with room and color. Shake, then squeeze a small amount of paint on a paper plate and cover scuff mark. Discard plate and sponge brush. Quick and easy!

How to Clean Fan lights, Bulbs and Fixtures – If you are like me, it has been awhile since you last cleaned them.

• Unplug or turn off electricity for safety.

• Spritz dust rag with cleaner, never spray directly on a fixture or bulb, wipe clean.

• Fan blades – Use a pillowcase to lay over each ceiling fan blade, pull dust off and vacuum debris.

How to Clean Kitchen Cabinets & Drawers

• Fill a water bucket half way with mild cleaning detergent and warm water.

• Wipe each door of upper and lower cabinets top to bottom. Rinse with clean rag and water, then dry.

• Cabinets near stove may be extra grimey. Use mild-degreaser (I like Simple Green for grease removal and as an all-purpose cleaner) to lift grease.  Clean once a week to avoid tough build-up.

• De-clutter and organize cabinets and drawers.

• Tighten loose handles and knobs.

• Glass and mirrored doors — spray and wipe down with scrunched up newspaper until dry. Check glass pane for looseness and run a bead of clear rubber silicone along the interior corners where glass sits in place within the door.

How to Clean the Stove & Cooking Area

• Remove metal burner trays and vent filters, place in dishwasher for a deep clean to release gunk.

• Spray vent hood, along with top and front of stove, wipe clean.

• Pull the stove away from the wall to clean and vacuum.

• Clean outside and inside door of oven and walls.

• Consider the self-cleaning option if it’s available. Read manufacturers instructions.

How to Clean the Microwave

• Soak dish rag in plain water and partially squeeze dry. Place in microwave with 1/2 a lemon, turn on 1 minute to heat, steam and dissolve grime and odors.

• Allow rag and lemon to cool a few minutes, they will be hot! Use rubber gloves to wipe clean.

How to Clean the Refrigerator

• Pull refrigerator away from the wall and vacuum behind and under to avoid possible electrical fire. (Our last refrigerator had an electrical fire so I know the danger firsthand. Thankfully we were in the kitchen when it sparked!)

• Remove old containers and expired foods and condiments.

• Empty produce and meat drawers and remove them to spray out debris in the sink. Wipe down the interiors and dry.

• Spray and wipe exterior top and sides with mild cleanser.

How to Clean Stainless Steel 

• Use special polishing cream made to remove prints and spots.

• Do not over-apply the cleaner which could make the surface greasy.

• Using dry side of a lint-free rag, buff and shine.

• Never use abrasive cleaners on stainless steel.

How to Clean the Dishwasher

• Clean exterior panels the same as refrigerator. Wipe down interior door and along rubber sealer. Check for any build-up inside machine and remove.

• Follow stainless steel cleaning steps if needed.

I use Cascade Complete packets in our machine, and find I no longer need a deodorizing tablet or a rinse agent. Dishes sparkle and no more soap film!

How to Clean Countertops & Sink

• Spray with all-purpose cleaner and wipe down.

• Remove clutter, put away small appliances and unnecessary items.

• Scour sink with all-purpose cleaner and pad, or with baking soda and water to keep the drain fresh.

How to Care for Stone Counters

• Consider sealing, or resealing them every 6-12 months to ensure they remain stain-free. It is usually a simple task of wiping liquid sealer over counters, letting sealer penetrate for a few minutes, wiping dry.

How to Clean & Organize the Food Pantry

• Purge and organize boxes, cans, bags, storage containers.

• Spray and wipe down shelves, walls, ceiling, floor.

• Consider an efficient food storing system that takes up less space.

• Place a basket on the floor for paper towels, dog treat bags, extra items, paper towels, etc.

How to Clean Hard Surface Floors & Interior Doors

 Rugs

• Take outdoors and shake off dust. (Indoor/Outdoor rugs with pad work well at entryways, stove and sink areas.)

• Spray with mild cleanser, rinse with a hose, air-dry in the sun. Do the same for Rug Pads, or if they are fairly small, run through the laundry washer without detergent.

Baseboards, Doors & Trim –

• Use dust broom to quickly wipe down baseboards or spray and wipe clean if dirty.

• Do the same for interior doors and trim.

• Touch-up scuffs with paint.

Laminate & Wood Floors –

• Use soft-bristle broom or electric sweeper that will not scratch the finish. Sweep well under stove, refrigerator and cabinets. Vacuum pile of debris to suck up dust mites and allergens.

Mopping

• Use a sponge mop and a mix of 1/2 cup white distilled vinegar and 1 gallon of warm water to clean laminate and wood floors. Or, use floor cleaner suggested by flooring manufacturer. I have found some floor cleaners leave a film on laminate flooring so I prefer vinegar/water solution, or simple warm water for quick touch-ups on my laminate floors. Follow manufacturers instructions for cleaning hardwoods.

Tile floors

• Clean tile and grout with solution especially made for them, or mix baking soda and water for a homemade cleaner: Pour 1/2 cup baking soda into 2 gallons water and mix very well. Apply the liquid with string or sponge mop.

• For grout, use the same baking soda and water mixture. Scour extra dirty grout with scrub pad or toothbrush.

Extra Things to Do in the Kitchen 

• Scour out the trash can; organize under the sink cabinet; clean the pet feeding area, wipe down display items such as bowls, cookbooks, small appliances, etc.

It’s a big job to deep clean the kitchen, but well worth the effort and benefits that follow. Don’t get overwhelmed, complete each task as you can, then enjoy your accomplishments!

To quench your thirst while cleaning, make this real Southern Sweet Iced Tea to have on-hand. Baking soda… yes baking soda… is key to it’s smooth flavor. Try it with a little less sugar then the recipe calls for, unless you prefer it very sweet. Enjoy!

Have a blessed weekend!

image


%d bloggers like this: