Monthly Archives: May 2014

Yum-Yum! Pan-Fried Egg Rolls


image

Delicious pan-fried egg rolls without the fuss and calories of deep frying. Just a few simple ingredients keep these Asian-style rolls easy to prepare. And the sweet and spicy dipping sauce will make your taste buds tingle!  Egg roll wrappers are usually found in your supermarket’s refrigerated or health food section. Chili sauce is available in the Asian foods section. If your grocery store is not selling fresh bean sprouts, substitute with canned but drain well.

Pan-Fried Egg Rolls


1/4 cup sweet chili sauce, divided
12 ounces fresh bean sprouts, chopped or 14 oz can bean sprouts, drained well
12 (8-inch) egg roll wrappers
12 cooked jumbo shrimp, peeled, deveined, and split in half lengthwise (about 13 oz)
6 tbsp chopped fresh cilantro
3 green onions, finely chopped
1/4 cup peanut or olive oil
1 tbsp rice vinegar
2 tsp less-sodium soy sauce
1/4 tsp grated peeled fresh ginger
Squeeze of lime citrus juice, about 1 tsp

Combine 3 tbsp chili sauce and bean sprouts, tossing well to coat.

Place 1 egg roll wrapper on surface with one corner pointing to you. Spoon 2 heaping tbsp bean sprout mixture into center of wrapper; top with 2 shrimp halves and 1-1/2 tsp cilantro and 1 tsp green onions. Fold lower corner of wrapper over filling; fold in side corners. Moisten top corner of wrapper with water to seal. Place egg roll seam side down on baking sheet and repeat until all rolls are made.

Heat 2 tbsp oil in a large nonstick skillet over medium-high heat. Add 6 egg rolls, seam side down; cook 7 minutes or until golden brown, turning occasionally. Place on wire rack or plate with paper towel and repeat next 6 rolls.

Combine remaining chili sauce, vinegar, soy sauce, lime juice, ginger and green onions. Serve sauce with egg rolls.

It’s been a rainy week here in Michigan. I’ve practically hosed both sons down after track practice each evening to get the mud off their backs, legs and shoes.  But this is also the kind of weather that gives me a good excuse to stay in and try new recipes, too!

image

8 Simple Steps: How To Hand-Sew A Slipcover

image

This imperfect slipcover works perfectly!

Last week I shared with you this slightly worn writing desk chair I picked up at a church rummage sale awhile back. You can read more about it here.  It’s an occasional chair primarily used by me and I wanted a slipcover for it.  My sewing machine needed repair, so I hand-sewed one. By no means is this a professional instruction sheet, but these how-to tips should be helpful to you.

Pick the right fabric. Consider color, fabric weight, durability, care, and cost. Lines and patterns are more difficult to keep straight. I used a curtain made from cotton linen.  A solid, lightweight cotton fabric, pre-washed to prevent shrinkage may work best. Iron to remove wrinkles.

Plan where your seams will meet. Follow the chair’s upholstery seams to guide your decisions for cutting and pinning. I made the back of the chair first, then attached the seat fabric, and the skirt last.

Measure twice, cut once. Whoever came up with that advice is a genius! Begin by measuring the individual section you are working on.  Since I had plenty of fabric, and it was my first chair cover, I allowed for 2 extra inches on all sides in case of error.

image

Always pin inside out.  Turn the fabric with the underside facing up and drape over the backrest. Measure from the seat, up the front and down the backside, allowing for extra fabric to hang past the bottom back for your skirt, plus a 1″ to 2″ hem, and at least 1″ on the other three sides for pinning before marking and cutting. After cutting, drape the cut piece over the back again (underside up) and pin both sides to make seams. Keep the fabric slightly loose for easy removal, not taut. (If your fabric has a pattern or lines, you will need to turn the piece right-side out after pinning to check for straightness, or save yourself the trouble and use a solid.)

Stitch from the top down. With the fabric on the back of the chair (inside out and pinned) sew a straight stitch from the top down, removing pins as you stitch. Remove the fabric and turn inside out. It should resemble a “pillowcase”. Put the case back on the chair to check for fit and tightness of stitching. Backrest cover is finished. Remove the cover, turn inside out and put it back on the chair to add the seat fabric.

image

Add the seat to the back. Measure and cut the next piece, using the chairs seams to determine where to cut. Leave at least 2 extra inches on all sides as the extra fabric may be needed to allow for sitting. If the seat is too tight, it could tear when sat on. This extra fabric will come in handy as you pin the seat to the “pillowcase”, and later to the skirt. As you pin decide how tight you want the seat. Keep in mind, slipcovers are generally fitted slightly loose.  Stitch the seat fabric to the bottom of the backrest fabric.

image

Determine the length of skirt. Adjust the back and seat fabric onto the chair. Tuck in fabric where needed around the seat and allow for a little extra fabric for sitting without tear. Be sure to add the length to match the back of the chair, plus 1 or 2 inches for hemming.  Measure, cut and pin the skirt to the seat and back section fabrics, and stitch.

image

Finish with hem. Turn the slipcover right side out and place on the chair. Check for errors, tuck in the seat to the back and measure the length of the skirt all the way around and pin the hem under every inch or two. Remove the cover, press the hem down with a warm iron to give it a clean edge.  Once pressed, sew or fabric glue the hem and press again.  I used fabric glue to avoid seeing the thread around the skirt as it’s more difficult to hide here. Ironing is key to a nice looking hem and slipcover. Your slipcover is finished!

image

This slipcover is imperfectly perfect. It serves its purpose to protect and change the look of the chair, is easy to wash or bleach if necessary, and is an inexpensive solution to replacing a piece of furniture. The stitches look just as they did the day I made it. If they do come loose, I can re-stitch by hand or machine. It was a lot of fun and fairly easy to make.

If you decide to make a slipcover, I would love to see it! Please be sure to Like this page on Facebook for more easy DIY projects & crafts, simple recipes and daily encouragement.

image


Crunchy Oriental Coleslaw with Poppyseed Dressing


image

Hello friends! We had beautiful weekend here in Michigan, made even better by time spent with my mother, mother-in-law and sisters to celebrate the Mother’s Day holiday. Everyone has been so busy with their own families and schedules that it has become a challenge to make time for one another. Do you find that to be true with your family, too?

Last week I gave you a recipe for what might be the best turkey burger ever!  You can view The Ultimate Turkey Burger here. Coleslaw is a wonderful side dish to go along with it. I sampled one similar to this a few years ago at an outdoor barbecue, but decided to add ramen noodles and toasted almonds for more crunch. It’s super tasty!

Crunchy Oriental Coleslaw with Poppyseed Dressing


14 oz bag Dole Classic Coleslaw
1 bunch green onion, finely chopped (or to taste)
1 small bag of slivered almonds (1/2 cup)
4 tablespoons sunflower seeds
1 package of Ramen Noodles
2 tablespoons of oil

Dressing
3/4 cup Marzetti Original Slaw Dressing
3/4 cup Marzetti Poppyseed Dressing

Smash ramen noodles in plastic baggie with the back of your hand/palm (discard seasoning pack).

In a small pan slightly brown the noodles in oil then add slivered almonds. Stay with the pan moving the noodles and almonds around so they do not burn. You want the almonds lightly toasted. (The almonds will brown quicker than the noodles.)

Combine the slaw, green onions and sunflower seeds in a large bowl and mix. Add dressings and mix well. (Leave the ramens/almonds out until just before serving so they remain crunchy.) Refrigerate.

Stretch leftover slaw to your next meal by topping burgers and deli sandwiches. Add more toasted noodles and almonds back in for crunch.

I have enjoyed your comments on the blog and Facebook page this past week. Please keep sharing. Thank you!

image


The Ultimate Turkey Burger with Caramelized Onions & Creamy Greek Sauce

image

Several years ago switching from ground beef to turkey in recipes had become really popular, and of course I jumped on the trend and tried ground turkey in most of my recipes.  But the taste and texture disappointed.  It simply didn’t compare to the hearty beef flavor my family enjoyed and most people I knew didn’t care for it either. Needless to say, that trend was set aside.

Not one to give in though, I went back for round two recently and decided to spice things up a bit in this Ultimate Turkey Burger.  It’s loaded with flavor and juicy good with caramelized onions and Greek sauce. A liberal amount of Cavender’s Greek Seasoning gives the turkey burger a wallop of flavor. Even the beef eaters around here love them and they’re a tough bunch to crack!

The Ultimate Turkey Burgers


1 package (20.8 oz) ground turkey
1 medium egg
1 Tbsp Cavender’s All-Purpose Greek Seasoning
1/4 tsp red pepper seeds
1/4 tsp garlic powder
1/4 tsp onion powder
1-1/2 tsp worcestershire sauce
1/8 tsp Kosher salt
4 whole-grain buns
4 romaine lettuce leaves
Caramelized Onions (recipe below)
Greek Tzatziki Sauce (recipe below)

In a large bowl, combine turkey, egg and next six ingredients. Mix by hand until well-combined and firm enough to make 4 equal-size patties. Flatten and grill each side until cooked through, or when cooking thermometer reads 150-160 degrees.* Place burger on bun, top with caramelized onions and creamy Greek sauce.

*Try grilling burgers in a black cast-iron skillet, or in a large pan on top of the stove for juiciest burgers.

Caramelized Onions
1 tbsp unsalted butter
1 large onion, thinly sliced
Melt butter in large skillet over medium-high heat. Add onion; cook for 15 minutes or until well-browned.

Greek Tzatziki Cucumber Sauce
1/2 cup plain yogurt
1/4 cup plus 2 tbsp sour cream
1 tbsp fresh lime juice
1/2 cucumber cut in half, center seeds scooped out
1/4 tsp Cavender’s All-Purpose Greek Seasoning
1/4 tsp garlic powder or 1 clove garlic, minced
1/4 tsp cumin
1 tbsp chopped parsley (optional)
salt and pepper

Stir yogurt, sour cream and lime juice in a bowl until blended. Add cucumber seeds, Greek seasoning, garlic, cumin, parsley and mix; season with salt and pepper. Serve at room temperature, or cover and chill. Use as a dip for kebabs, grilled meats, gyros, fish, vegetables and pita bread.

image

Fantastic Flea Market Find — Writing Desk Chair


image

Once a week I hope to share a flea-market find with you.  The hunt through flea-markets, rummage and garage sales, thrift stores and consignment shops is so much fun! Do you relish a really good thrift find, too?

image

I enjoy decorating by mixing older with newer pieces together, and it’s hard to beat the prices of most second-hand furniture.

image

The chair was at a church rummage sale I stumbled upon one morning while driving down an old dirt road. Of course I snapped it up. Actually, I think I flopped down on it to claim it before anyone else did. Not that there was a line-up or anything. It figured I didn’t have a dime on me either, so I asked this sweet lady to hold it until I returned from the bank. I think I scribbled my name in large letters on a piece of paper and asked her to tape it to the top.

image

It’s not an antique, but it caught my eye. The olive green, velvet upholstery shows some wear, and that doesn’t bother me. The backrest curves forward with contrasting crewel and trim. I like stuff with a history, even if I’ll never know what that story is.

image


The back legs curve and give it charm.

image

It’s being used at small writing desk in a corner of our living room where the bills get paid, mail sorted and messages written sometimes. I thought about painting the legs off-white like I’ve seen designers do in DIY magazines to make old furniture look more modern, but changed my mind.

image

The green has worked well in the living room until this past winter when I decided to change the wall color from cream to light gray.  One Friday night the mood struck and I whipped up a linen slipcover to go over it. (That’s what happens when it’s too cold to go anywhere.)

I plan to share with you how I made the slipcover right over the chair when my sewing machine was down.  Sometimes a girl’s gotta do what a girl’s gotta do to get the job done! Hope to post about that soon.

How about you…. have you found a great second-hand chair that you just had to have?

image


Fresh Raspberry-Peach Fruit Jam

image

The other day I posted a delicious recipe for Strawberry-Orange Jam in this post, which happens to be incredible! Here is the same recipe, but with raspberries and peaches. Both call for the addition of mouthwatering lemon citrus and fresh ginger.  Nothing to be intimidated about here as it’s so easy to make and out-of-this-world good!

Continue reading

10 Frugal Ways To Love Your Home Again

image

Even before spring arrives I begin making changes around our house in anticipation of sunnier, warmer weather. It’s also my way of pushing ahead to the next season, even though it may be weeks before it’s officially on the calendar.  I’m ready for change to take place around our home after a long winter.

A couple I know have recently become disenchanted with their home. After decades spent in the same house boredom has set in. They are wondering if it’s time to sell and look for a new house that will bring them excitement and contentment again.

I have felt like that way, and when I do I know it is time to stoke the home fires and spiff things up a bit.  Here are a few frugal-minded, simple changes to consider before making any rash selling or moving decisions:

image

Lighten the feel and get rid of clutter.  Grab a storage box and tackle every room in your home to get rid of unwanted clutter.  Collect out of season items and pieces you’re tired of and donate, repurpose or sell. Clear tables, shelves, counters and floors to see each room with fresh eyes. Decide if less is more in each room. Editing is often the only change needed to freshen a space.

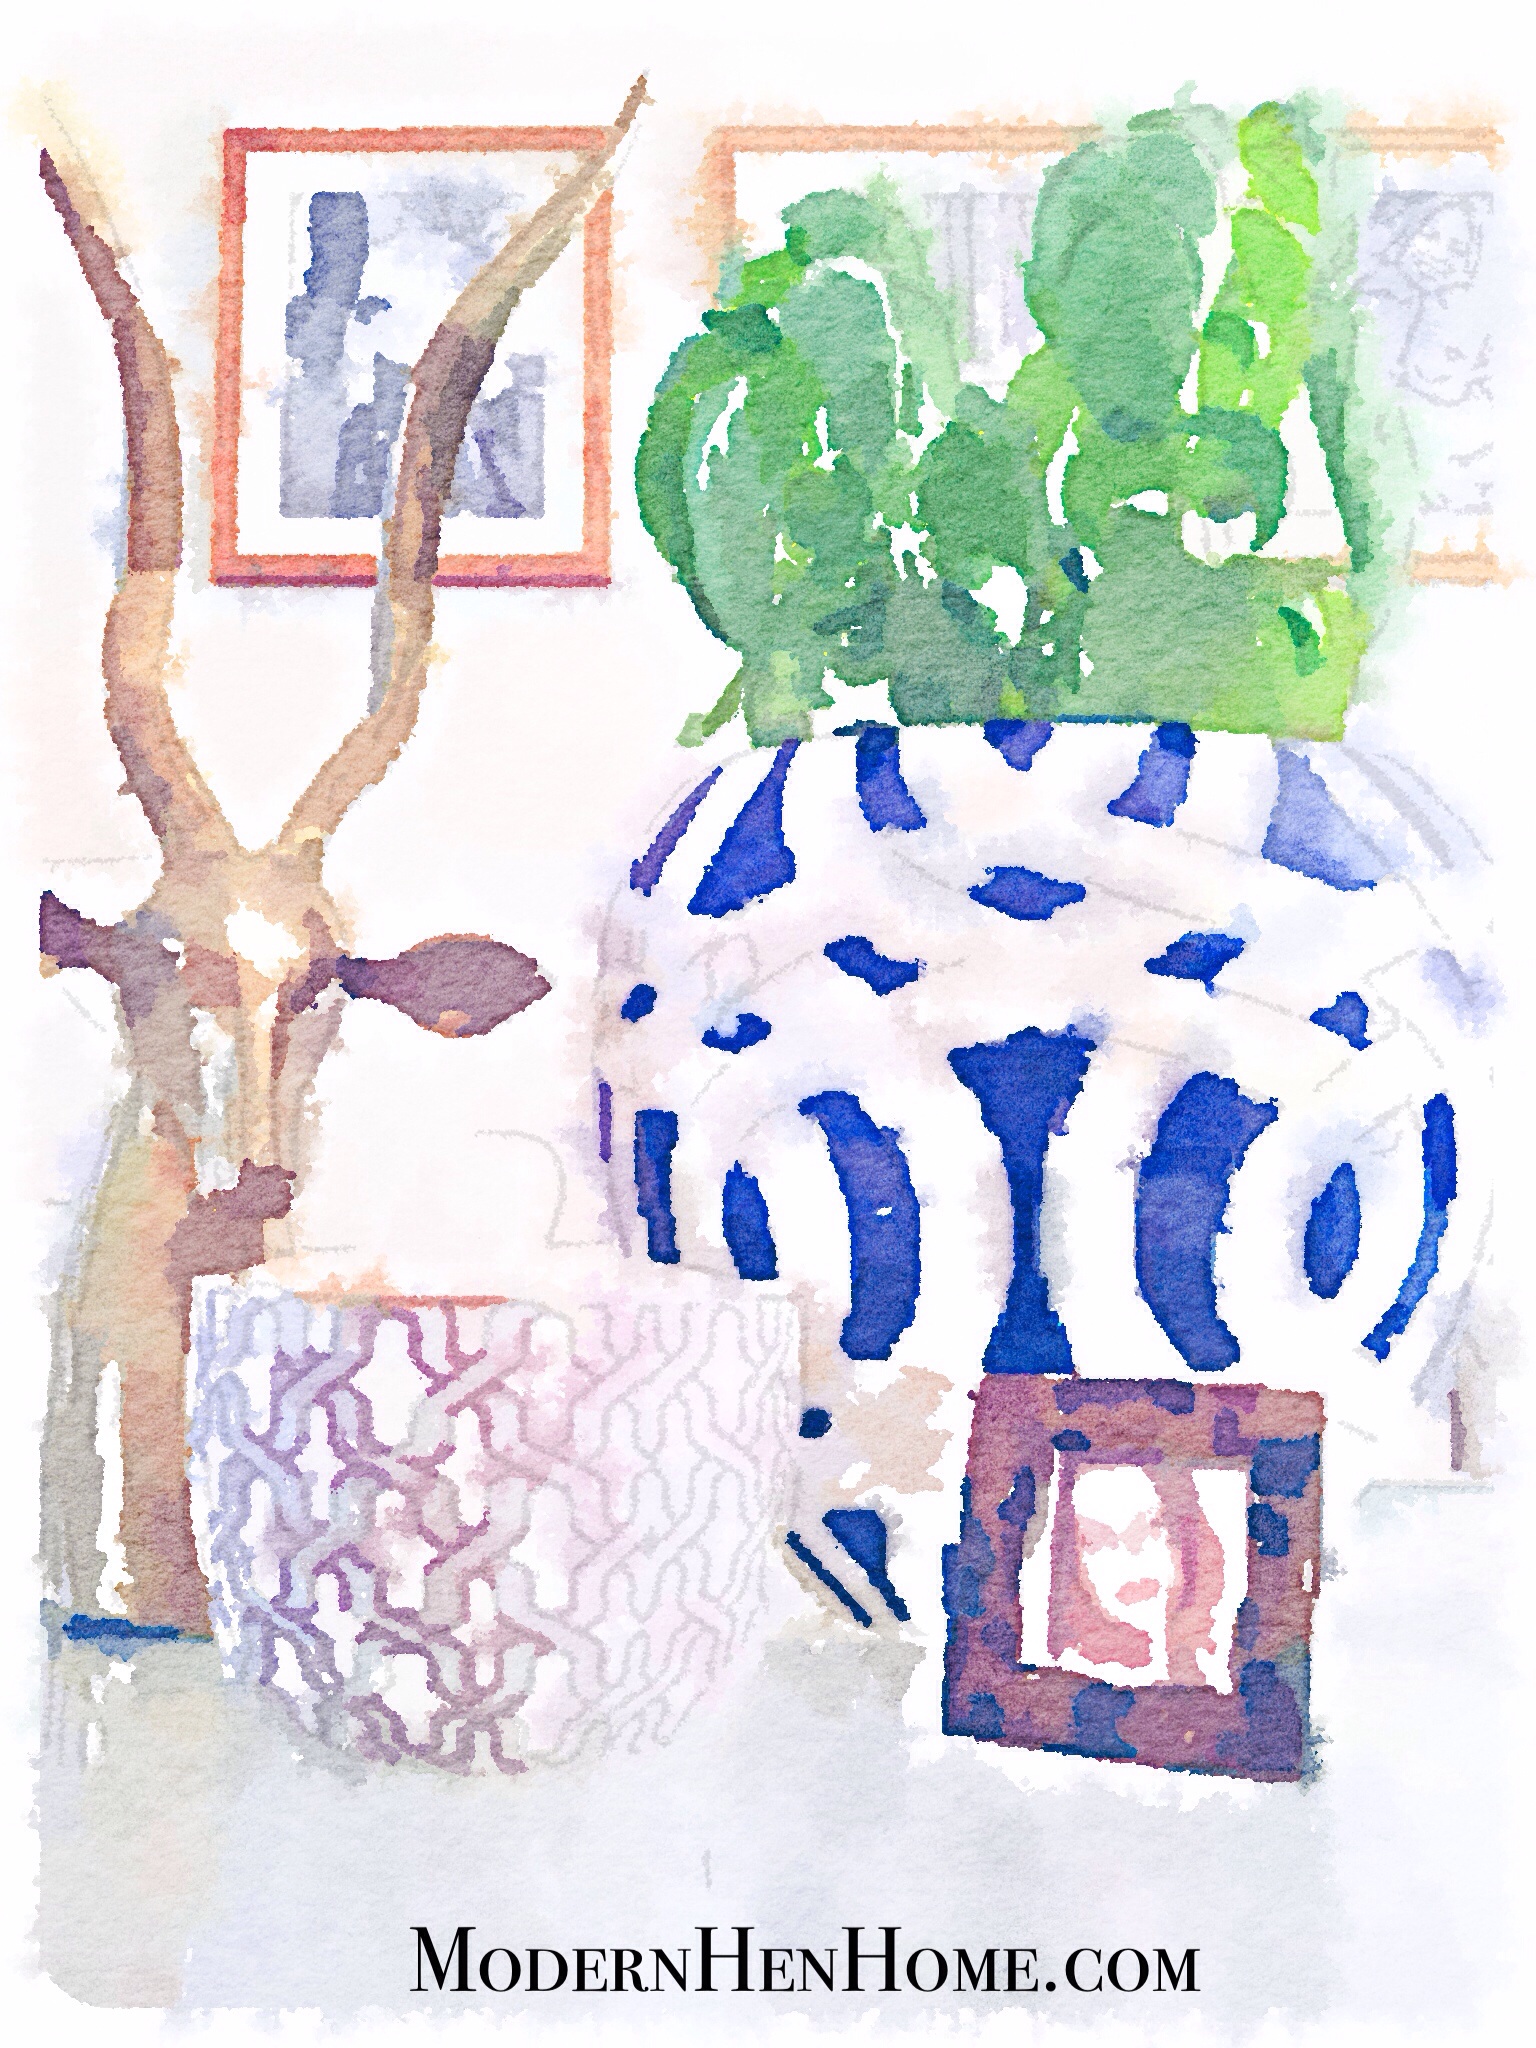
Shop your home. Add character to your home with what you already have. Sort through your decor and visualize it in a new way or place in your home. Consider the season. Layer lighter items in a soft color pallette for spring and summer and strive for an airy, fresh appearance. Bring out heavier, darker items for the cooler months to add warmth.  If you see too many black or brown accessories consider painting them white or cream to bring in light. But don’t take away all the black. Black or dark items ground a room, so be sure to keep at least a few to avoid a stark white room. Add a green houseplant to the living room and/or kitchen.

Rearrange furniture. Move sofas, chairs, tables and area rugs to a new position for an instant change. Group pieces together in a different combination for a whole new feel.


image

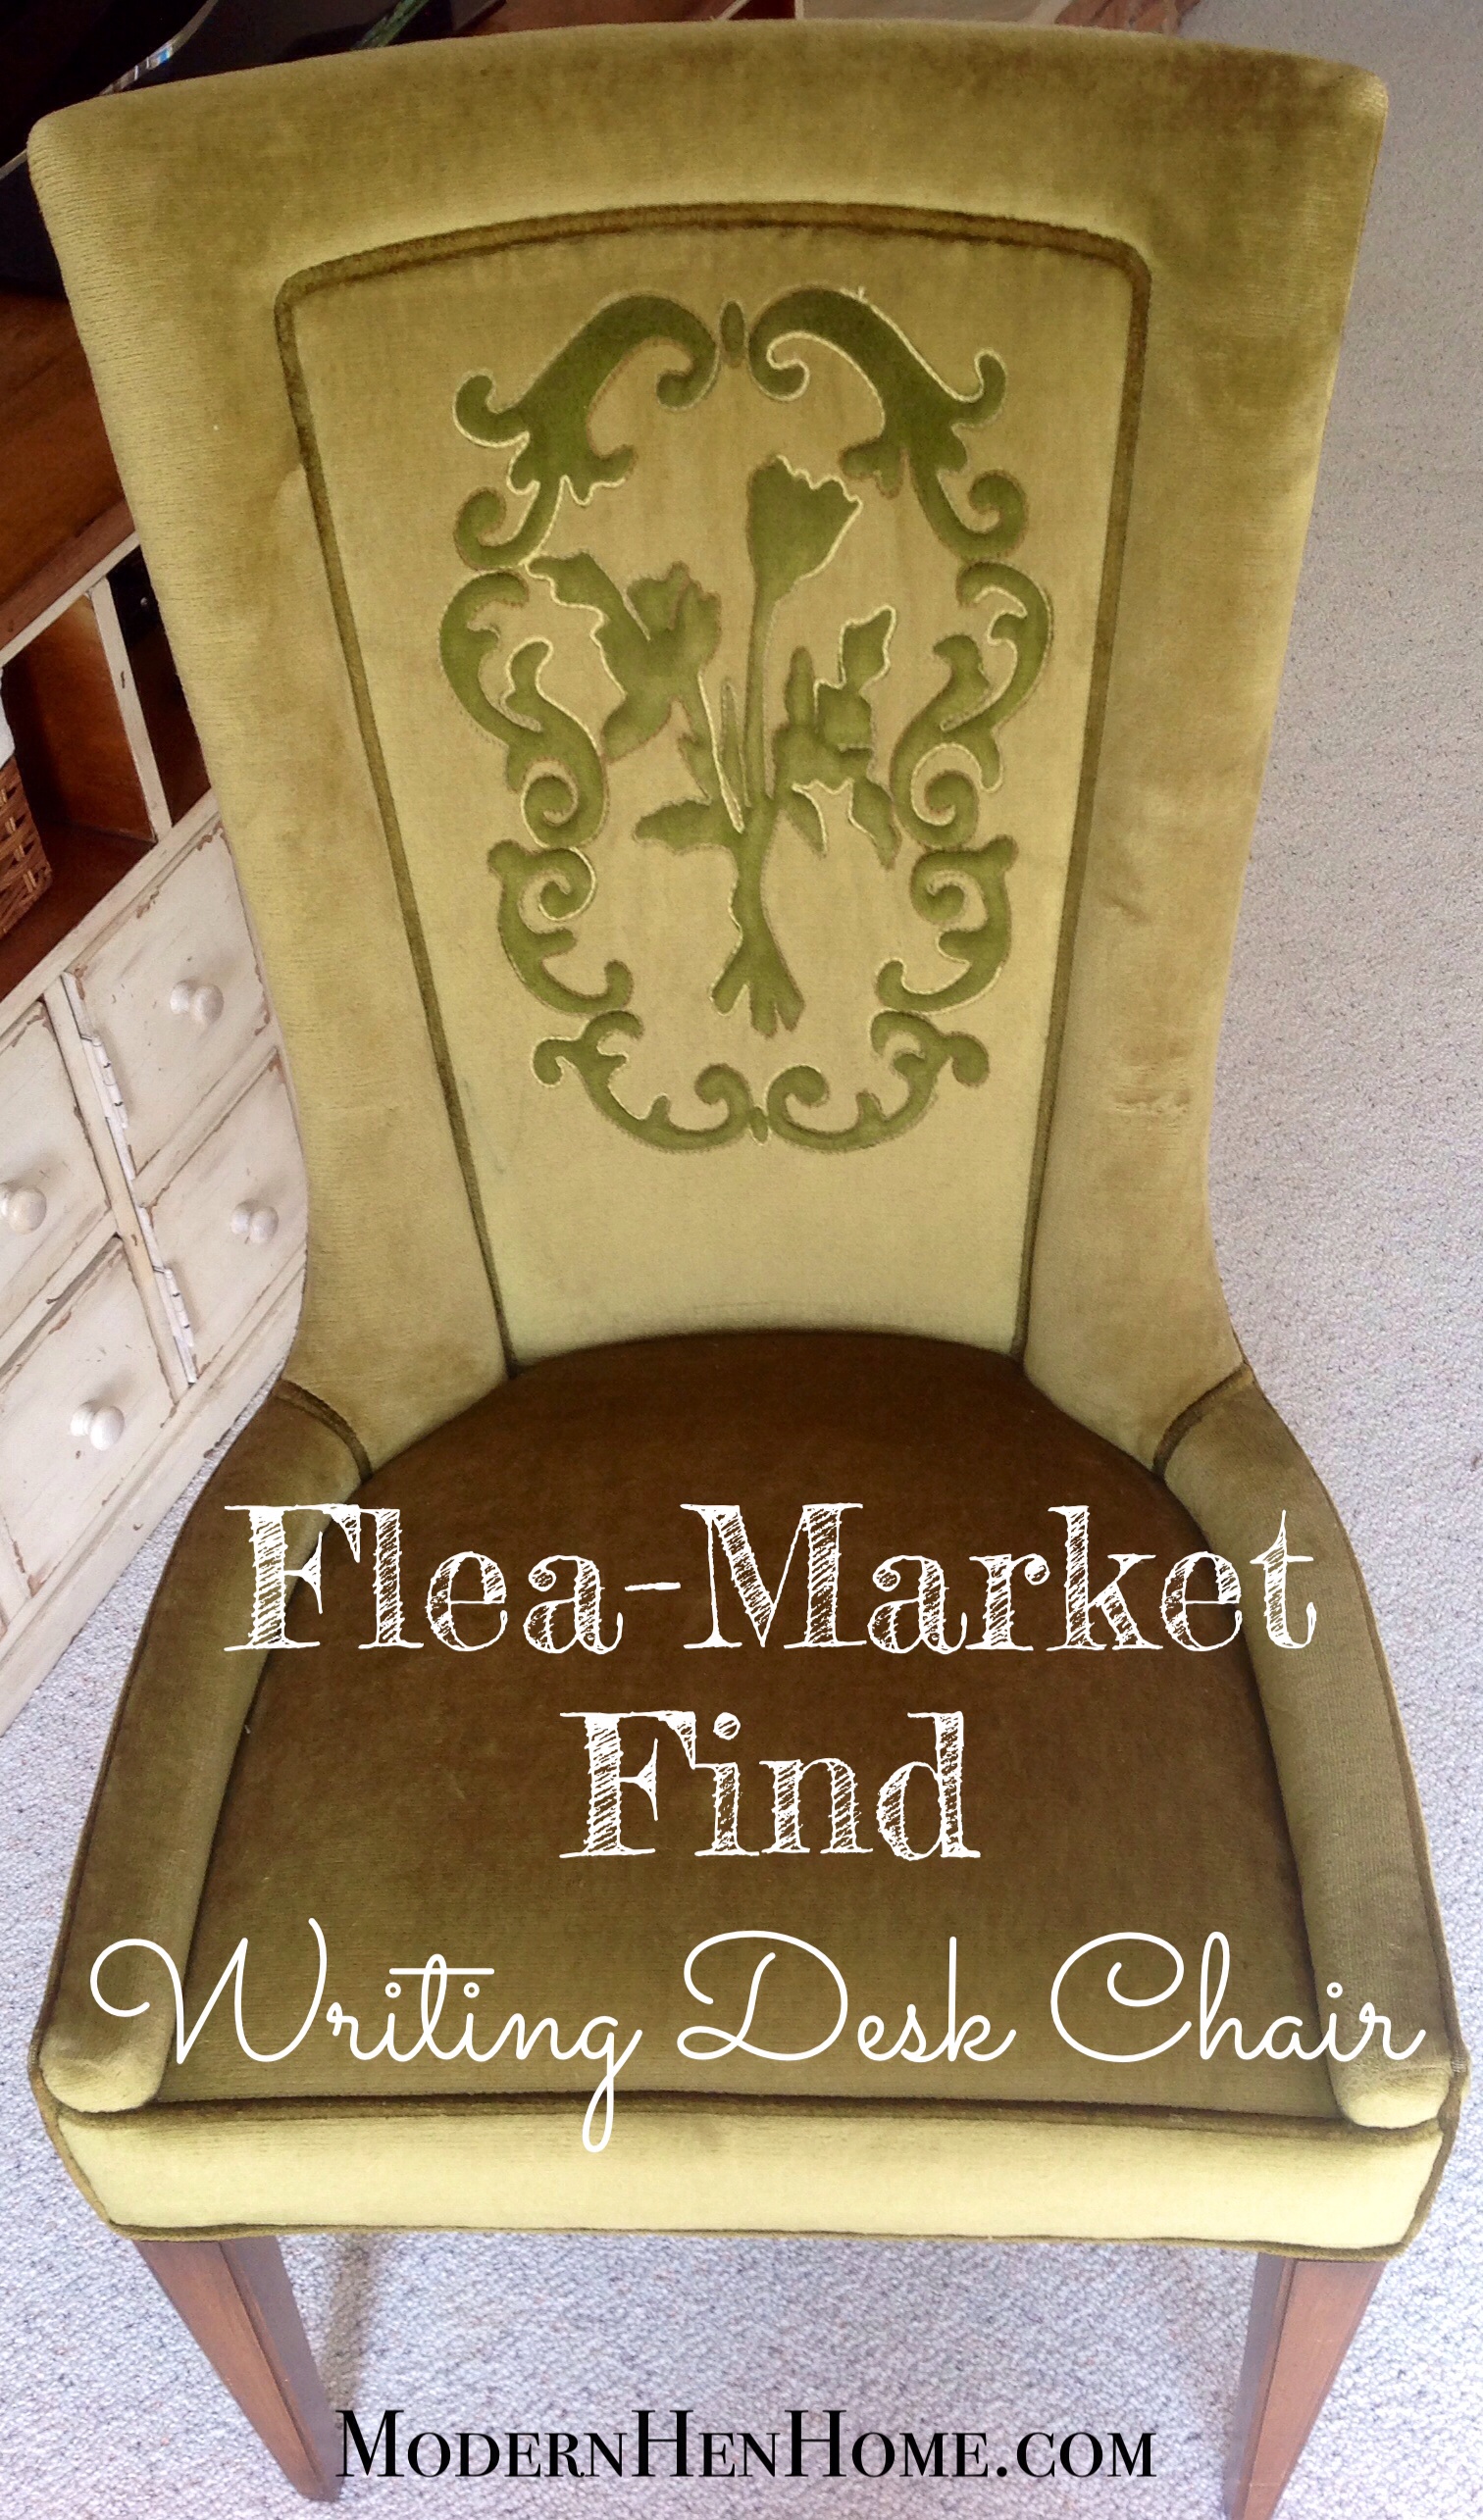
Exchange furniture and accessories.  Interchange pieces in an unexpected way. Add a dresser and mirror to your hall or entryway. Trade lamps and throw pillows between the bedroom and living room. Gather framed photos from around the house and corral on one wall as for a gallery collection (I have quite a few on my Pinterest “Gallery” board if you would like inspiration ideas). Create a different purpose for jars, stools, baskets and other accessories.  You can see how I repurposed an old picnic bench into upholstered seating here. Determine if you want to energize or relax a room by how your family spends time there.

image

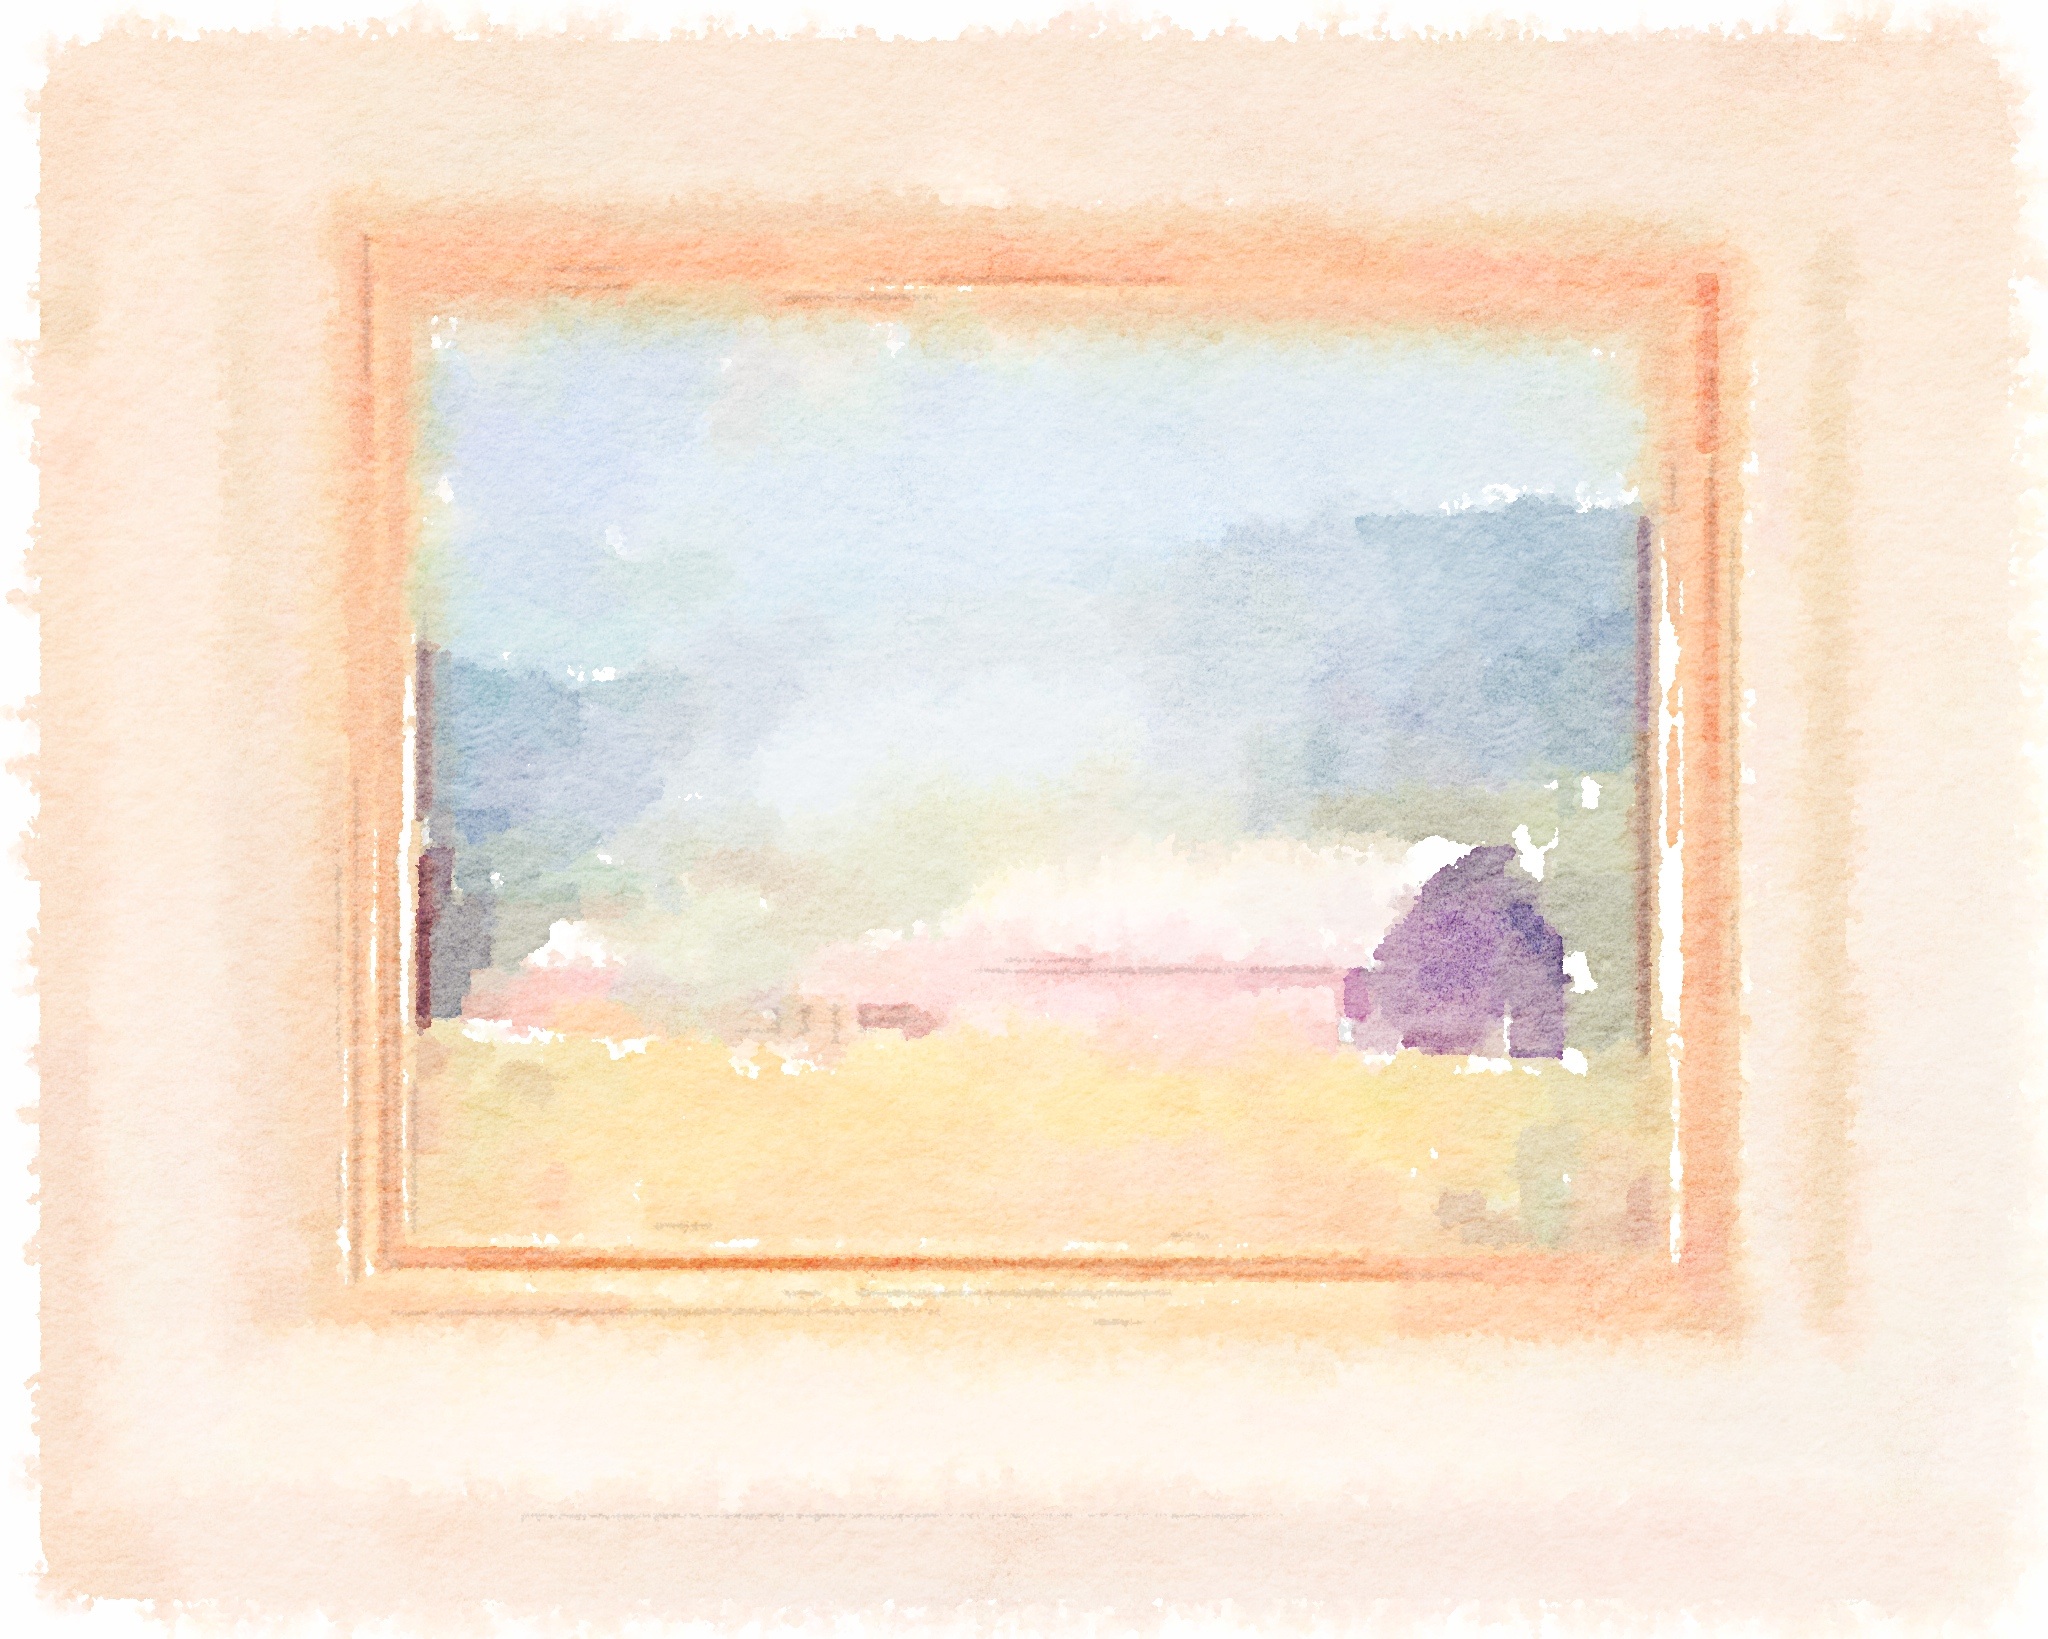
Borrow art from the library. Yes, from the library! Our local library offers art for rent and other art for purchase. Beautiful paintings and sketches crafted by local artists are usually available to patrons at most libraries.


image

Make a trade. If you have a friend or close relative who enjoys decorating on a budget too, ask if she would like to make a trade.  My sister and I have done this several times and it has worked great!  Another fun idea is to host a swap meet with friends and trade or exchange stuff you no longer want.

Use up old paint.  If you’re like me, you probably have several gallons or cans of old paint sitting in storage. Use them to update a tired piece of furniture, accessory, or to make a wall statement. Mix small batches together to customize a shade you like. Purchase inexpensive samples sold at stores like Lowe’s and blend with leftover paint to make a new hue.


image

Copy designers and catalogs. Browse home decor books written by popular designers. View websites like HOUZZ or Pinterest and peruse home magazines for inspiration. Catalogs from stores like Pottery Barn are free to keep and packed with decorating ideas to emulate.  You don’t have to make a purchase to satisfy your craving for change, instead enjoy what you have in an updated way inspired by the professionals.

image

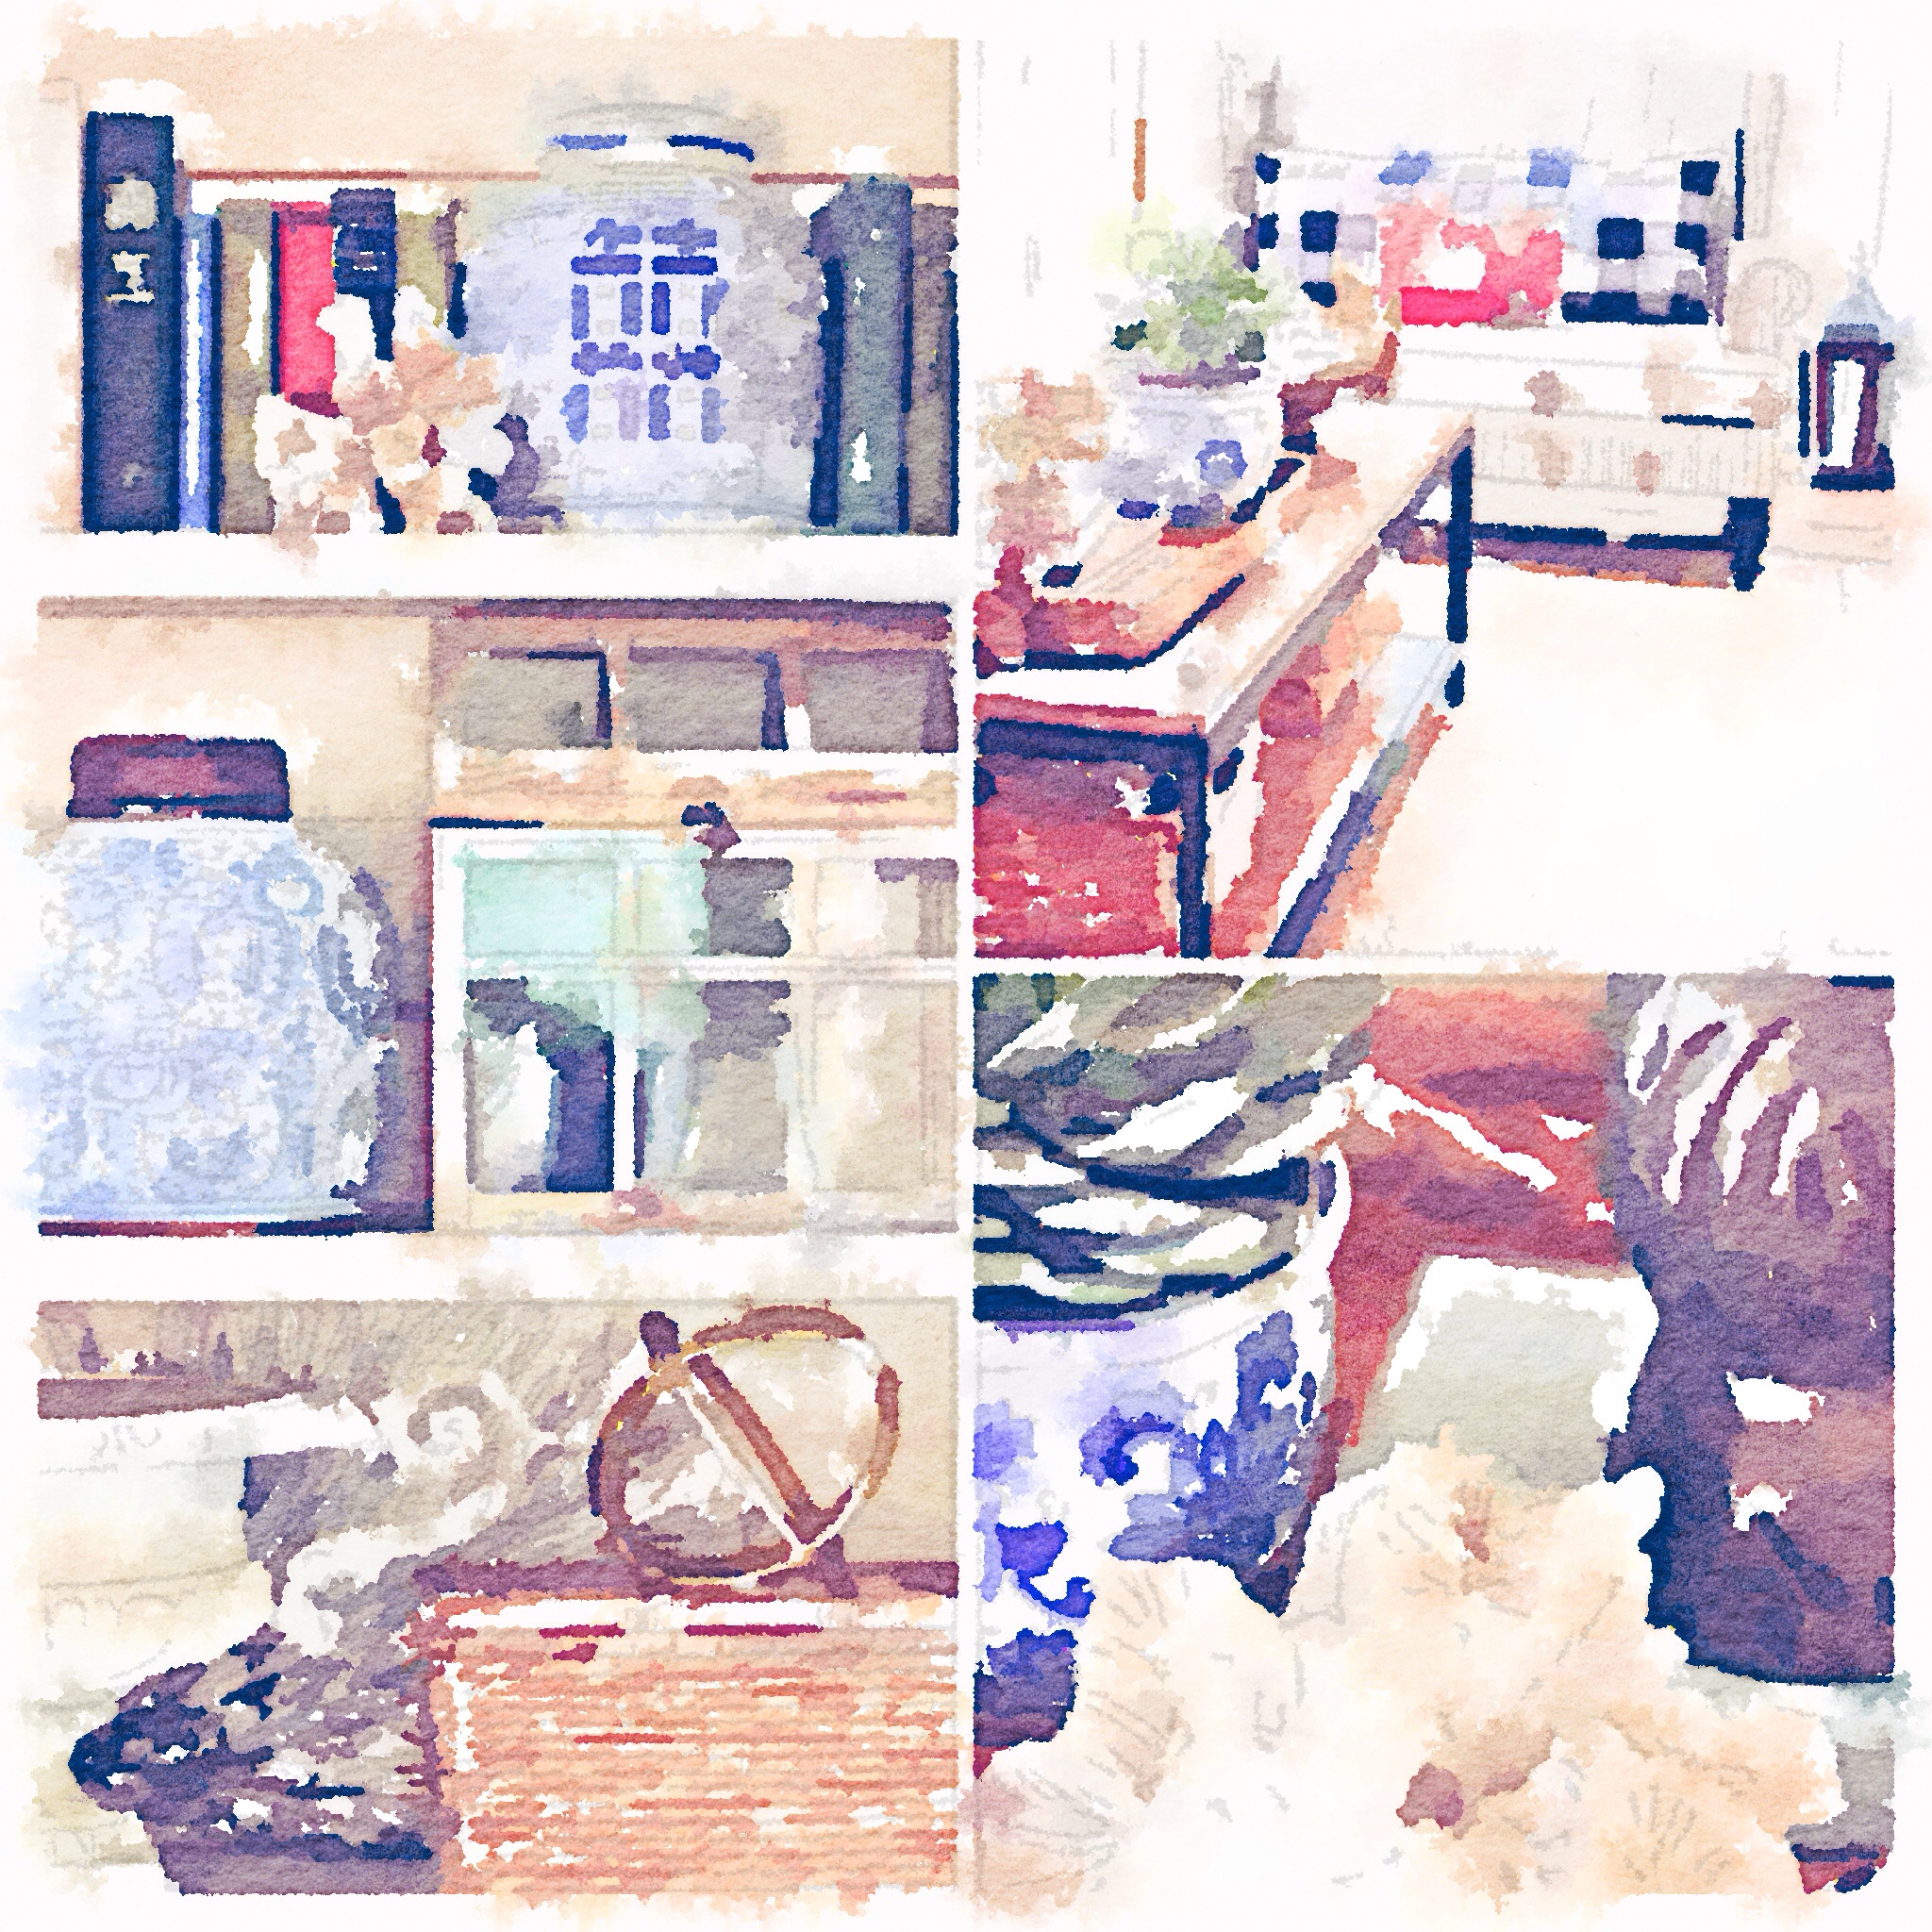
Create vignettes for big impact.  According to the dictionary: “A vignette is a brief, but powerful scene. A good vignette leaves you wanting more.” This is the perfect explanation for juxtaposing accessories in an interesting and off-beat way. Rotating frames, children’s art, and other collectibles in small doses instead of putting everything out at once lessens clutter and draws the eye to what you really want to showcase in your ensemble or vignette.

image

Contrast color and texture.  Try adding a nubby, knitted throw blanket to the back of a solid fabric sofa or chair. A patterned or grass-woven area rug gives dimension to wood floors. Place a shiny ceramic jar next to a muted clay pot. Mix antiques with modern pieces for playful tension. A room with too much texture can look busy and heavy; too many solids and similar tones can appear blah and boring. Vary your textures through fabrics, throw pillows, curtains, area rugs, accessories, frames, pots and baskets.

image

Because we are human, phases of boredom and discontentment will probably always come and go — even in a brand new house. But by making budget-friendly and smart changes, we can take a fresh look at our homes and see them as a blessing to enjoy once again.

image

Don’t forget to Like this page on Facebook in the upper right corner, or sign up with your email address to receive posts direct to your inbox. Thank you!

Sweet English Pea Salad

English Pea Salad

If you like sweet peas, this scrumptious dish is for you!  I’m the pea lover in our home, so when I make this salad it’s all for me. Of course, I would happily share with you. The sweet and savory flavors meld together for creamy goodness in every bite. Yes, please!

Sweet English Pea Salad


2 large hard-boiled eggs, whites chopped, yolks crumbled
1 red bell pepper, finely chopped (1/2 cup)
1/2 cup mozzarella or cheddar cheese, shredded
1/2 cup light mayonnaise
1 tsp dried basil
1 green onion, finely chopped
1 tsp apple-cider vinegar
1/2 tsp sugar
1 pinch salt (or to taste)
1 pinch ground pepper (or to taste)
1 pinch garlic powder
1/2 tsp celery seed
1/2 tsp food seasoning
1 can (15oz) very young, small early sweet peas or Le Sueur peas

In a medium bowl, combine all ingredients except peas, mixing well. Stir in peas and refrigerate salad for several hours, or overnight. Serve at room temperature.

image

The Classic Betty’s Salad & Homemade Dressing

image

The iconic Betty’s Salad. Have you heard of it? Even better, have you tried this delicious assortment of tender baby spinach, bean sprouts, hard-boiled eggs and crispy bacon with sweet red dressing?  Betty’s Salad is fairly well-known here in the midwest.  It was made famous by Betty Timko, owner of the elegant Timko’s Soup & Such, formerly located in Toledo, Ohio.  Mrs. Timko has since passed away, and her restaurant is now closed, but at one time crowds flocked to her all-you-can-eat Sunday brunch buffets. Betty came up with her wonderful salad and homemade dressing in 1961, and it’s still produced and sold in many grocery stores today.

When I was a young girl my family and I would dine in her restaurant for special holidays, usually Mother’s Day.   It was  a large place and classy looking to me.  Betty’s Salad was my favorite choice from the beautifully presented buffet of entrees, soups, sides, and desserts.  I recently made her salad and dressing at home and it was just as wonderful tasting as I remember it from back then.

Betty's Classic Salad


5 ounces Baby Spinach
6 hard-boiled eggs, diced
8 ounces fresh bean sprouts (or half a can, well-drained, if fresh are not available)
1 lb bacon, cooked and crumbled

Betty’s Classic Dressing
1 cup oil
3/4 cup sugar
1/4 teaspoon salt
1/3 cup catsup
1/4 cup vinegar
1 tablespoon Worcestershire sauce
1 small onion, fine dice

Layer all salad ingredients in the order posted. Mix dressing ingredients – chill for approximately 1 hour to blend. Drizzle over the salad when ready to serve. Enjoy!

image