Author Archives for Lisa @ Modern Hen Home

Unknown's avatar

About Lisa @ Modern Hen Home

Hi friends and welcome! I'm Lisa, a wife and mom all about faith, food and feathering our family nest. Here at Modern Hen Home, I share simple, sometimes old-fashioned recipes, easy crafts and DIY. Painting relaxes me and hunting flea-markets is my favorite past time. Stop by for a visit, leave me a message, then let's connect on facebook!

Mexican Fried Ice Cream

Picture 6

I recently shared an ice cream dish with my family similar to this one when we were out of town. We loved the cold creaminess of the ice cream mixed with the sweet cinnamon crunch outer shell. In fact we enjoyed it so much we ordered a second one. This dessert is a marvelous Continue reading

Bench Update: 5 Tips For Making Protective Slipcovers

image

I recently shared a makeover for two picnic benches I added cushions and fabric to in this post here.  Both seats were covered in corduroy and finished with silver decorative tacks. They are working out great for extra seating and look nice, too.

Continue reading

Bacon & Egg Jiffy Cups

image

Jiffy Cups are perfect for weekends and holiday mornings. Folding scrambled eggs and shredded cheddar cheese into the batter, then topping with crispy bacon and a bit more cheese before baking brings a unique twist to these breakfast muffins. Allow them to cool until the pan can be handled without an oven mitt to lock in moistness.  Serve with warm Maple syrup.

image

Bacon & Egg Jiffy Cups

4 slices bacon, cut in thirds
6 eggs
2 boxes Jiffy Corn Muffin Mix, 8.5 oz each
1 cup milk
1/4 cup vegetable oil or butter, melted
1/2 cup shredded cheddar cheese
salt and pepper
Maple syrup (optional)

Pre-heat oven to 400 degrees. In large skillet cook bacon just until crispy. Drain and reserve drippings. Return 2 tsp. drippings to skillet. In small bowl, beat 4 eggs, 2 tbsp water, and a dash of salt and pepper. Cook eggs in hot skillet over medium heat without stirring until eggs begin to set on bottom and around edges. With spatula, lift and fold allowing uncooked portion to flow underneath. Cook until set but still moist. Lightly break cooked eggs apart into medium chunks. Transfer to bowl and set aside.

Brush twelve 2-1/2″ muffin cups with remaining bacon drippings. In medium bowl stir together Jiffy Corn Muffin mixes, milk, oil and remaining two eggs. Fold cooked eggs into batter along with cheese. Spoon into muffin cups until full.

Place one bacon piece on each muffin and a sprinkle of shredded cheese. Bake 15 minutes or until light brown and a toothpick inserted in center comes out clean. Cool on rack until pan can be handled without a mitt. Run a table knife around edges of muffins to loosen; remove from pans. Serve with warm Maple syrup if desired.

Toasted Sweet Corn with Avocado & Crispy Bacon

image

This sweet corn recipe has become my favorite summer supper.  It satisfies my husband’s hungry appetite, which is a big deal to me.  The first time I served it I had my doubts that he would like it because it’s a one-bowl dinner, and being the meat and potatoes kind of guy that he is, one bowl of food usually leaves him hungry. But we were both pleasantly surprised to find the loaded mix of flavors and plentiful ingredients to be quite hearty.  Diced red bell peppers add sweetness, fresh basil brings a peppery spice, and citrus juice gives this dish a nice zing. Add crispy bacon, creamy avocado and garbanzo beans with bits of feta to toasted corn from the cob, and this is one scrumptious meal!

This handy-dandy gadget makes shaving corn easy and safer!

This handy-dandy gadget makes shaving corn easy and safer!

Toasted Sweet Corn With Avocado & Crispy Bacon


3 – 4 strips cooked bacon, crumbled & set aside, 1 tbsp of bacon grease reserved
4 ears of fresh sweet corn, kernels shaved from cob
1/8 tsp red pepper seeds
2 green onions, chopped fine
1 small sweet red bell pepper, diced
1/2 can garbanzo beans or chick peas, drained
1 ripe avocado, removed from pit and diced
1 small bunch fresh basil or cilantro, chopped
1/8 tsp kosher salt
1/2 lime or lemon for squeezing
1/4 cup crumbled feta cheese

In medium sized pan on medium-high heat, saute red pepper seeds, green onions and sweet red peppers in bacon grease, about 2 minutes. Add garbanzo beans and corn and cook several minutes longer, stirring occasionally, until corn is slightly toasted, but not brown.  Add chopped basil and feta, turn to mix and pour into glass or ceramic bowl for serving.

Add avocado, bacon, salt then squeeze fresh lime or lemon juice over the top. Turn to mix and it’s ready to serve. Enough for 4 as a side dish, or 2 as a meal.

What is your favorite summer supper to serve to your family? I would love to hear from you!

image


20% Discount Off Entire Bill at Olive Garden

Happy Memorial Day a little early! I hope you have a safe and wonderful holiday weekend. I also wanted to share with you this 20% off discount coupon to Olive Garden Restaurants. You can print direct from your computer or show your wait person the coupon from your phone. Enjoy!

Here’s the link:

http://link.olivegarden.com/YesConnect/HtmlMessagePreview?a=Si8GGesUjZ-HB4IfkcaE5&msgVersion=web

image

Before & After: Painting A Kitchen Island On A Budget

After 13 years our maple kitchen cabinets had become worn and dark, more gold than light maple in tone. I also noticed our light maple laminate floors had taken on a pink cast, while the interior doors and trim were more pecan in color. The different tones clashed making the room look tired and worn and this bugged me. It was time to freshen things up.

I’ve always appreciated the easy on the eyes classic white kitchen, but my husband prefers the look of natural wood.  Thankfully he was onboard with my ideas for change. We agreed on a budget and I called two professional painters for cabinet quotes. Both had different thoughts on how to do the job, and their prices seemed fair for the big job, but way more than we wanted to spend. My husband suggested I paint them and use the savings to replace our old countertops. That got me excited! Still, I had to mull it over because looking at all those doors and cabinets, I knew it wasn’t going to be easy and much more than a weekend project. I finally mustered the courage and went for it starting with this island.

image

BEFORE:  This is the spot where we stood to do most of our food prep. The island was fairly small with no extra counter space to sit and eat, even though we kept a stool at one end. The outdated black, white and salmon laminate top was scratched and dull.


image

AFTER:  Sanding, priming and painting the island Acadia White by Benjamin Moore made a tremendous difference. A carpenter friend added thick, decorative trim moulding to each end and gave the cabinet a really nice custom look.


image

We chose a black soapstone countertop with creamy pearlescent waves running through it. This particular stone is similar to granite and very dense and hard to scratch. It’s easy to clean, too. We had the corners squared to give it a more updated look.


image

Adding six inches to one end of the counter made it much more comfortable to sit at for the kids. And we saved $600 by purchasing a remnant already in stock and ready to cut.


image

Mouldings give the island the look of a custom piece of furniture now.


image

I replaced birdcage medal knobs we had on the unpainted cabinets with glass knobs from Hobby Lobby for $2 each when on sale at 50% off. The birdcage knobs sold on eBay for $2 each so the knobs were a wash in cost. Love it when that happens!  To avoid adding holes to the drawers I kept to one knob on the three main drawers like we had before. The cup pull is from Lowes and cost $4.

Kitchen Island Savings: 

SAVED $500 DIY sanding, priming, painting island cabinet and trim moulding

SAVED $600 by purchasing an in-stock remnant top

No cost for new glass knobs

Labor to install wood trim: Priceless. We got a really good price from our friend and he added crown moulding to the ceiling in the room, also.

Total savings was about $1,000 after buying paint, supplies, trim moulding and paying for carpenter labor.


I’m happy with how the island turned out and it has made a huge difference in the look of the kitchen. The room feels airy, light and clean. It has that classic look I’ve always dreamed of having for my kitchen. It was well worth the effort. And overcoming my fears for taking on a big project like this gave me the courage to paint the rest of the kitchen cabinets. I will post about those soon.

image


4 Steps To Saying No Gracefully

image

Are you someone who enjoys helping people but can get overwhelmed by too many obligations all at once? You do your best to juggle the calendar and be there for everyone but stress and dread creep in to try and defeat you. One of the simplest words can be the most difficult to say. So how do you say no gracefully without the guilt?

Accept that you can’t be a part of everything. Your heart knows your priorities. Saying yes to one thing, may mean saying no to what matters to you the most. If it’s your faith and family, write your intentions for them on your calendar. Writing it down will help you keep your top priorities. And don’t forget to set aside time for taking care of yourself!

Decline honestly and leave out the details. Simply state, “I’m so sorry I won’t be able to attend your fundraiser.” If declining feels awkward to begin with, offering a reason why may add to your discomfort. It could also invite the other person to twist your arm. Simply saying you are unable to attend will eliminate challenges. Have confidence in your decision, and yourself, and leave it at that.

Decline with kindness. Most people realize not everyone they invite will be able to accept.  Thank the person and offer her encouraging words. Let her know you will be thinking or praying for her on her special day. Follow-up with a notecard telling her how excited you are about her future endeavors. She will feel good despite your decline, and you will too!

Negotiate what you can do.  Offer the time and efforts you are able to give. Find out what help is needed and say yes to a portion of the request.  If you have been asked to volunteer during a program, agree to a specific time to greet guests or serve appetizers, for example. If the invitation is to a special occasion, like a baby shower, let the hostess know you are excited to attend but can only stay until 2 p.m. Setting boundaries in advance will alleviate stress you may feel when it is time to depart.

Staying focused on who is most important to you during those hectic seasons in life will give you the confidence to say no gracefully.  And you will feel good about what it is you can do for others, even if it’s on a smaller scale.

image

5 Good Family Habits For Daily Decluttering

image


Maintaining a clutter-free home isn’t always easy with a family, kids, pets, crazy schedules and all the other attention getting things that go on in our home every day. And seeing stuff in disarray all over countertops, floors and furniture can bring up the stress meter, especially if you prefer your home to be in order. When my home gets messy I feel scatterbrained and unorganized. But when my home is picked up, counters clear, and the sofa covers and cushions straightened, my happy scale moves up a notch. I just like it neat most of the time.

If you are like me, a well-kept living space brings calm to your chaotic day.  And your family may not say it, but they probably like it, and you, that way, too.

Developing these five good habits will keep your home mostly clutter-free:

1. Put things back where you got them. It takes less time to put an item back as soon you are finished with it then it does to backtrack and return it later — along with other things left out. This may take some retraining of yourself and the family, but with persistence new habits will form and become a natural part of everyone’s daily routine. If you see it, get it!

2. Unclutter as you go along. Every morning sift through your house, pick up stray items and put them back where they belong. If you’re in a time crunch, gather stuff in a basket and return items to their spot later. Unclutter as you move through rooms during the day. In the evening run a 30-second clutter-buster race and have the kids put stuff back as fast as they can to beat the clock. They will have fun doing it and you will feel more relaxed knowing your home is in order before heading off to bed.

3. Designate task areas. Set-up workstations to complete daily tasks. Sort mail near the trash bin; arrange a bill paying area with pens, stamps and envelopes; designate a spot for movie and library book returns. Hang small, mesh laundry bags for collecting dirty socks near the dirty clothes hamper and label with each person’s name. Throw the bags in with the wash, then when dry return each to its owner to sort and put away. A good lesson in responsibility and no more stray socks.

4. Spend a little, get a lot of storage. Install closet systems yourself to save money and create storage space. In our house we generally know where to look for gloves and hats when needed, but other items can end up in a variety of places, which can confuse and frustrate everyone. Not a good way to start the day!  Labeling storage compartments for extra things keeps everyone organized and in a good mood.

5. Quietly tuck things away. If your floors are overrun with toys, games and other stuff — quietly put some of them away in a closet.  When the kids ask for an item, bring it back out. Rotate items monthly to keep pile-ups and boredom at bay. They will find new excitement in a toy if they haven’t seen it for a while. Anything they don’t ask for, or play with much, gets donated to a child who will use it. My sister used this trick to keep her home neat as a pin, even with two little boys running around playing all day.

No family wants to live in a museum, and daily decluttering is well worth the extra few minutes it takes to keep your home neat and enjoyable for the whole family to relax in.

image

Yum-Yum! Pan-Fried Egg Rolls


image

Delicious pan-fried egg rolls without the fuss and calories of deep frying. Just a few simple ingredients keep these Asian-style rolls easy to prepare. And the sweet and spicy dipping sauce will make your taste buds tingle!  Egg roll wrappers are usually found in your supermarket’s refrigerated or health food section. Chili sauce is available in the Asian foods section. If your grocery store is not selling fresh bean sprouts, substitute with canned but drain well.

Pan-Fried Egg Rolls


1/4 cup sweet chili sauce, divided
12 ounces fresh bean sprouts, chopped or 14 oz can bean sprouts, drained well
12 (8-inch) egg roll wrappers
12 cooked jumbo shrimp, peeled, deveined, and split in half lengthwise (about 13 oz)
6 tbsp chopped fresh cilantro
3 green onions, finely chopped
1/4 cup peanut or olive oil
1 tbsp rice vinegar
2 tsp less-sodium soy sauce
1/4 tsp grated peeled fresh ginger
Squeeze of lime citrus juice, about 1 tsp

Combine 3 tbsp chili sauce and bean sprouts, tossing well to coat.

Place 1 egg roll wrapper on surface with one corner pointing to you. Spoon 2 heaping tbsp bean sprout mixture into center of wrapper; top with 2 shrimp halves and 1-1/2 tsp cilantro and 1 tsp green onions. Fold lower corner of wrapper over filling; fold in side corners. Moisten top corner of wrapper with water to seal. Place egg roll seam side down on baking sheet and repeat until all rolls are made.

Heat 2 tbsp oil in a large nonstick skillet over medium-high heat. Add 6 egg rolls, seam side down; cook 7 minutes or until golden brown, turning occasionally. Place on wire rack or plate with paper towel and repeat next 6 rolls.

Combine remaining chili sauce, vinegar, soy sauce, lime juice, ginger and green onions. Serve sauce with egg rolls.

It’s been a rainy week here in Michigan. I’ve practically hosed both sons down after track practice each evening to get the mud off their backs, legs and shoes.  But this is also the kind of weather that gives me a good excuse to stay in and try new recipes, too!

image

8 Simple Steps: How To Hand-Sew A Slipcover

image

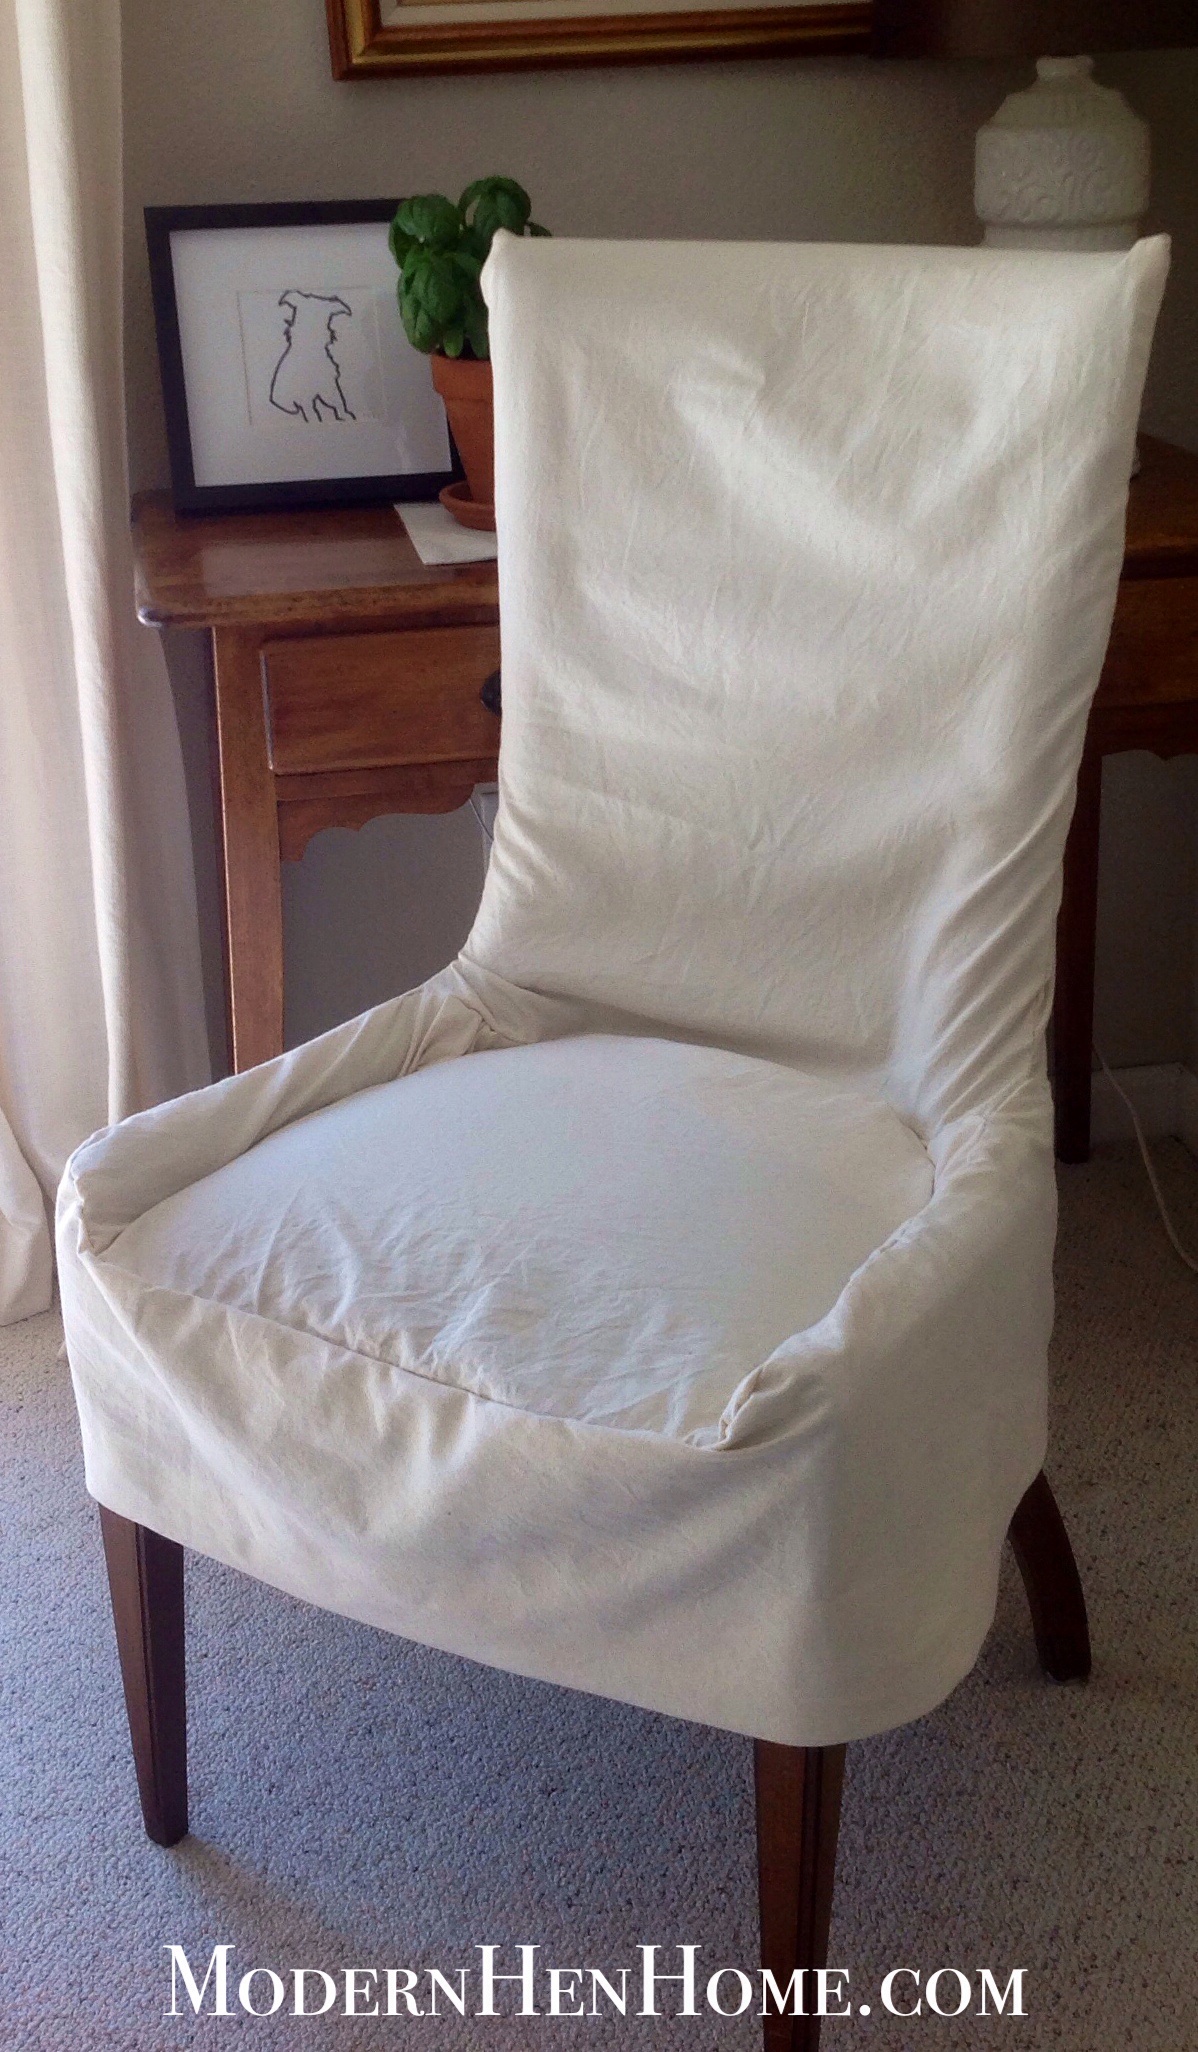
This imperfect slipcover works perfectly!

Last week I shared with you this slightly worn writing desk chair I picked up at a church rummage sale awhile back. You can read more about it here.  It’s an occasional chair primarily used by me and I wanted a slipcover for it.  My sewing machine needed repair, so I hand-sewed one. By no means is this a professional instruction sheet, but these how-to tips should be helpful to you.

Pick the right fabric. Consider color, fabric weight, durability, care, and cost. Lines and patterns are more difficult to keep straight. I used a curtain made from cotton linen.  A solid, lightweight cotton fabric, pre-washed to prevent shrinkage may work best. Iron to remove wrinkles.

Plan where your seams will meet. Follow the chair’s upholstery seams to guide your decisions for cutting and pinning. I made the back of the chair first, then attached the seat fabric, and the skirt last.

Measure twice, cut once. Whoever came up with that advice is a genius! Begin by measuring the individual section you are working on.  Since I had plenty of fabric, and it was my first chair cover, I allowed for 2 extra inches on all sides in case of error.

image

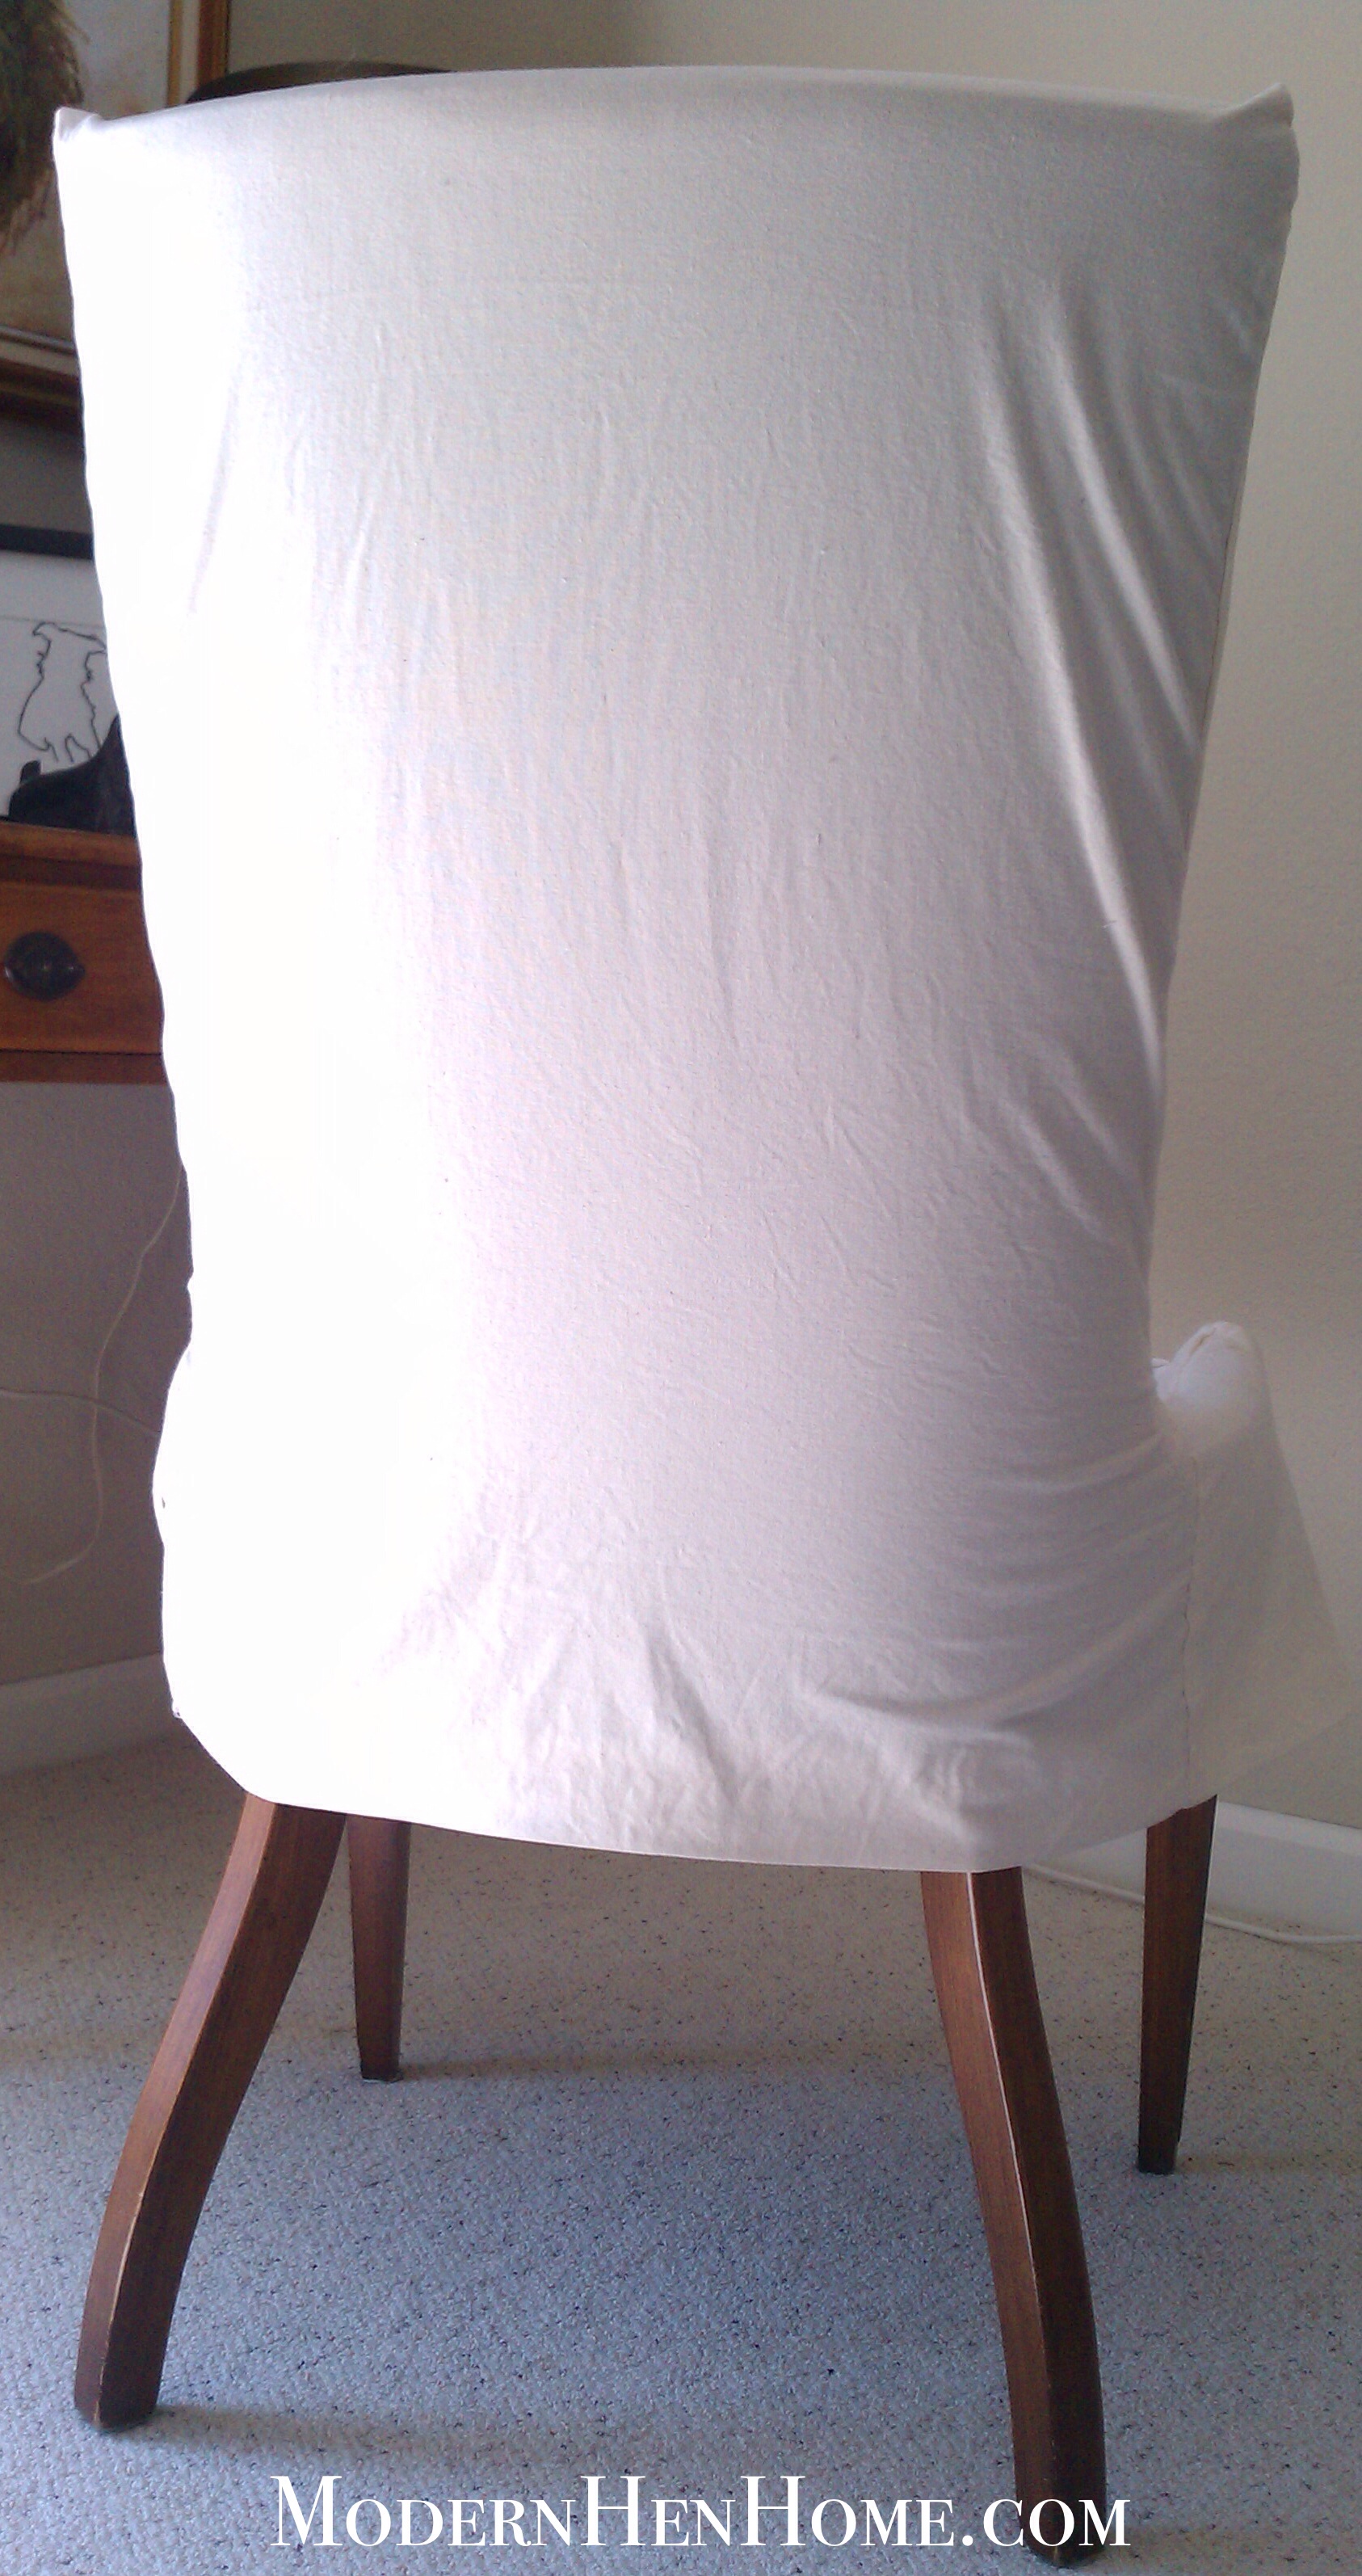
Always pin inside out.  Turn the fabric with the underside facing up and drape over the backrest. Measure from the seat, up the front and down the backside, allowing for extra fabric to hang past the bottom back for your skirt, plus a 1″ to 2″ hem, and at least 1″ on the other three sides for pinning before marking and cutting. After cutting, drape the cut piece over the back again (underside up) and pin both sides to make seams. Keep the fabric slightly loose for easy removal, not taut. (If your fabric has a pattern or lines, you will need to turn the piece right-side out after pinning to check for straightness, or save yourself the trouble and use a solid.)

Stitch from the top down. With the fabric on the back of the chair (inside out and pinned) sew a straight stitch from the top down, removing pins as you stitch. Remove the fabric and turn inside out. It should resemble a “pillowcase”. Put the case back on the chair to check for fit and tightness of stitching. Backrest cover is finished. Remove the cover, turn inside out and put it back on the chair to add the seat fabric.

image

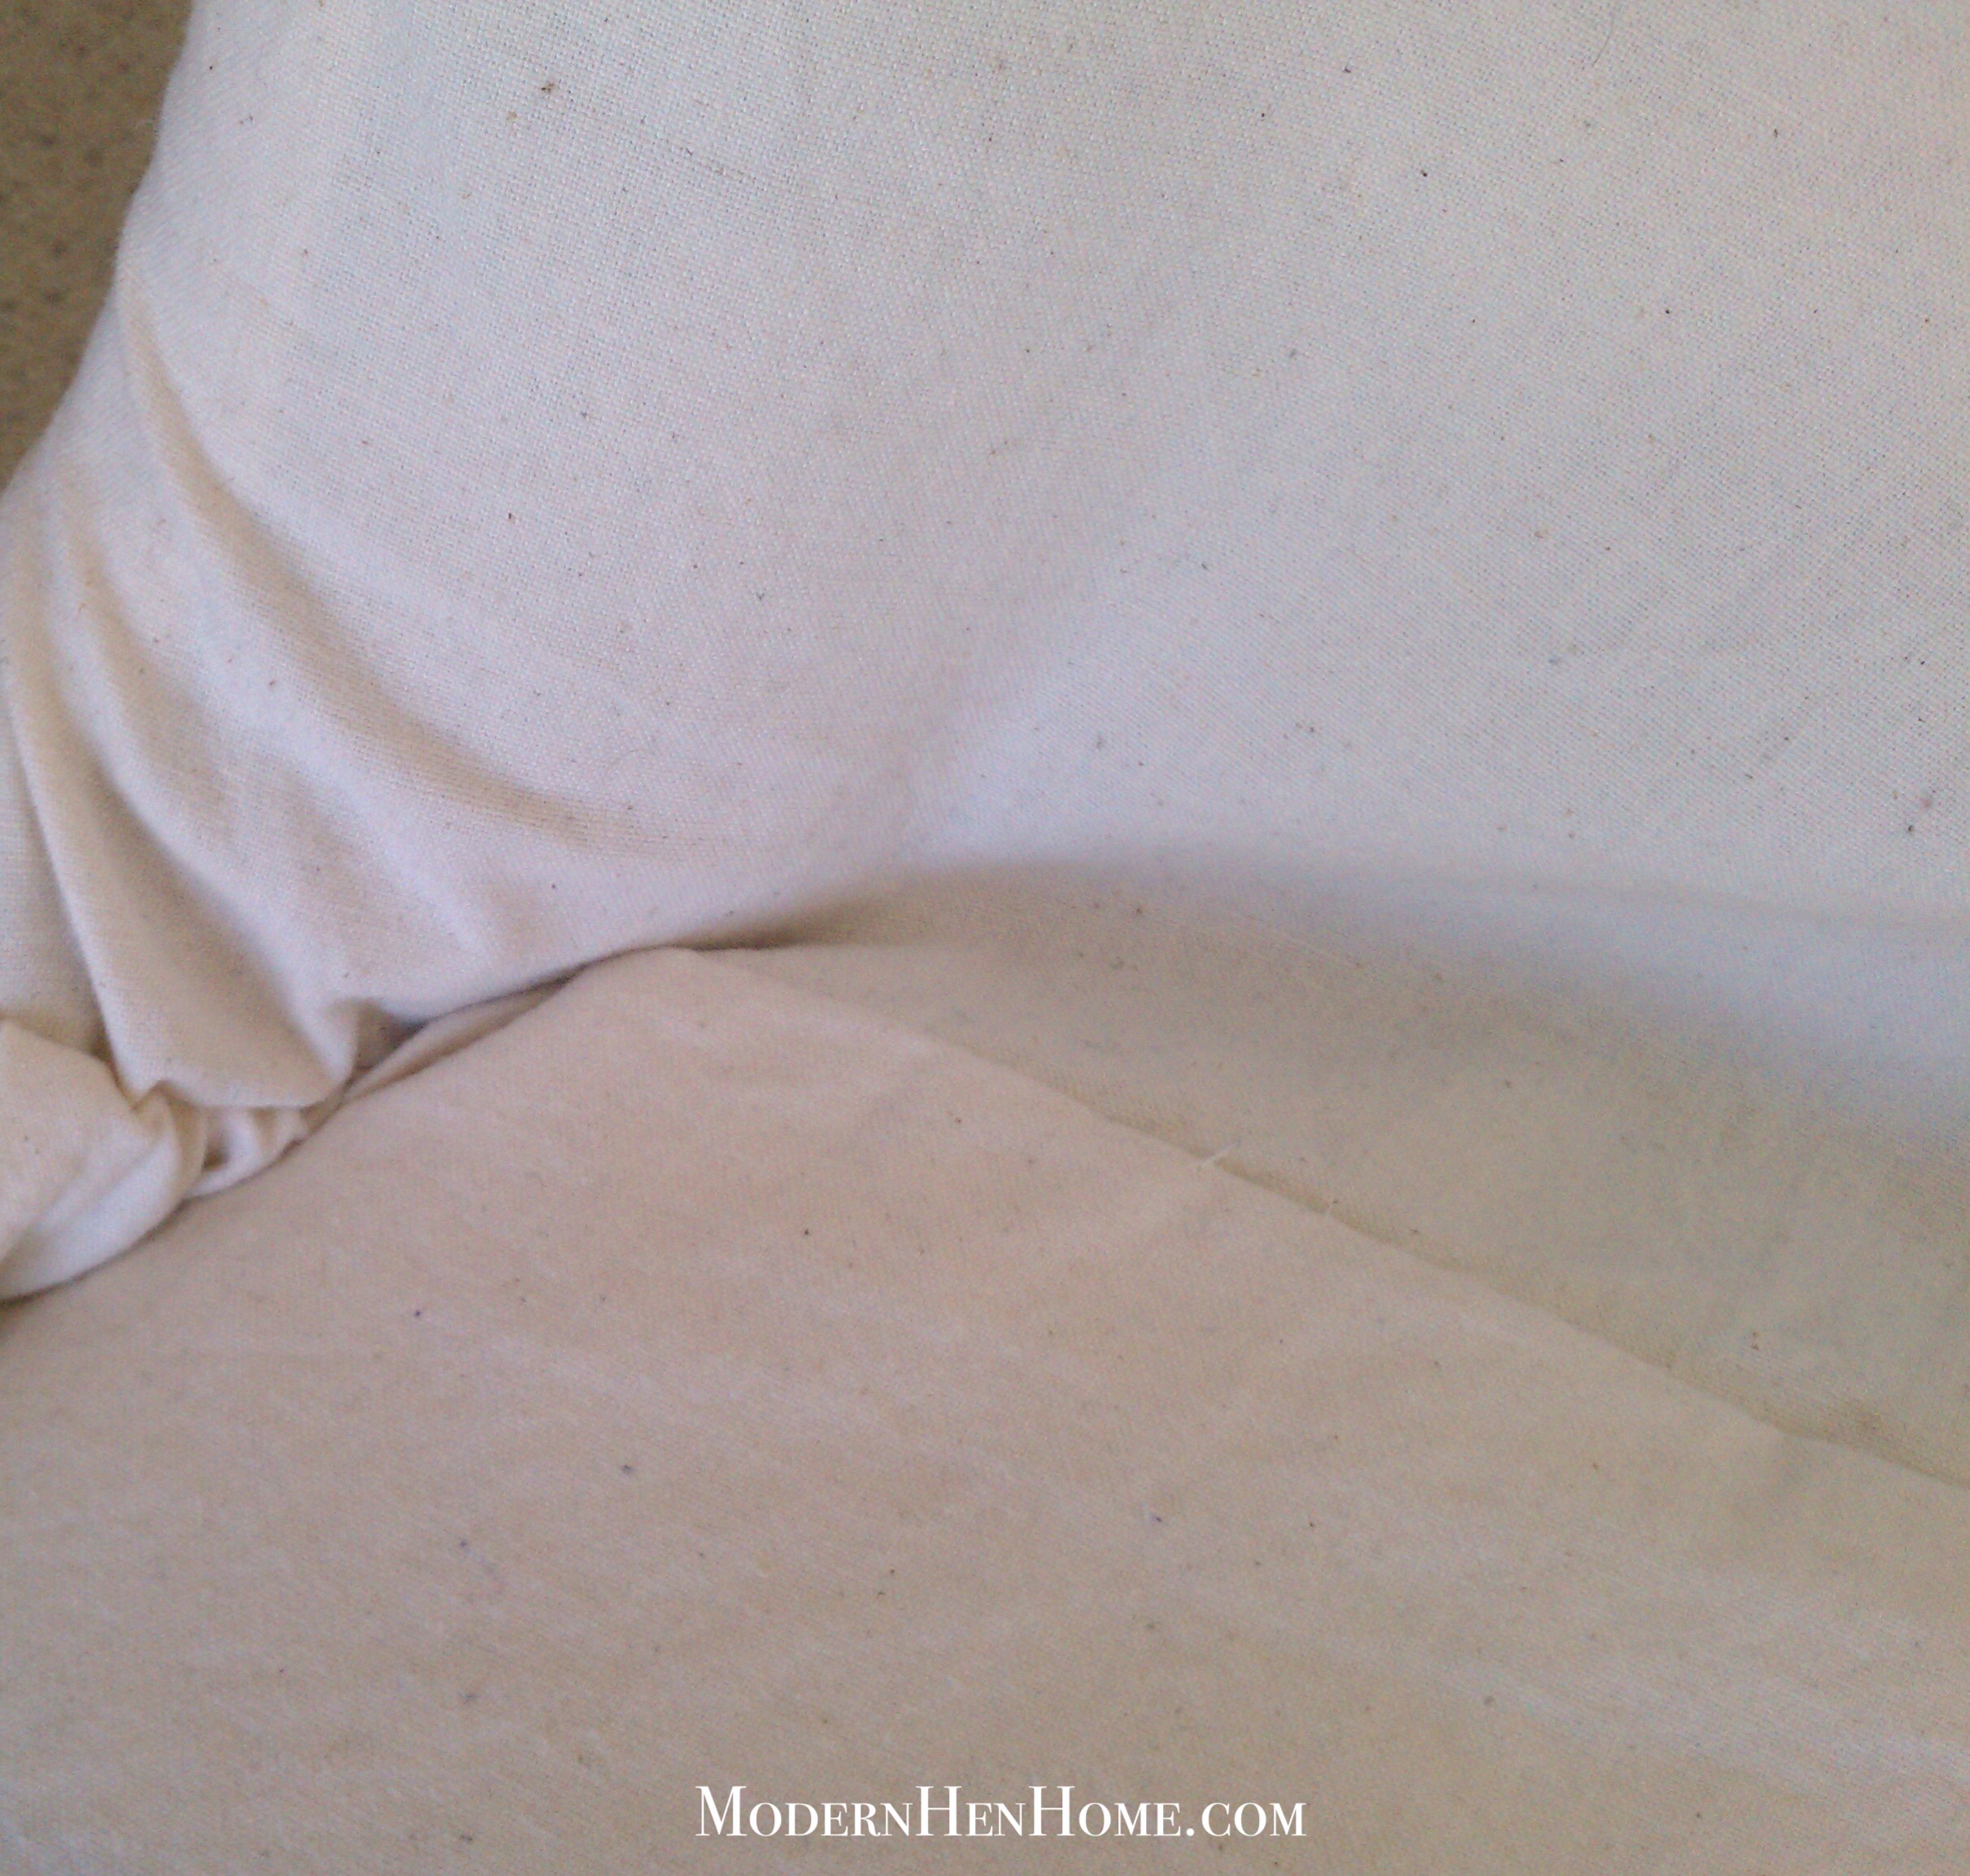
Add the seat to the back. Measure and cut the next piece, using the chairs seams to determine where to cut. Leave at least 2 extra inches on all sides as the extra fabric may be needed to allow for sitting. If the seat is too tight, it could tear when sat on. This extra fabric will come in handy as you pin the seat to the “pillowcase”, and later to the skirt. As you pin decide how tight you want the seat. Keep in mind, slipcovers are generally fitted slightly loose.  Stitch the seat fabric to the bottom of the backrest fabric.

image

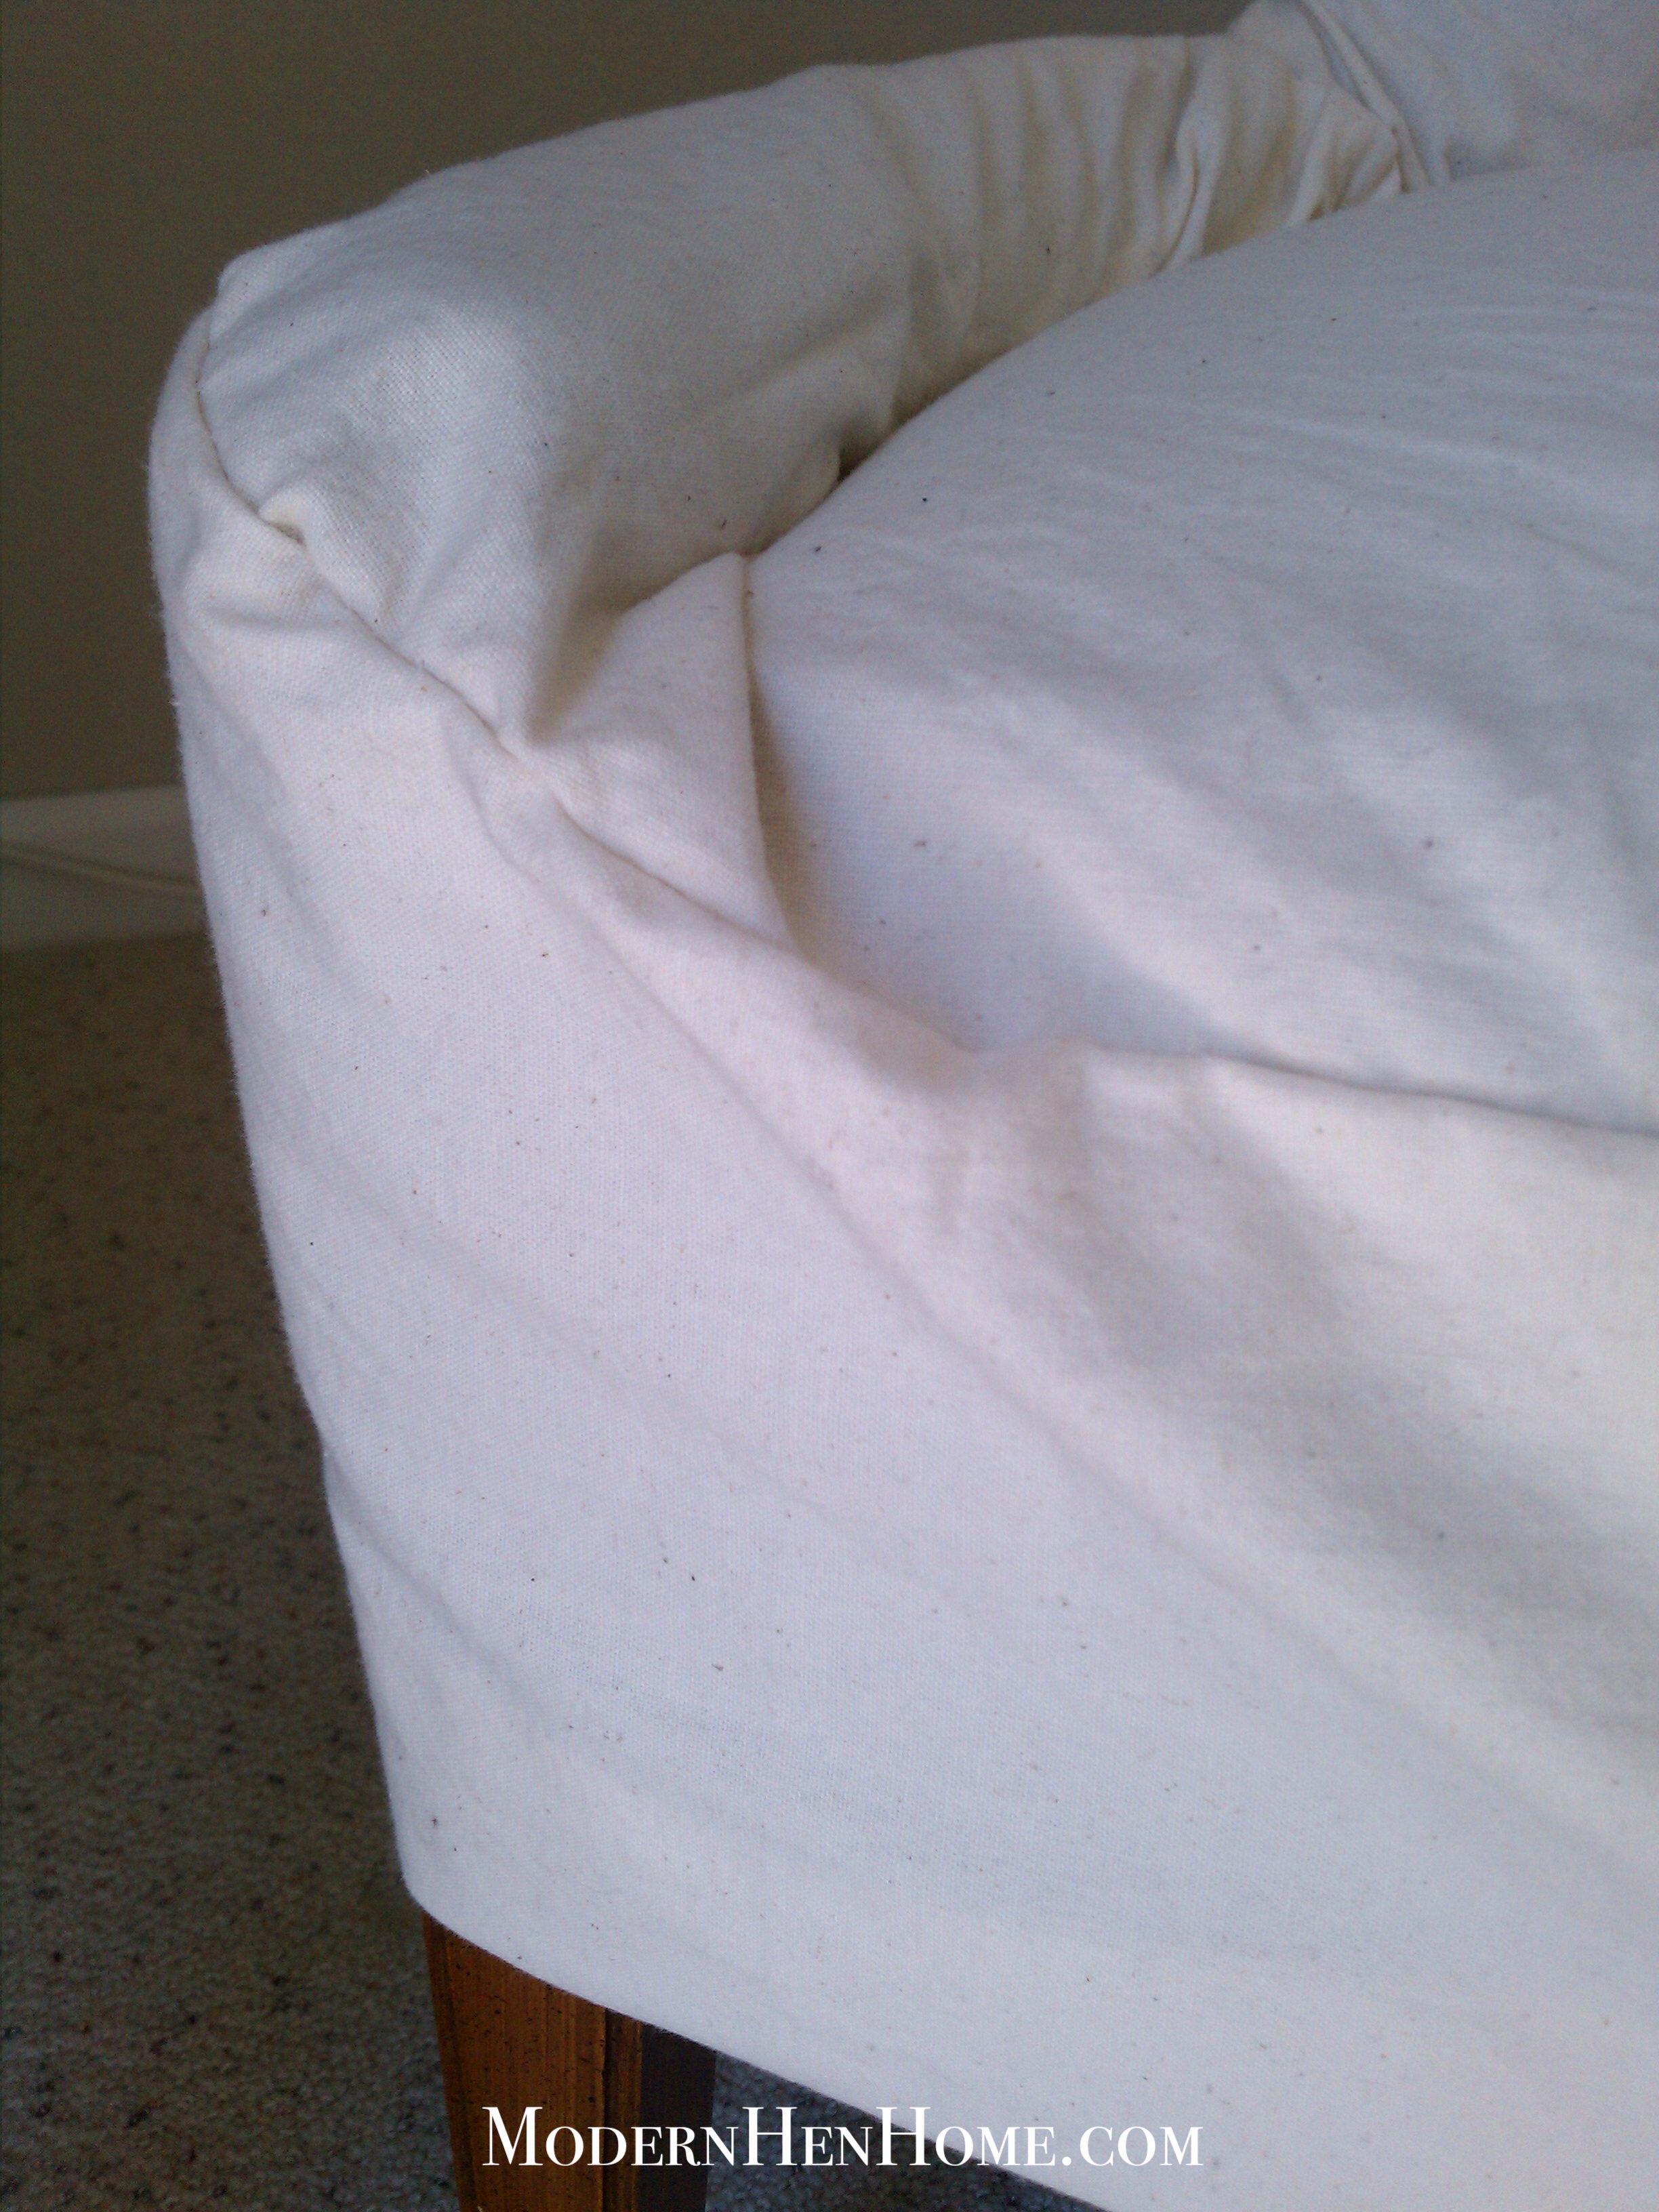
Determine the length of skirt. Adjust the back and seat fabric onto the chair. Tuck in fabric where needed around the seat and allow for a little extra fabric for sitting without tear. Be sure to add the length to match the back of the chair, plus 1 or 2 inches for hemming.  Measure, cut and pin the skirt to the seat and back section fabrics, and stitch.

image

Finish with hem. Turn the slipcover right side out and place on the chair. Check for errors, tuck in the seat to the back and measure the length of the skirt all the way around and pin the hem under every inch or two. Remove the cover, press the hem down with a warm iron to give it a clean edge.  Once pressed, sew or fabric glue the hem and press again.  I used fabric glue to avoid seeing the thread around the skirt as it’s more difficult to hide here. Ironing is key to a nice looking hem and slipcover. Your slipcover is finished!

image

This slipcover is imperfectly perfect. It serves its purpose to protect and change the look of the chair, is easy to wash or bleach if necessary, and is an inexpensive solution to replacing a piece of furniture. The stitches look just as they did the day I made it. If they do come loose, I can re-stitch by hand or machine. It was a lot of fun and fairly easy to make.

If you decide to make a slipcover, I would love to see it! Please be sure to Like this page on Facebook for more easy DIY projects & crafts, simple recipes and daily encouragement.

image


1 9 10 11 14